Challenge Level 2: Kid Car Derby
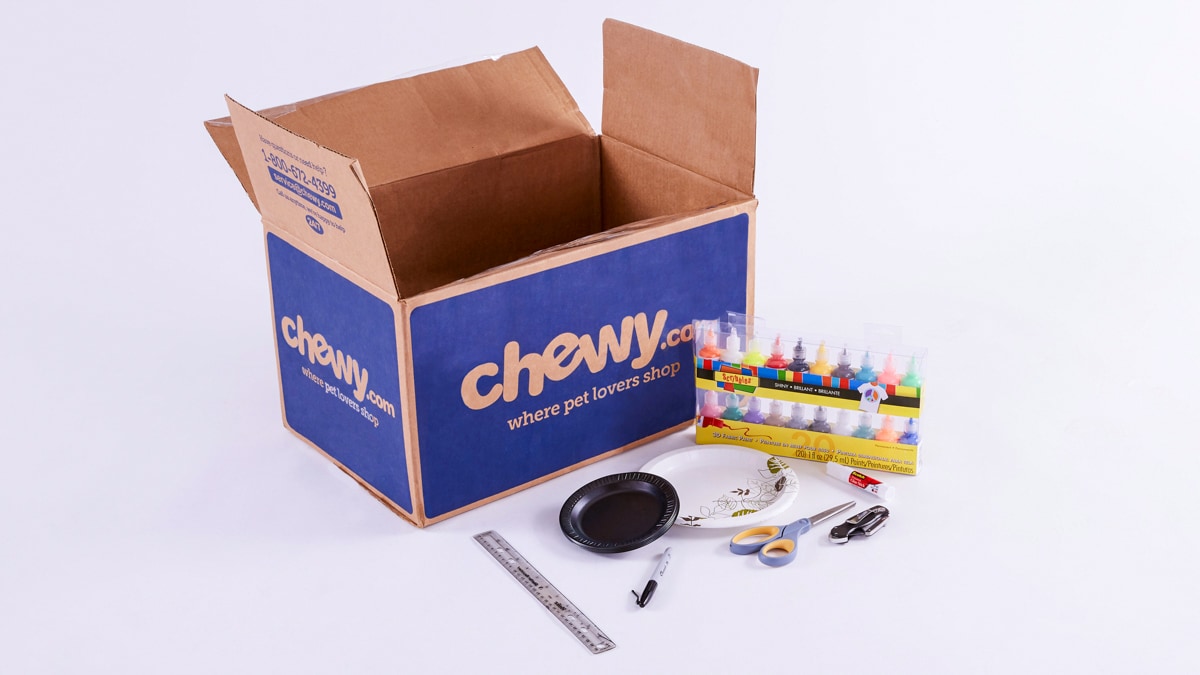
Materials: scissors or box cutter, medium or large Chewy box (make sure your child can fit into it), craft paint or markers, glue, small and large paper plates
Optional Materials: extra decorations (glitter, buttons, fabric scraps, feathers, beads, etc.)
Step 1: Cut off the top flaps and turn the Chewy box upside down.
Step 2: Divide the bottom (that’s now facing upward), into thirds. Do this by making marks one-thirds and two-thirds of the way along the longer sides (top and bottom edge). Use a ruler to connect those marks and draw two lines. Starting along one of those lines, cut out a flap in the middle for the windshield, and bend the flap up.
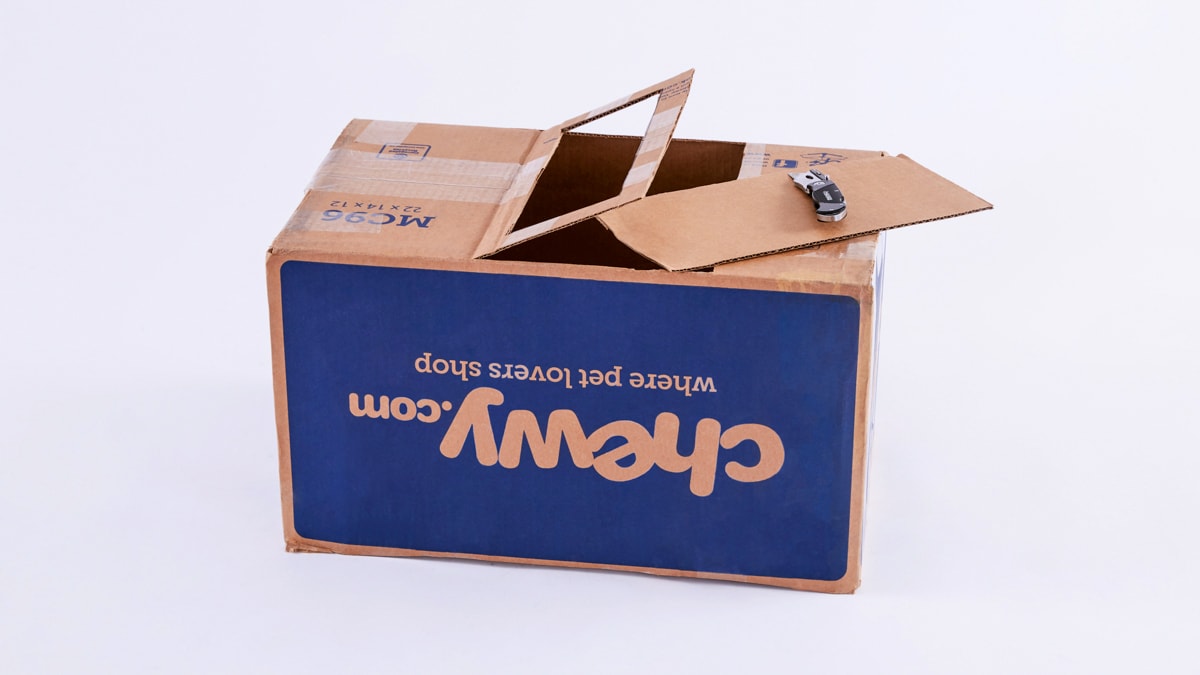
Step 3: Measure one inch in from each corner of the windshield and make a mark. Connect the marks with a ruler and marker, and cut out the inner rectangular shape that’s made.
Step 4: Measure 5 inches down from the top of the box on each of the longer sides and cut out small, rectangular holes for side handles. These should be 4.5 inches long by one inch tall.
Step 5: Cut out the rear short flap toward the back end that’s inside the box.
Step 6: Glue two smaller plates onto the front for headlights.
Step 7: Glue two large plates on each of the sides for wheels.

Hand over the markers and all the pieces of flair for your budding artiste/race car driver to create the best-decorated derby car in the history of NASCAR.
Share:
