In This Guide
New Saltwater Tank Checklist
A saltwater tank is a self-contained ecosystem. It needs to be outfitted with certain equipment to keep the water clean and to maintain optimal conditions for your tank inhabitants.
- Tank and stand
- Filtration equipment
- Heater and thermometer
- Lighting
- Protein skimmer
- Substrate
- Decor
- Salt mix
- Hydrometer or refractometer
- Bacteria additive
- Maintenance supplies
- Saltwater aquarium test kit
- Water conditioner
- Basic fish medications
Tank and Stand
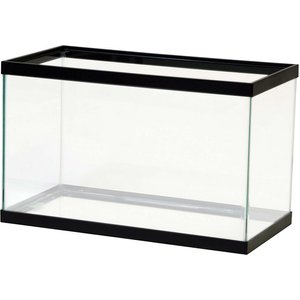
Aquariums are typically made from acrylic or glass and come in a wide range of sizes—as small as one gallon up to hundreds of gallons in volume. Smaller tanks under 40 gallons in volume are sometimes called nano tanks and are available in stand-alone tanks or as all-in-one systems that include lighting and filtration.
Select an aquarium stand that is rated for the tank size you choose. Keep in mind that a gallon of water weighs about 8.34 pounds, so your tank stand needs to be designed to support the weight of the tank plus its water and decorations. For example, a 50-gallon tank will weigh over 400 pounds when full.
Filtration Equipment
Aquarium filters play several important roles in maintaining tank stability. In addition to circulating water to increase aeration (the levels of oxygen in the water), they utilize different types of filter media to remove potentially harmful substances from the water column (aka the entire body of water within the aquarium). Some tanks benefit from additional circulation provided by powerheads—internal water pumps used to create flow.
Saltwater aquariums typically use external filtration systems like a sump or canister filter, which can be customized with various types of filter media:
- Mechanical filter media, such as sponges, mesh or filter floss, trap solid debris like waste and uneaten fish food.
- Chemical filter media, such as activated carbon, remove dissolved particles like toxins, medication and water additives.
- Specialized filter media can be used to remove specific substances like phosphate or to correct certain water parameters like pH.
Talk to your aquatic vet or fish expert to determine the best options for your fish.
Heater and Thermometer
Tropical saltwater fish generally prefer tank temperatures in the range of 76-82 degrees Fahrenheit. An internal aquarium heater helps keep your tank temperature from fluctuating, which could cause your fish stress and make them more susceptible to disease. Heater wattage varies depending on the size of your tank and the desired temperature range.
Lighting
In a fish-only saltwater tank, lighting serves primarily to enhance your view of the aquarium. A standard LED light fixture will work. If you plan to keep live rock or corals, however, you’ll need a lighting system designed for a reef aquarium. Because algae growth can become an issue if nutrients are abundant and there is excessive or prolonged exposure to light, use a timer or keep the light on for no more than 8-12 hours per day to prevent algae blooms.
Protein Skimmer
A protein skimmer is a specialized piece of equipment that removes organic waste and excess nutrients from the water column. If you’re keeping a small and lightly stocked tank, you may not need one—your aquarium filter might be enough to keep waste and excess under control. For large tanks, heavily stocked tanks, and reef tanks with corals, however, a protein skimmer is recommended.
Other options for managing waste in your tank include:
- Growing macroalgae in a refugium (a separate compartment within the aquarium dedicated to cultivating beneficial organisms) to consume excess nutrients
- Performing frequent water changes to remove them.
Both of these are significantly more time-consuming than using a protein skimmer, however, so for beginner saltwater tank keepers, the simple option may be best.
Substrate
Substrate refers to the material at the bottom of an aquarium, often used for both aesthetic and functional purposes. Sand is the most commonly used substrate in saltwater aquariums. Not only does it contribute to the natural look of your tank, but it can also provide practical benefits for your tank inhabitants and water chemistry. Bottom-feeding fish as well as snails and other invertebrates burrow into the sand or filter through it to find food. Certain substrates like live sand contribute live, beneficial bacteria to your tank or contain crushed coral that alters the pH in your aquarium.
Decor
Using natural decor elements like stone, live rock or aquatic plants is called aquascaping. While sand provides the foundation for your tank, there are many options for decoration. You can use decor to create caves and other places for your fish to hide when they’re experiencing stress.
Salt Mix and Refractometer or Hydrometer
Achieving and maintaining the right level of salinity, or the concentration of dissolved salts in the aquarium water, is essential. A hydrometer is a simple, inexpensive tool that measures salinity based on water density. Refractometers also measure salinity; they are more expensive than hydrometers, but also more accurate.
When you initially fill the tank and make subsequent water changes, you’ll need to premix the salt water yourself or purchase premixed salt water such as Nature's Ocean Nutri-SeaWater Natural Live Ocean Aquarium Saltwater.
If you’re preparing salt water yourself, you’ll need the following:
- A large bucket or plastic tub
- A high-quality salt mix
- An aquarium pump for mixing
- A heater and thermometer
- A refractometer or hydrometer
You’ll also need a supply of reverse osmosis deionized (RODI) water—regular tap water is not recommended, as using tap water without proper treatment can introduce chlorine, chloramines, heavy metals, contaminants, pH fluctuations, algae-promoting nutrients and microbial imbalances to your tank, jeopardizing water quality and the health of your fish. You can purchase RODI water or install a reverse osmosis system in your home.
Bacteria Additive
Beneficial bacteria convert toxic waste products like ammonia and nitrite into less harmful substances you can remove from the tank via water changes—a process known as biological filtration. There are several ways to establish a colony of beneficial bacteria in your tank, but one of the fastest is to add the bacteria yourself using a commercial bacteria additive such as Fritz Aquatics Saltwater Nitrifying Bacteria for Aquariums.
Maintenance Supplies
The most valuable tool any hobbyist can have is an aquarium water test kit. These kits help you measure the level of harmful compounds like ammonia, nitrite and nitrate in your tank, which can accumulate from sources such as uneaten food, decaying organic matter, and waste produced by fish and other tank inhabitants. Specialized test kits can measure for other compounds like phosphate, calcium or copper. It’s also important to test the alkalinity or acidity of tank water using a pH kit. If you’re not sure what levels are healthy for your fish species, ask your aquatic veterinarian or fish expert.
Other maintenance supplies that may be beneficial include a siphon vacuum for water changes, aquarium nets, and algae scrapers and scrubbers.
Water Treatments
Depending on whether you’re purchasing salt water or mixing your own, you may need additional water treatment supplies. Water conditioner neutralizes chemicals like chlorine and chloramine, which are used to treat tap water but can be harmful to fish. You may also want to keep some basic fish medications on hand to treat bacterial, fungal and parasite infections.
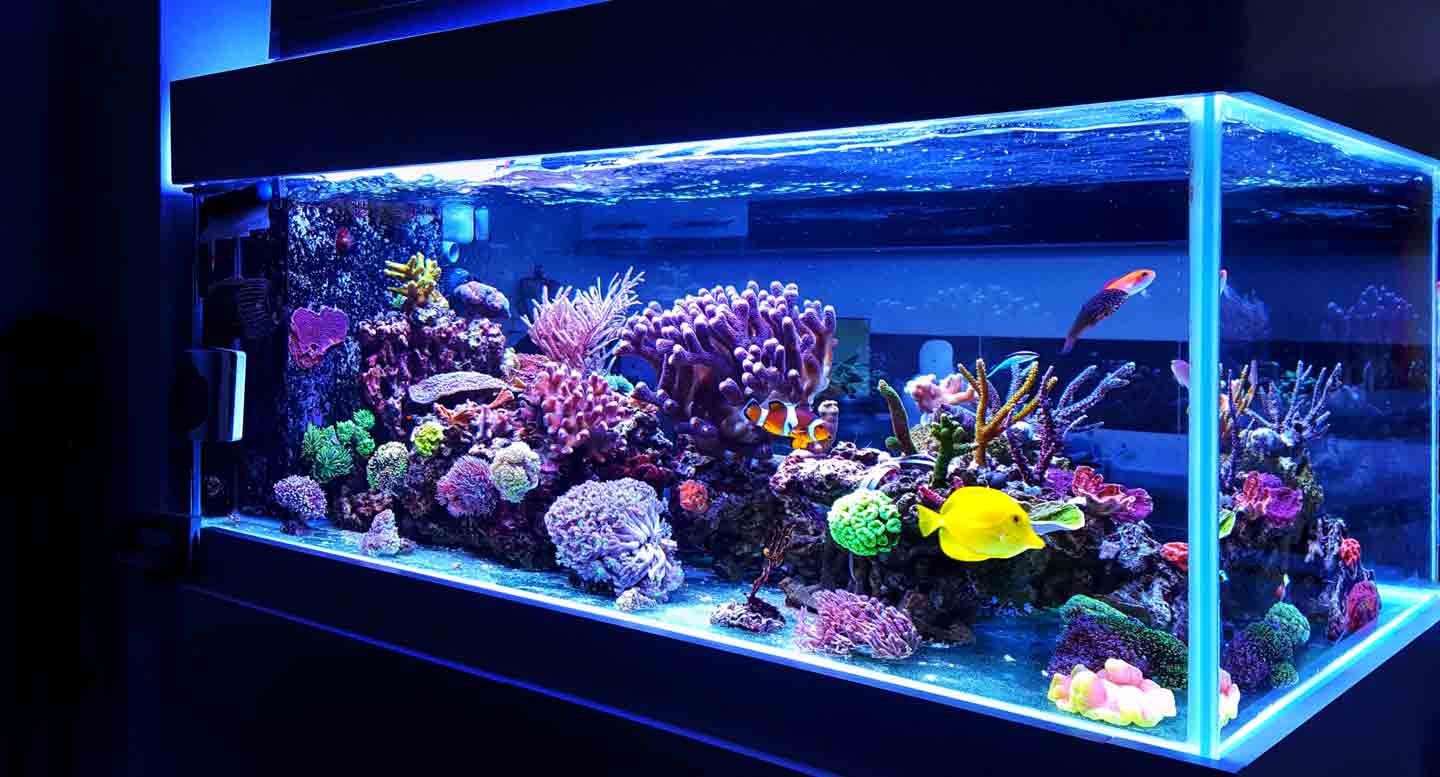
How To Set up Your Saltwater Fish Tank
Initial saltwater aquarium setup can be time-consuming—but the more careful you are, the better. Follow these step-by-step instructions for saltwater tank setup and tips for getting it cycled before you add your fish.
1 Plan out your tank.
Think about what kind of fish and other aquarium inhabitants you plan to cultivate to determine what size tank is appropriate. Due to the equipment required, a small tank is not necessarily cheaper or easier to maintain. The bigger the tank, the more room for fish and the easier it will be to stabilize water chemistry.
Before you choose a tank size, make sure you have an appropriate space for it in your home. Amanda Fredal, LVT, a veterinary technician and member of the Aquatics Committee for the Pet Advocacy Network in Richmond County, Georgia, says, “The location you choose should be away from drafts and direct sunlight, and in a place you can enjoy your tank on a daily basis.”
2 Install the filtration system.
Next, it’s time to install your filter. The installation process varies from filter to filter, so follow the instructions included with your filtration equipment to install it.
3 Install your auxiliary equipment.
Once your filtration system is in place, you can add auxiliary equipment such as your heater, protein skimmer and powerheads. If you’re using a sump, you may be able to place some of your auxiliary equipment in it to save space inside your tank. Follow the instructions for each piece of equipment to determine its ideal placement.
4 Install the lighting.
Lighting may not be necessary in a fish-only tank, but it can improve the aesthetics. Choose an aquarium lighting system appropriate for your tank size and follow the instructions for installation. If the lighting system doesn’t include a timer, consider purchasing one to prevent future algae problems caused by excess lighting.
5 Fill the tank and add the salt mix.
If you’ve already purchased salt water, you can add it directly to your tank. If you’re mixing it yourself, fill the tank with water first and run a wet test on your equipment. As long as there are no leaks, you can then shut the equipment off and add the salt mix.
Follow the instructions on the salt mix and go slowly, using a powerhead to circulate the water and help the salt dissolve more quickly. Dr. Serena Brenner, MS, DVM, CertAqV, consulting veterinarian and instructor at UC Davis School of Veterinary Medicine in Davis, California, says, “The key is getting the ratio correct.” Test the salinity frequently using your hydrometer or refractometer until you reach the desired level.
6 Place your tank decor.
Read the instructions on your substrate to determine whether it needs to be rinsed before adding it to the tank. Aim for a depth of 1-2 inches of substrate—anything deeper may be harder to clean. Live sand that includes beneficial bacteria can generally be poured directly into the tank, but should not be added until there is water in the tank.
Next, add your hardscape elements, such as rocks, driftwood or artificial decorations, moving them around until you find an arrangement you like. Remember, your fish will appreciate having places to hide. Decor can also serve to break up sight lines and reduce aggression with territorial species of fish.
7 Cycle the tank to establish biological filtration.
Once your tank is filled and decorated, turn the equipment back on. The water should start to clear quickly, but even then, however, your tank might not be ready for fish for several weeks. You need to establish biological filtration first.
“In an established tank,” says Dr. Brenner, “there are millions of bacteria working around the clock processing fish waste, other organic material and recycling beneficial nutrients.” When setting up a new tank, you have to establish that bacteria. Depending on the size of the tank and the future biological load it will have to sustain, the process could take weeks or months.
Dr. Brenner recommends the following process for cycling a new tank:
- Seed the tank with nitrifying bacteria from an established tank or by using a commercial bacteria additive.
- Add a source of ammonia to the tank—either pure liquid ammonia like Dr. Tim's Aquatics Ammonium Chloride Solution, or fish food that will break down over time.
- Wait for the completion of the nitrogen cycle—where the nitrifying bacteria convert the ammonia into nitrite and then nitrate, establishing a stable ecosystem for your future fish.
How will you know when the nitrogen cycle is complete? Test the tank water several times a week to monitor the process. As time goes on, your test kit should reveal rising ammonia and nitrite levels. Once these levels fall back to 0 ppm and nitrate levels remain under 40-50 ppm, the tank is ready for fish and invertebrates.
8 Acclimate and slowly add your fish.
Add fish slowly so your biological filter has time to adjust to the changes. Consider the order you add your fish as well. Fredal recommends working from the least aggressive to the most aggressive species. “Give a few weeks for a fish to feel comfortable before adding more,” she says, “to reduce stress on the critters themselves and the bioload in your tank.”
The simplest way to acclimate new fish is to place the bag from the pet store in your tank. Let it float in the tank so the temperature adjusts, and add water from the tank in small amounts every five minutes or so. You can also empty the bag into a bucket with a heater and set up a drip system with water from the tank. With either method, after an hour, carefully net the fish and release them into the tank.
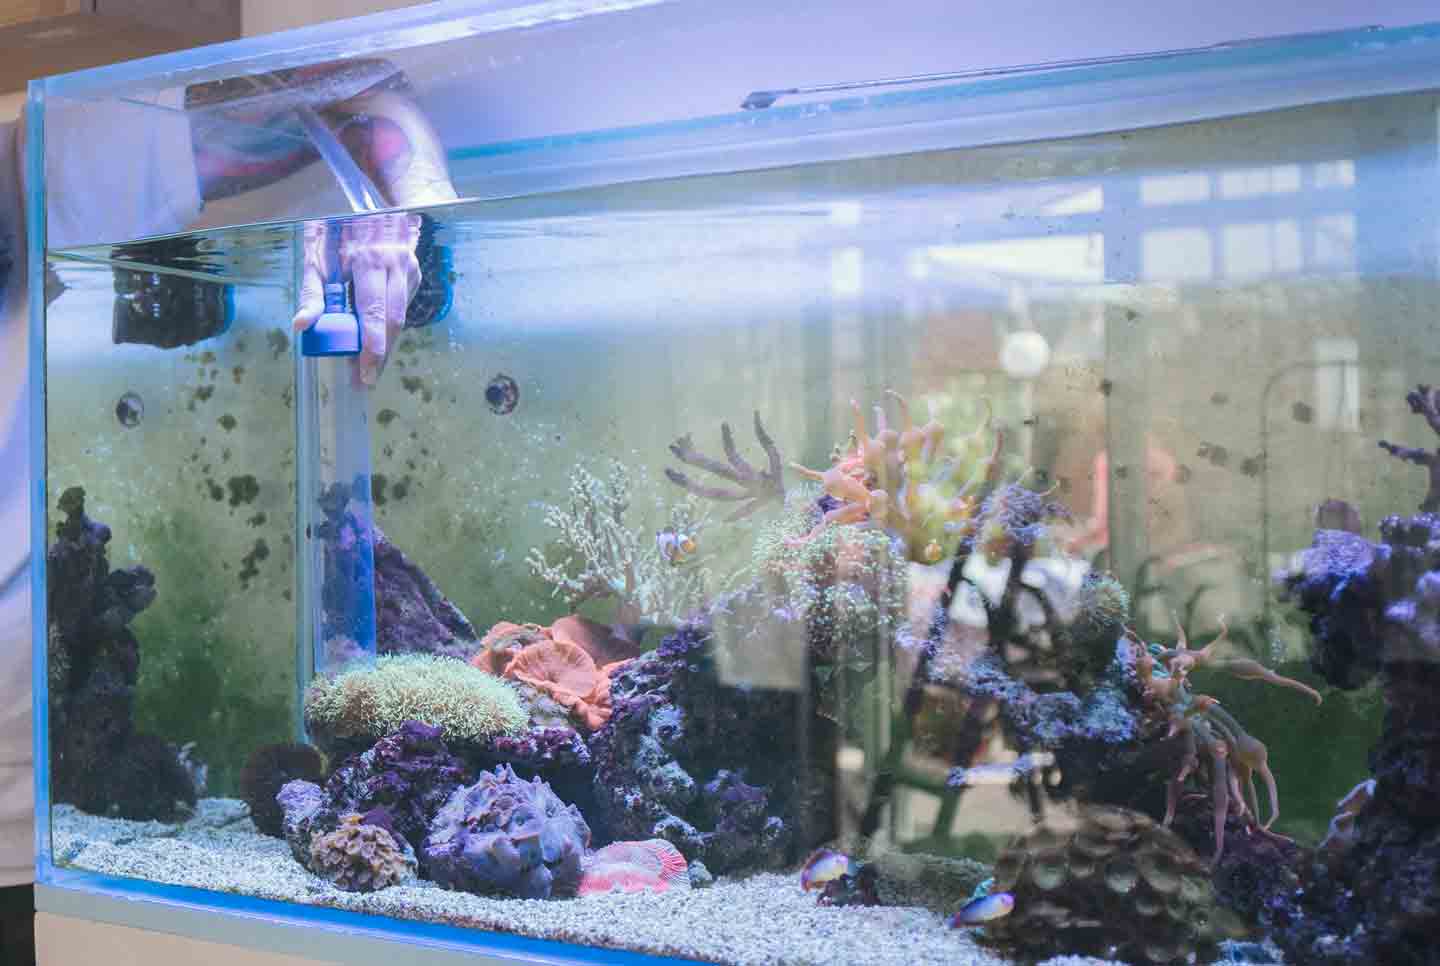
How To Clean Your Saltwater Fish Tank
Cleaning an established aquarium is a delicate task. You don’t want to clean too much at once or you risk killing off a substantial portion of your biological filter. Rather, keep the tank from getting too dirty by performing minor maintenance regularly. Avoid overfeeding your fish and consider adding snails or other invertebrates to help control algae and organic waste.
Weekly Maintenance
Test the ammonia, nitrite, nitrate and pH of your tank every week. Ammonia and nitrite levels should always be 0 ppm, and nitrate should be kept below 40-50 ppm. Your pH may fluctuate and may require adjustment if it strays beyond the ideal range for the type of fish you keep.
Test the salinity of your tank weekly as well. You may need to add fresh, conditioned tap water to replace water lost to evaporation to keep the salinity within the ideal range.
Monthly Maintenance
Perform necessary maintenance on your filter and other tank equipment about once a month. When cleaning your filter, take care not to let the components dry out, and don’t use chemicals that might kill off beneficial bacteria. You may also need to clean the inside walls of the aquarium with an algae scrubber or scraper from time to time.
Based on the results of your weekly water tests, partial water changes may be necessary to remove pollutants and replenish nutrients. Use a siphon vacuum to remove debris from the substrate along with tank water. When refilling the tank, premix the salt water and make sure it is at the same temperature as the water in the tank before adding it.
FAQs About Saltwater Tank Setup
Q:
Are saltwater tanks hard to set up?
Q:
Are saltwater tanks for beginners?
Q:
Is it hard to maintain a saltwater tank?
Q:
What is the ideal size of a beginner’s saltwater aquarium?
Once you’ve completed your saltwater tank setup, the ongoing challenge of maintenance becomes your focus. Proper maintenance is your best defense against aquarium fish diseases. Learn more about common aquarium diseases here.
Expert input was provided by Dr. Serena Brenner, MS, DVM, CertAqV, consulting veterinarian and instructor at UC Davis School of Veterinary Medicine in Davis, California; Amanda Fredal, LVT, a veterinary technician and member of the Aquatics Committee for the Pet Advocacy Network, Richmond County, Georgia.
Tips for Saltwater Tanks
Share:
