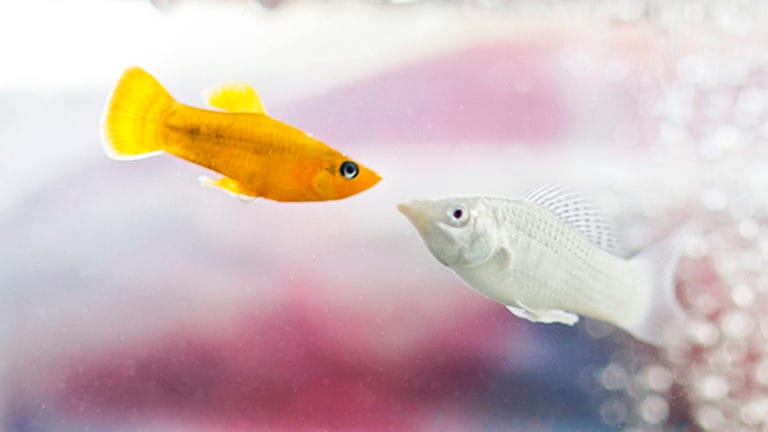
When it comes to cleaning, your fish tank is a lot like your kitchen sink: It's best to stay ahead of the mess. Poor conditions (think: algae overgrowth) will lead to stressed fish who are more susceptible to disease. Regular maintenance and small water changes, on the other hand, will help your fishies live a happy, healthy life.
So, how do you clean a fish tank? We’re breaking down how to clean your freshwater aquarium and make sure the critters in your tank are living their best lives.
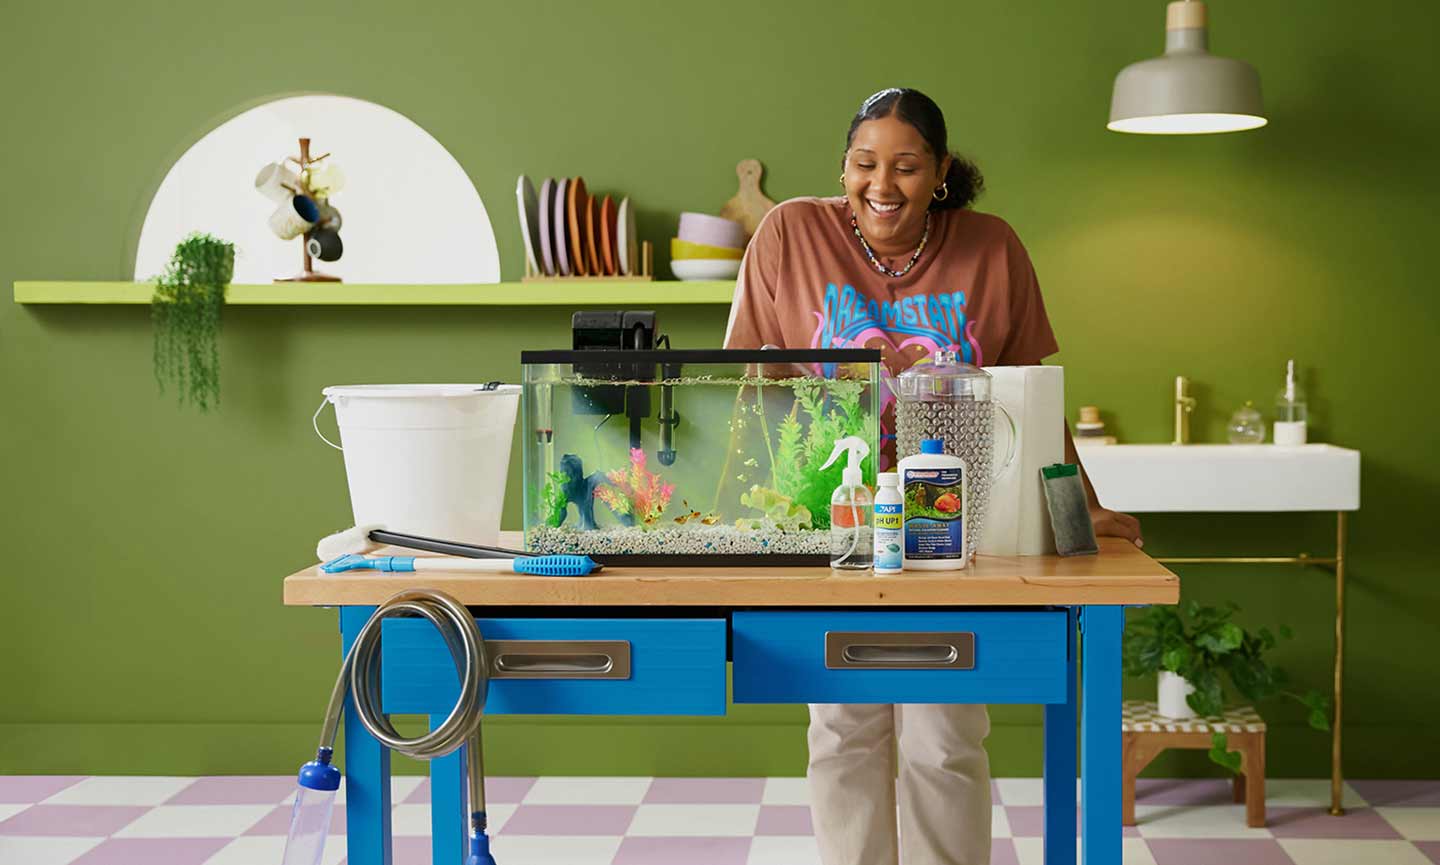
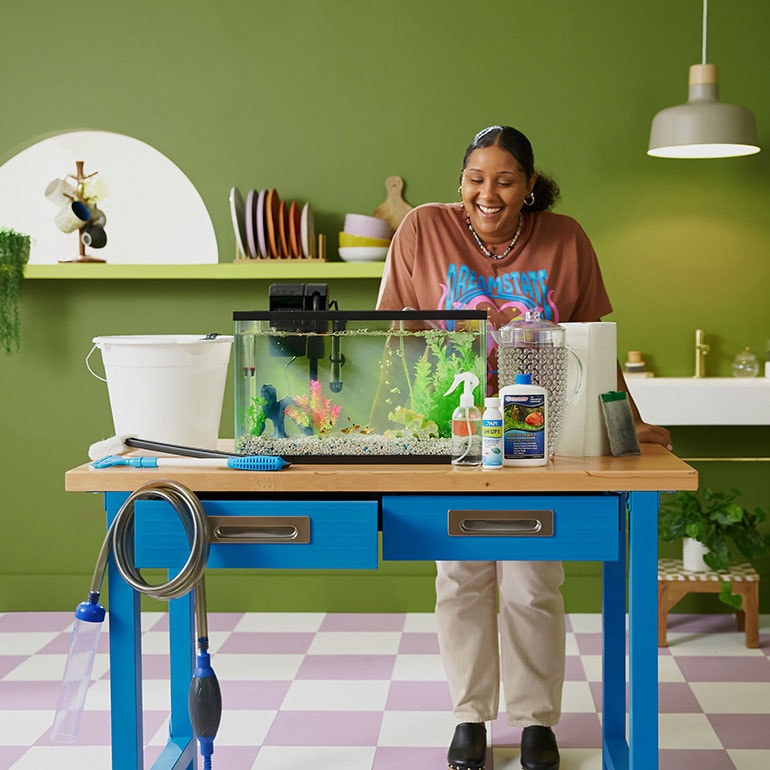
Supplies for Cleaning Your Freshwater Fish Tank
Before you start scrubbing, here's a list of the supplies you'll need for a proper fish tank cleaning:
- An algae scrubber, scraper or blade, like API’s Extra Long Algae Scraper for Acrylic Aquariums
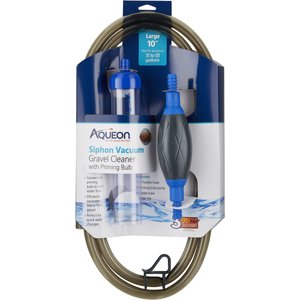
- Water siphon tube and/or gravel vacuum (we like the Aqueon Siphon Vacuum)
- A bucket for collecting water during water changes (one that’s just for aquarium water)
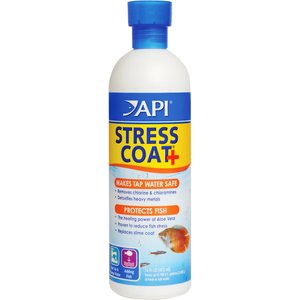
- Water conditioner
- Enough water for at least a 25% water change
- Plain white vinegar
- New filter media
- Old bath towels and/or paper towels
- An old toothbrush (optional)
- Water test kit (optional)
- That oversized t-shirt you wear to bed (or other clothes you don’t mind getting dirty)
How to Clean a Freshwater Fish Tank: Step-by-Step Instructions
Here’s the good news: There’s no need to remove your fish from the tank during the cleaning process. In fact, it’s better to leave them in, because moving them will stress them out at best and could even injure them at worst. Just move gently and carefully around them as you clean.
Here’s how to clean a fish tank, step by step:
1 Prepare to Clean
2 Turn Off Your Filter and Unplug Your Heater
As you clean your aquarium, debris will be circulated around the tank, and it's much easier to remove if it’s allowed to settle on the bottom instead of being sucked into the filter. So go ahead and switch that filter off while you clean.
Why unplug the heater? Removing it from water, which you’ll do during water changes and to scrub the heater, will expose it to air—and if you do that while it’s hot, it can burn out the machine. Best to unplug it and let it cool while you move on to the next steps.
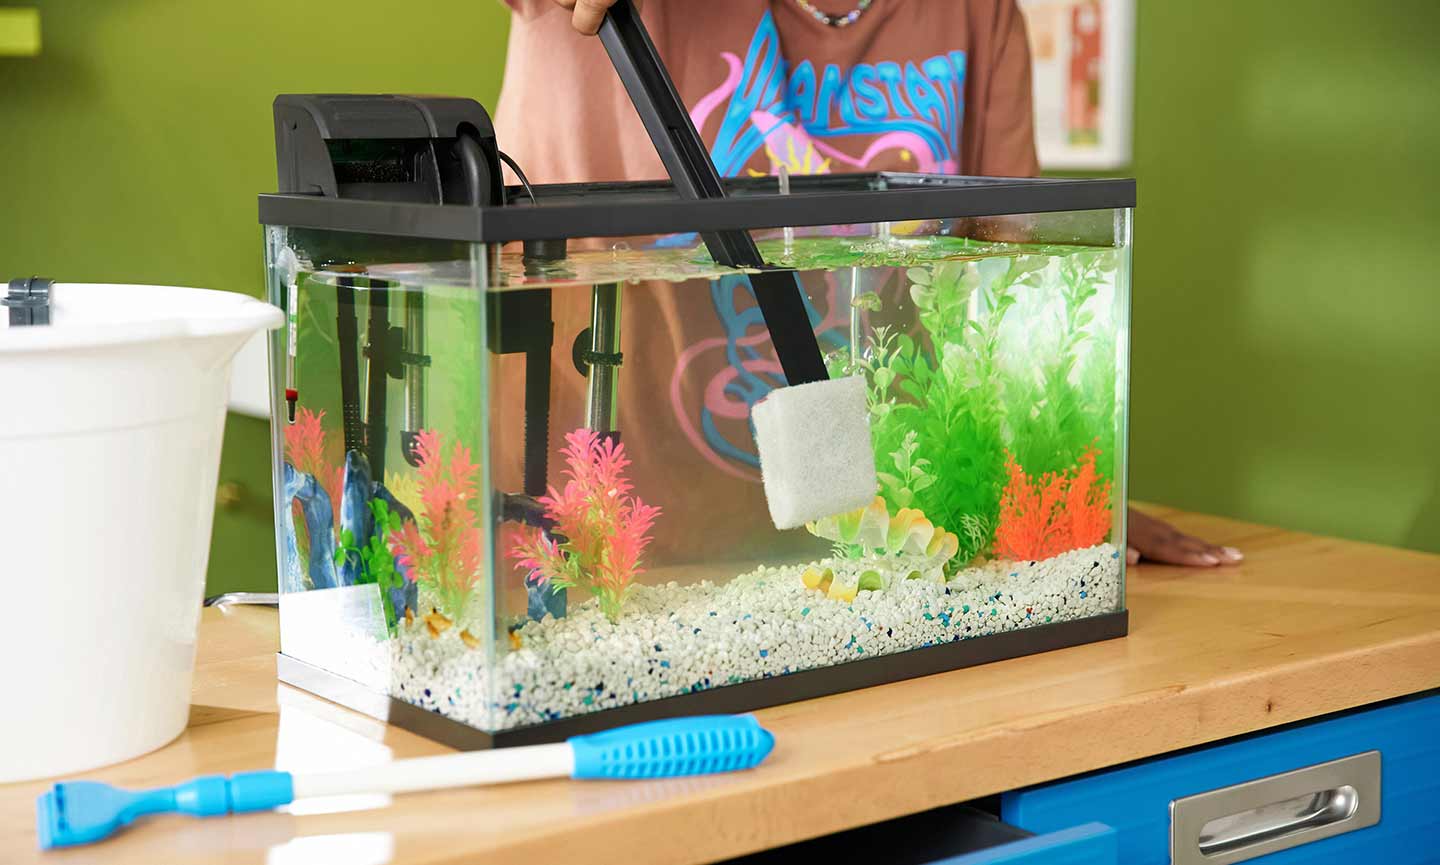
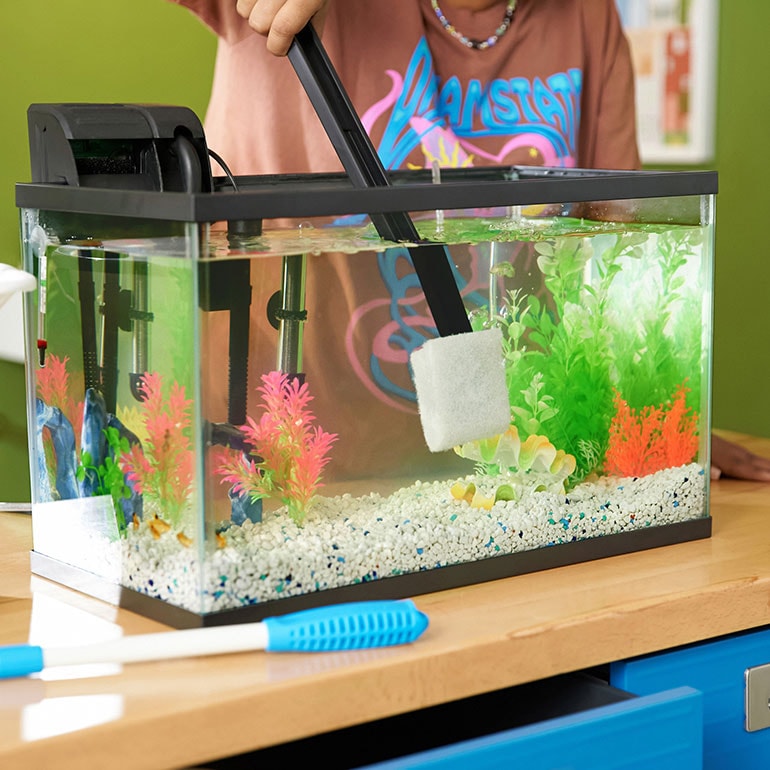
3 Clean the Inside Walls
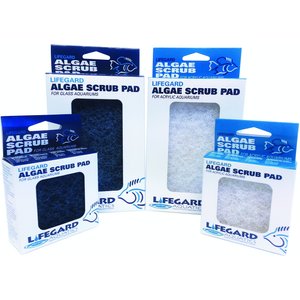
An algae pad, like Lifeguard’s Aquarium Algae Pad, is a good tool to start with. Remember to purchase cleaning pads for aquariums specifically; other types of cleaning pads or sponges may contain soaps or chemicals that will harm your fish. Again, choose a pad made for glass or acrylic tanks, depending on what type you have. Your old toothbrush can also do the trick in a pinch!
Depending on how established your algae is, a scrub with an algae pad may not be enough. If after scrubbing there is still stubborn algae left over, you can use a blade (an aquarium razor blade for glass tanks; or a plastic blade for acrylic aquariums), to carefully scrape off the rest.
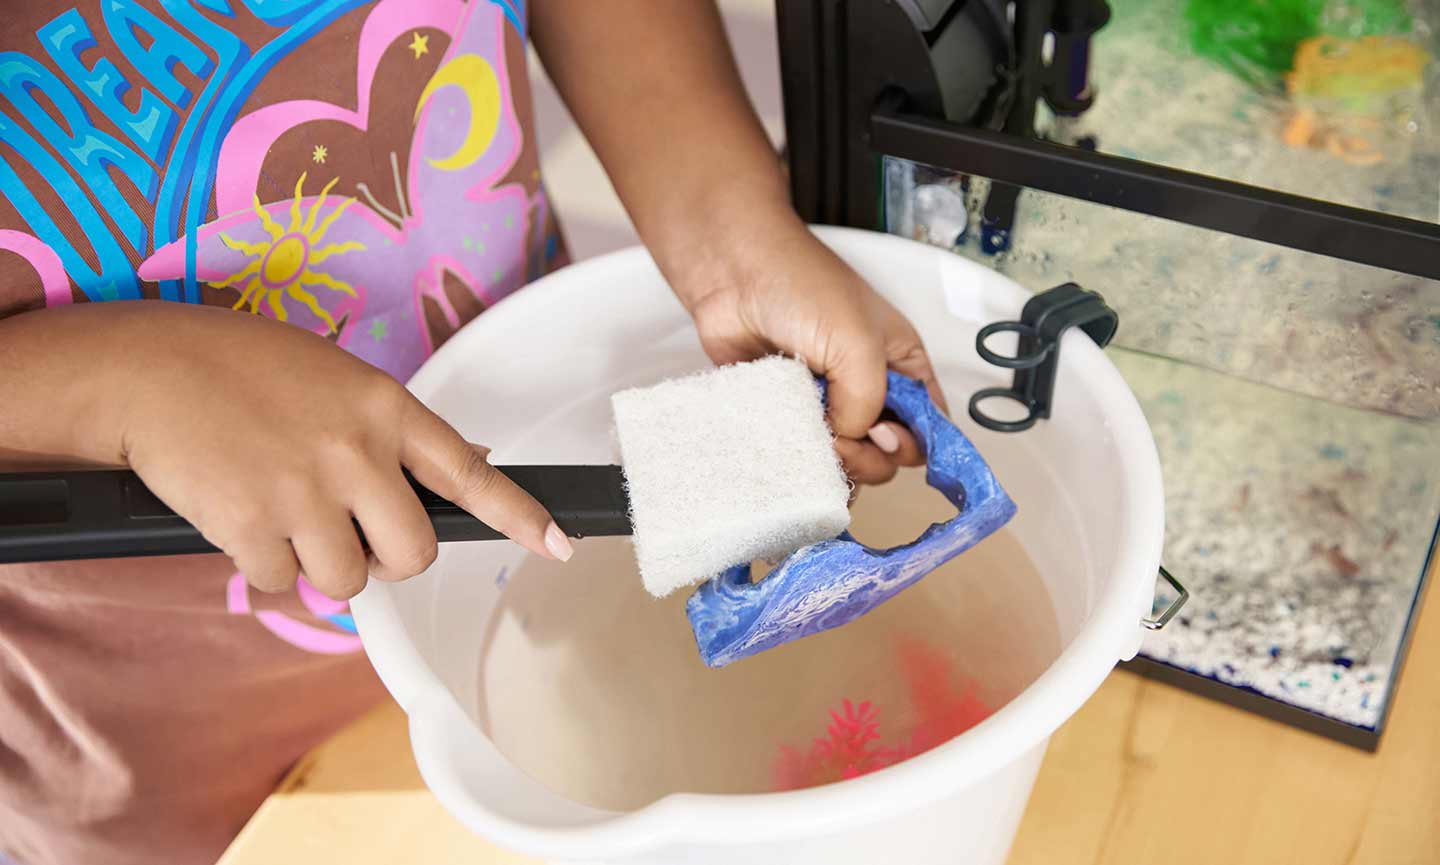
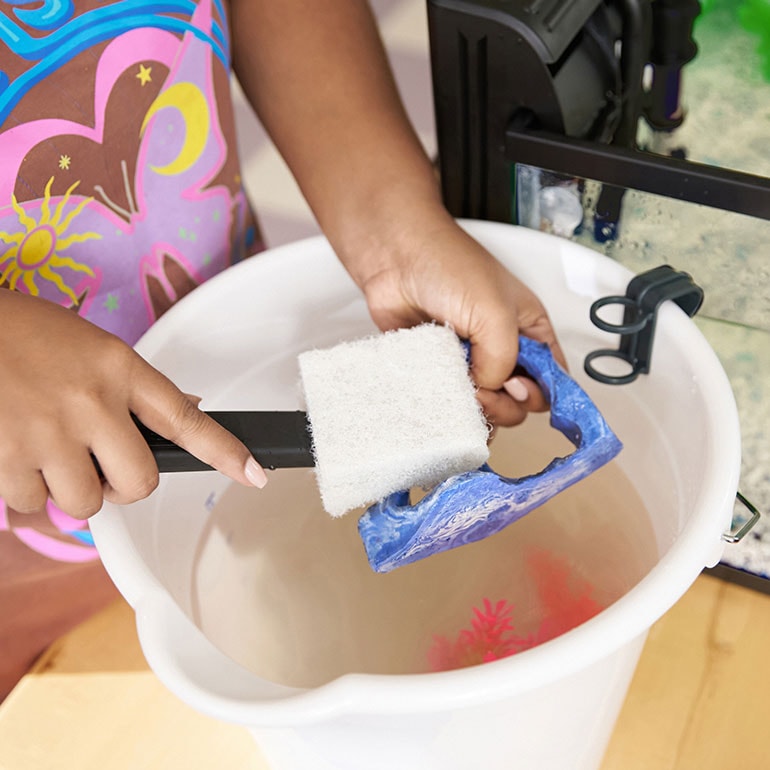
4 Clean the Décor
Now, it's time to deal with the decor. Remove artificial plants, decorations and large rocks that have significant algae growth and scrub them off. You can do this in the sink or in your dedicated aquarium maintenance bucket, using your algae scrubber and some warm water.
Leave the aquarium gravel in the tank—we’ll clean that next.
If the heater has algae growth, now would be the time to remove and clean it, too.
Do not use soaps or detergents of any kind as they are extremely difficult to fully rinse away and can be lethal to aquatic life.
If, after scrubbing, your décor still looks dirty, you can make a solution of one part bleach, 9 parts water, and let all the decor soak in it for 15 minutes. Remove it from the bleach solution and then scrub everything again under running water. After you’re done, let your décor air dry, which will remove residual bleach. You’ll know they’re ready to return to the tank when there is absolutely no bleachy chlorine smell present.
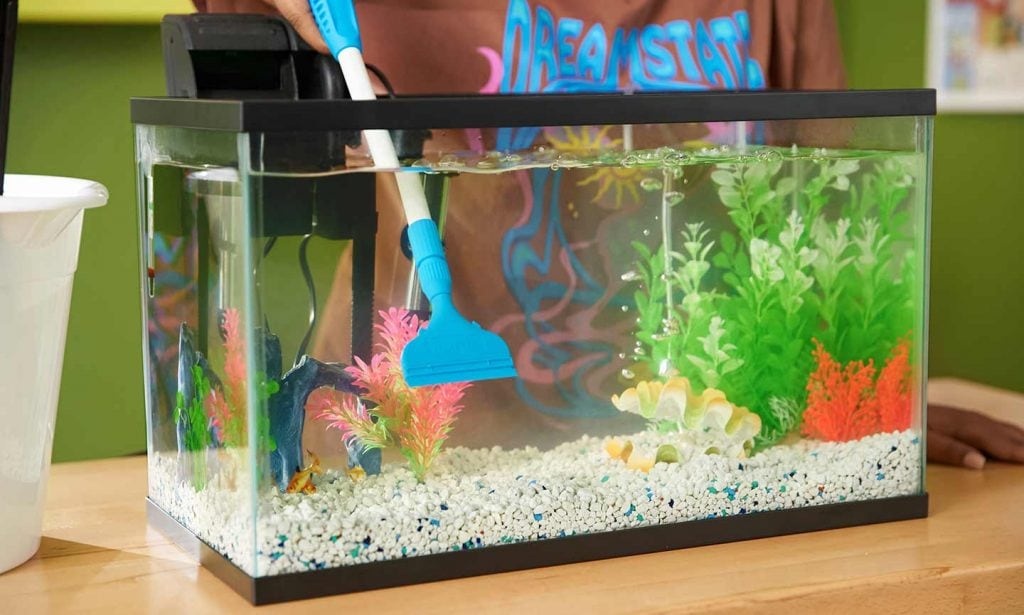
5 Clean the Aquarium Gravel
Next, we need to clean the gravel—you know, the little rocks that sit at the bottom of your tank. Here’s why: The older a tank is, the more it tends to accumulate detritus, or the decomposed remnants of leftover food, fish waste and decaying particulate matter. This detritus is so fine that it can settle between those little rocks, building up until it causes health issues for your finned friends.
A gravel vacuum will be your best friend for this step. It’s a tool that removes large amounts of this dirty aquarium dust. Gravel vacuums typically consist of a plastic siphon attached to a length of tubing. All you need to do is submerge the siphon in the water to create suction that pulls water from the tank through the tube into your bucket. (If you’ve ever seen somebody siphon fuel from a gas tank, it’s essentially the same process.)
How much should you vacuum? That depends on how dirty your tank is. You’ll know your gravel is clean when the water being pulled through the siphon is no longer cloudy and gray/brown.
All finished? Don’t dump out that bucket just yet—you’ll use the water you just siphoned out in the next step.
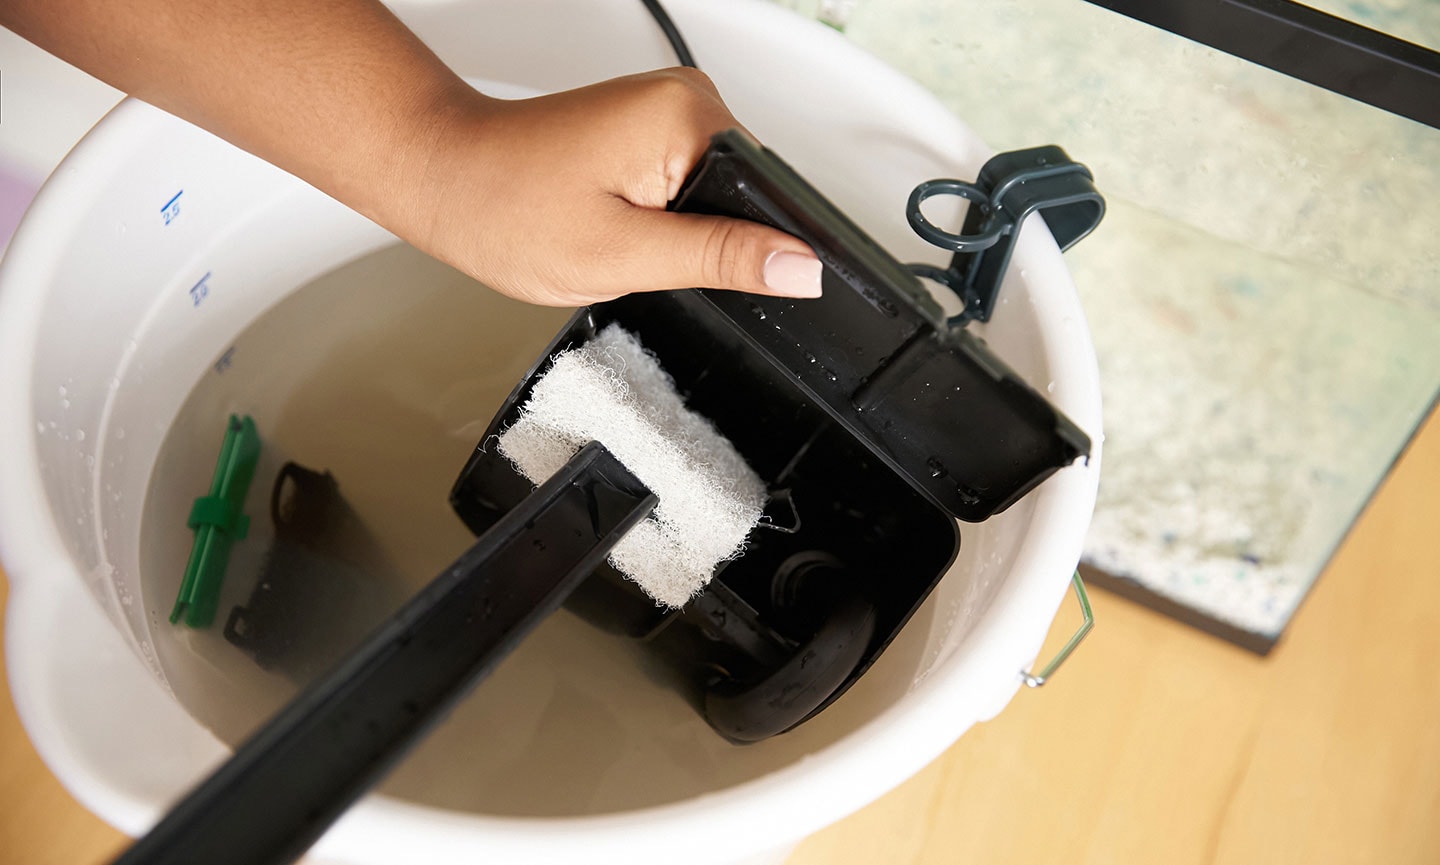
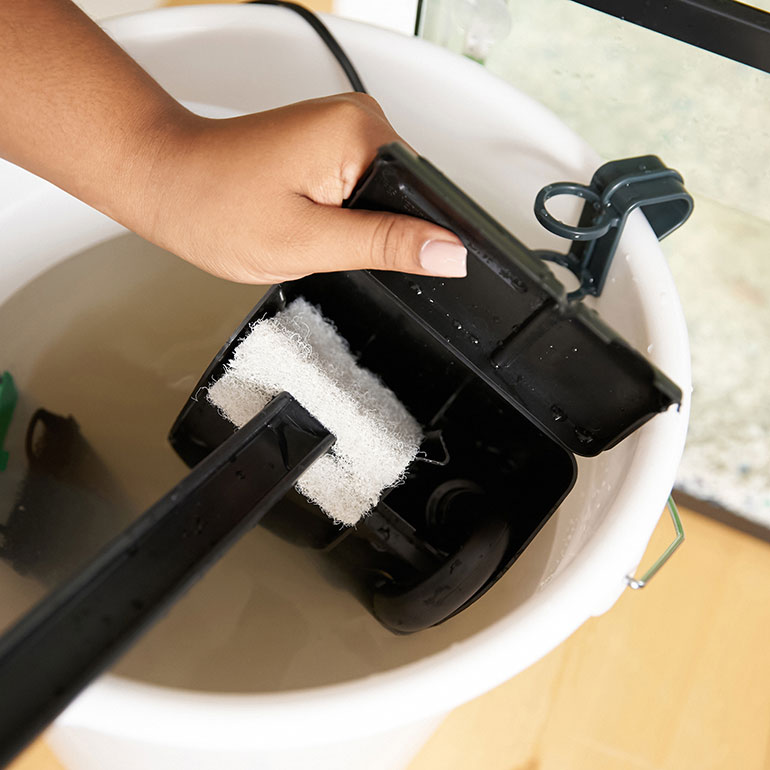
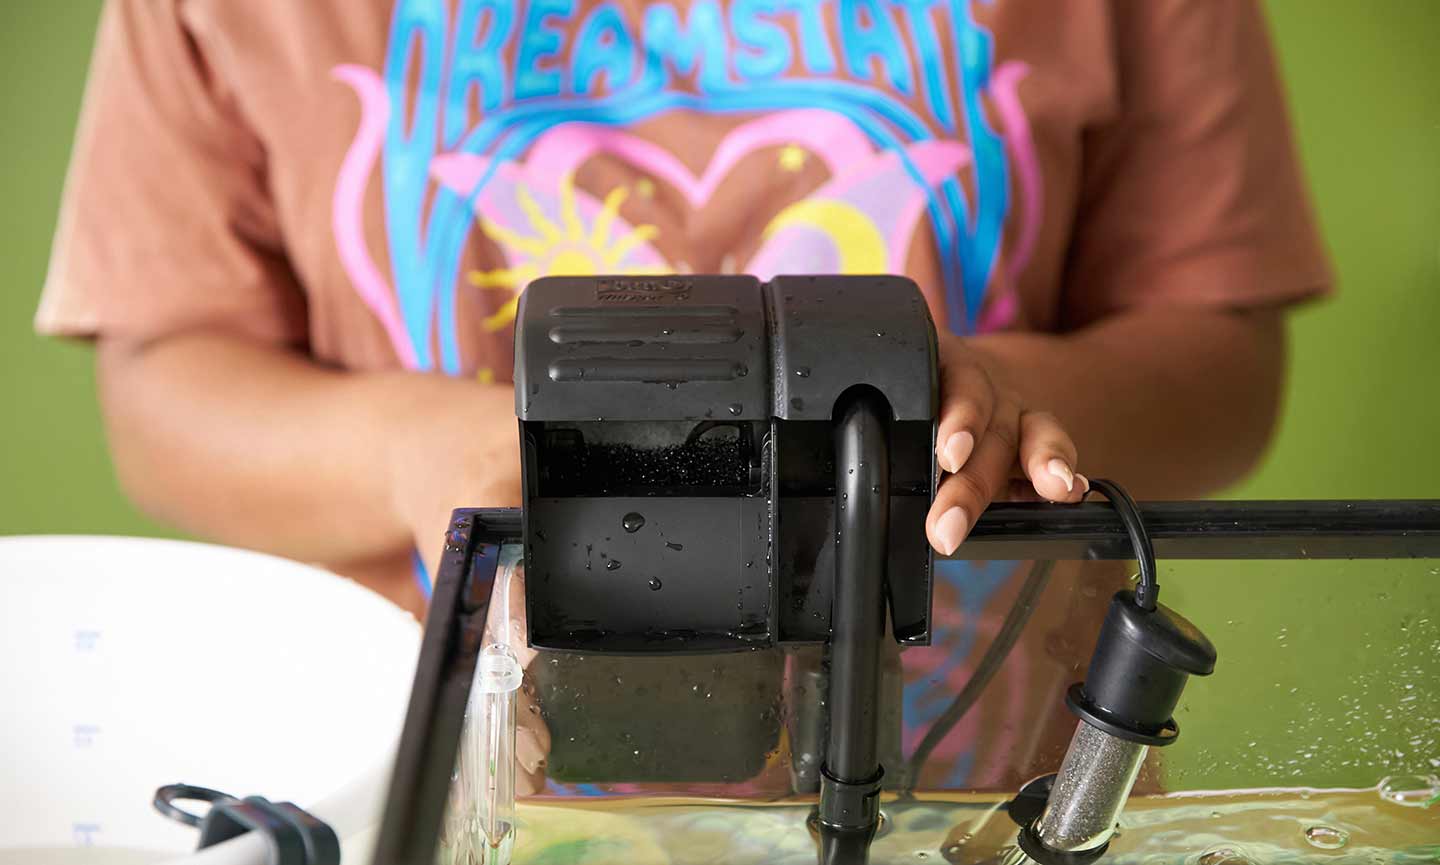
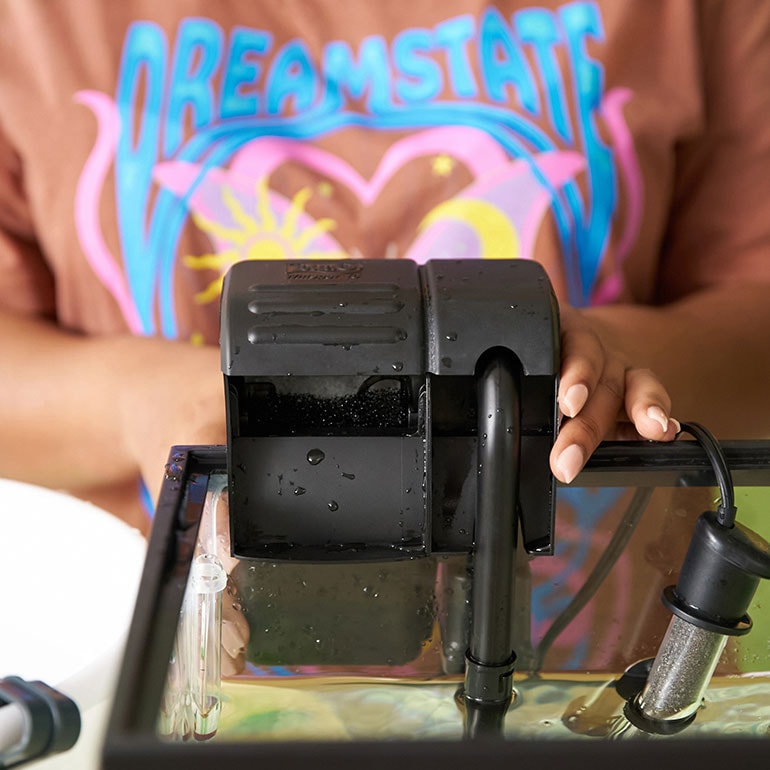
6Clean the Tank Filter
First, squeeze out and rinse the filter pad or sponge in a container filled with tank water. (You can use the water you just removed from your tank.) Using tank water helps retain the beneficial bacteria that keeps your water clean. Washing it in the sink with regular tap water will kill, or at the very least, disturb, that good bacteria.
If it’s time to change your filter media, aka the carbon, ceramic or other products that go inside your filter and do the actual filtration, this is a good opportunity to do so. Check the instructions on your filter media packaging to determine how and how often you should change it.
Make sure you also rinse the filter tubing and any other parts of the filter that come into contact with water.
Important note: If you’re doing a heavy cleaning (for example, if you had to scrape persistent algae off of your tank’s walls or needed to use bleach to disinfect your decor), skip this step for now. A heavy cleaning means you’ve already introduced a lot of change in the tank, which can be stressful to your fish. Doing a filter cleaning on top of that adds even more change to the process, which can be detrimental to your tank inhabitants. Move on to the next step, and plan to come back and clean your filter in a week or so. Remember: Regular light cleanings can make this process easier both for you and for your fish.
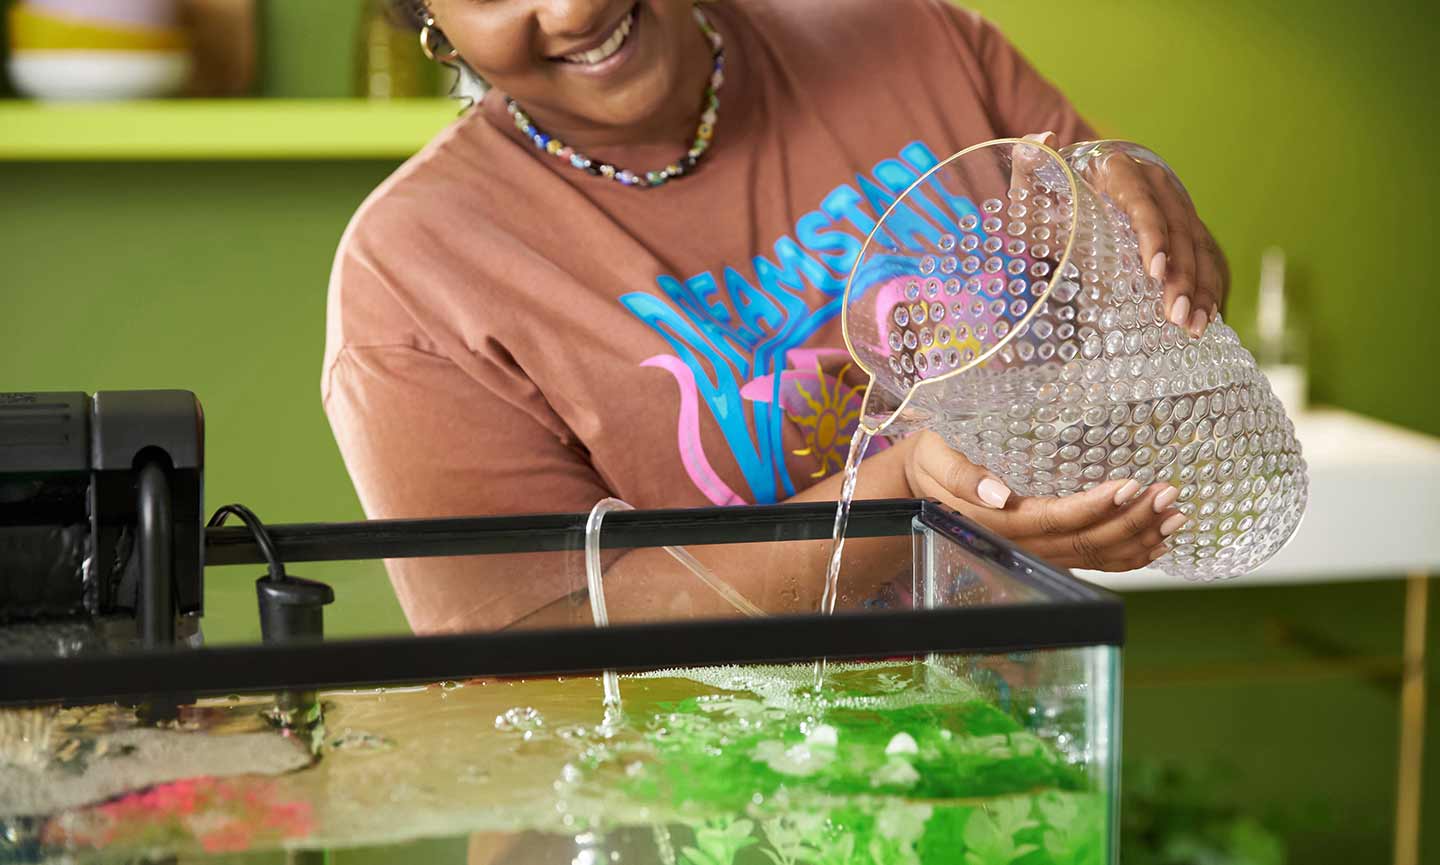
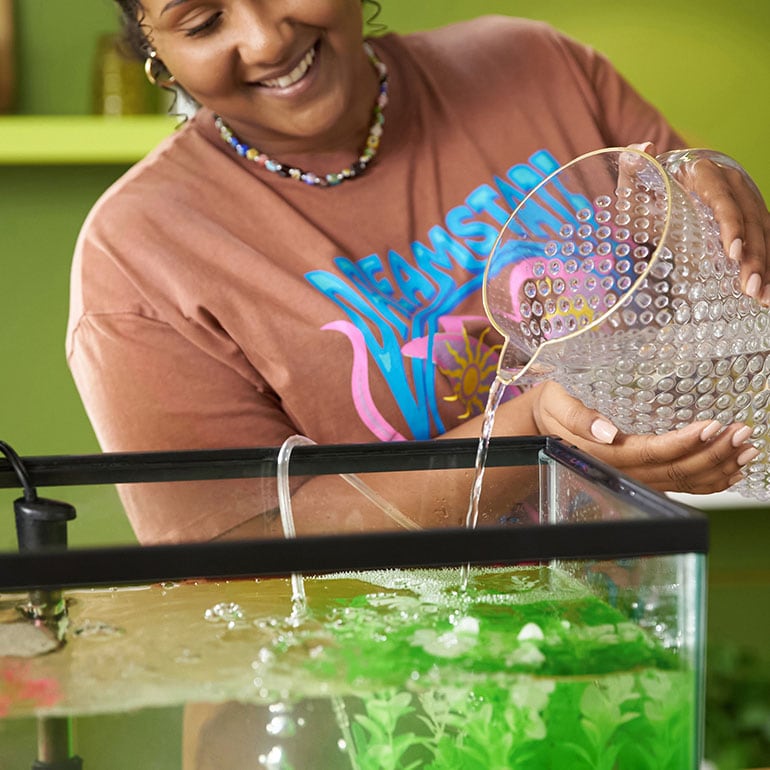
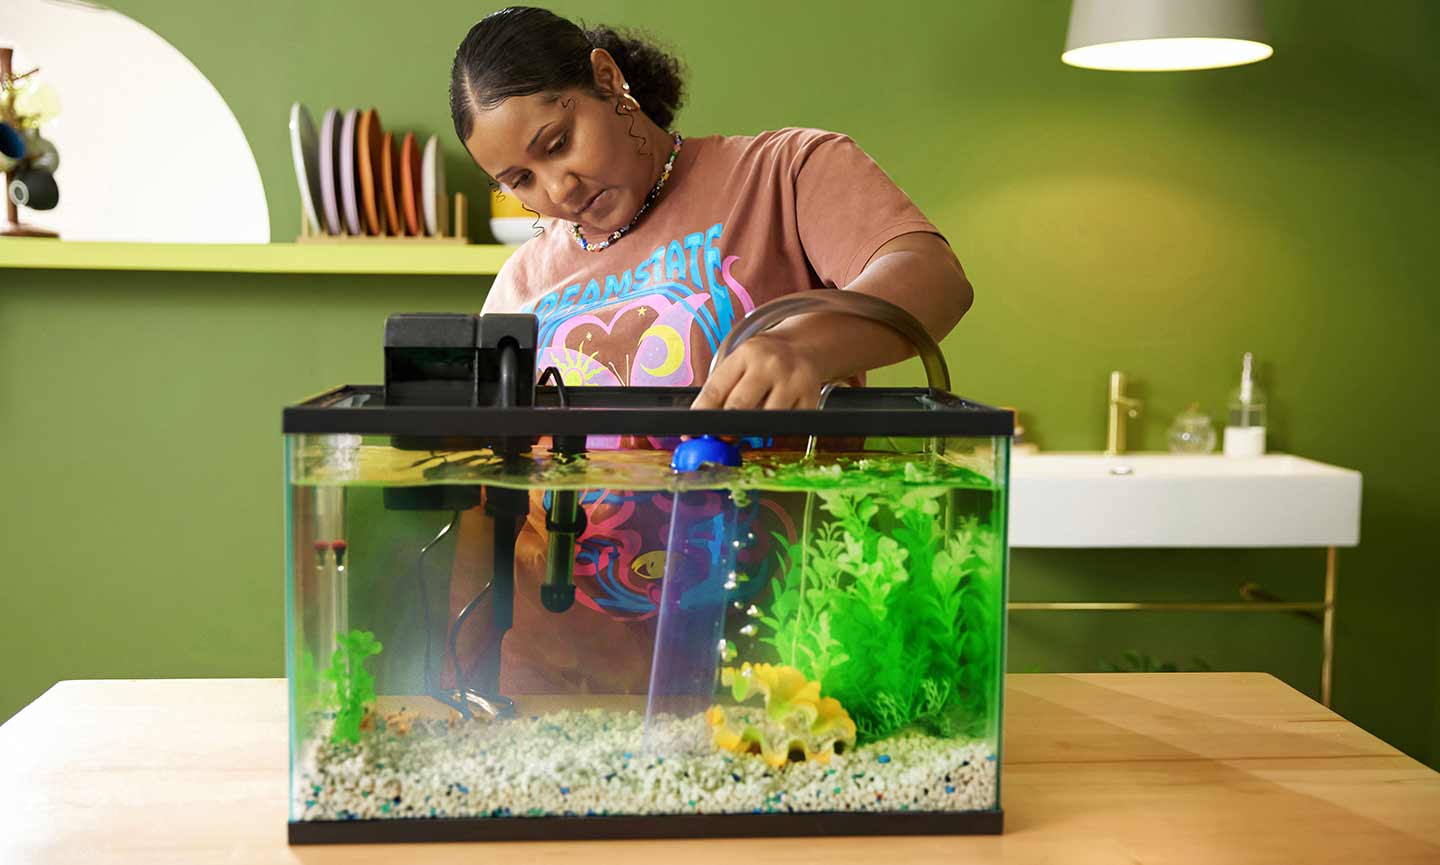
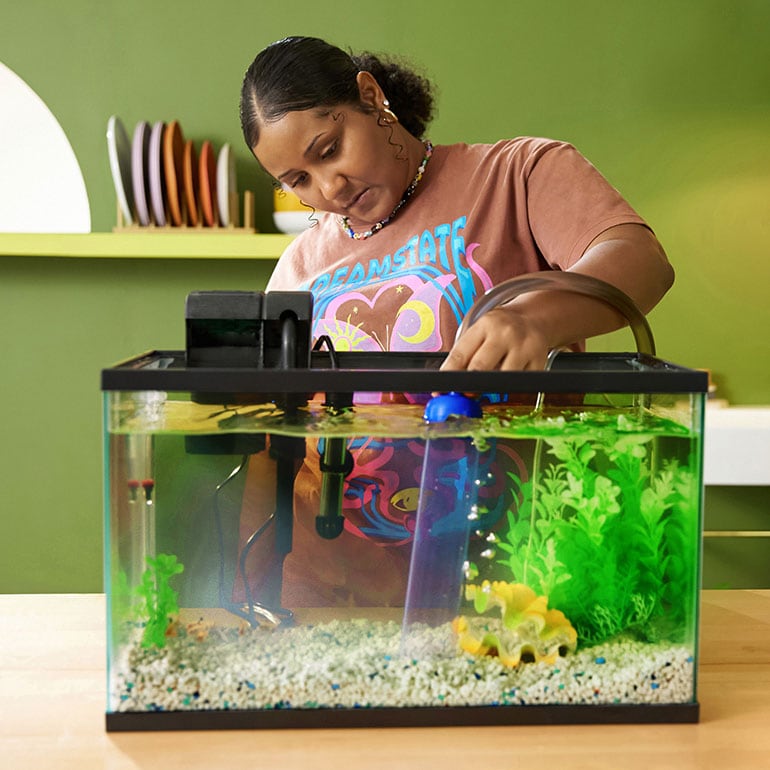
7Add New Water
Now, it’s time to replace the dirty water you siphoned out of the tank with your vacuum. But don’t just toss regular old tap water in there! This new water has some special requirements:
- It should be close to the same temperature as the water already in the tank
- It should be treated with a water conditioner to remove harmful chlorine and chloramines that are often present in tap water
Fill your bucket with water from your tap, using a thermometer to test the temperature and raise or lower it as needed. Then, following the instructions on your water conditioner, add the correct amount for the number of gallons you’ll be introducing to your tank.
Now you’re ready to pour the treated water into your tank. Add it slowly so as not to run the risk of shocking your fish. Once all the water has been replaced, you can put your heater back into the tank, turn it on, and start your filter up again, too.
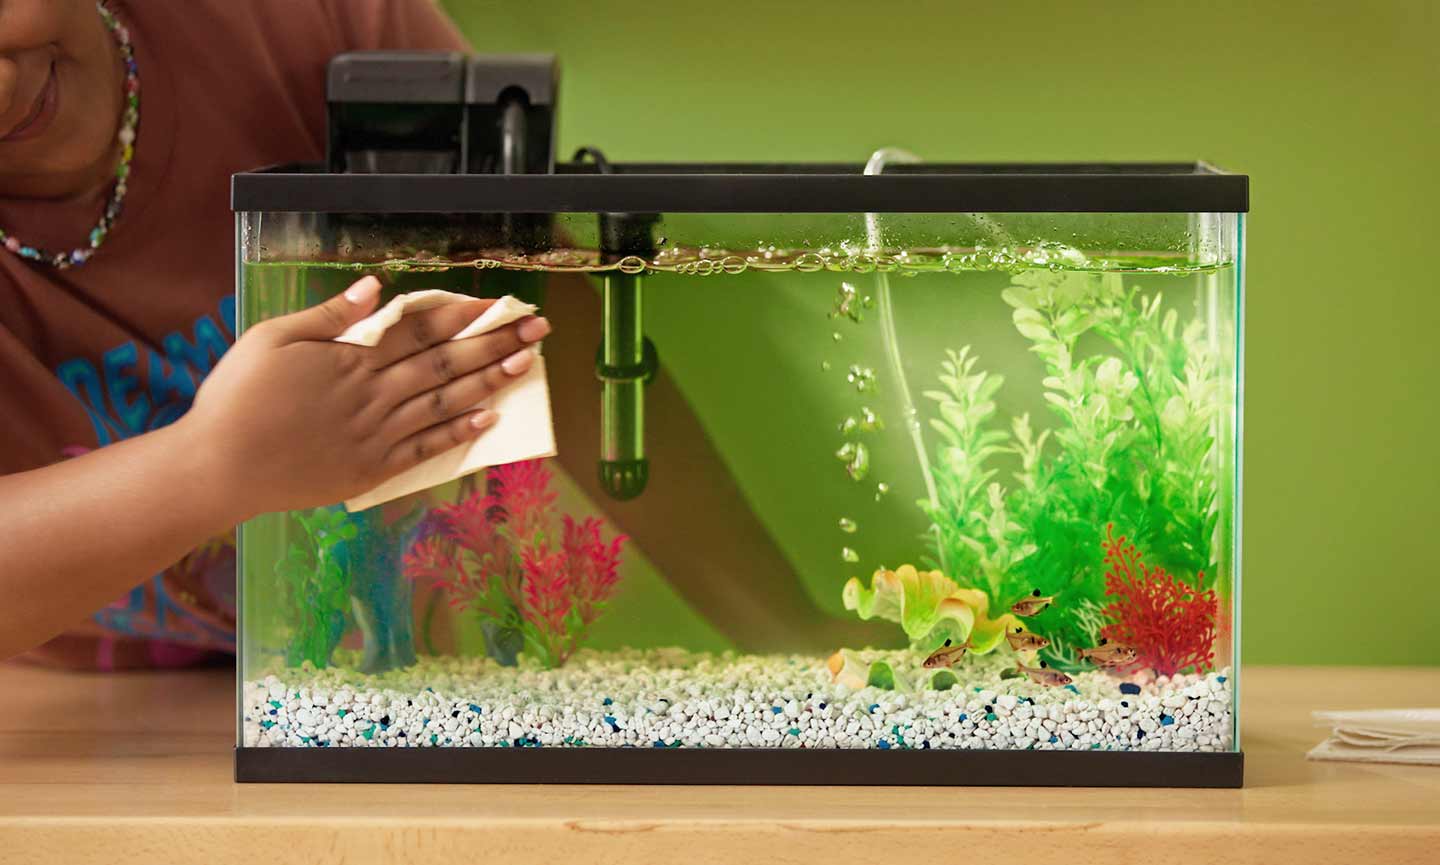
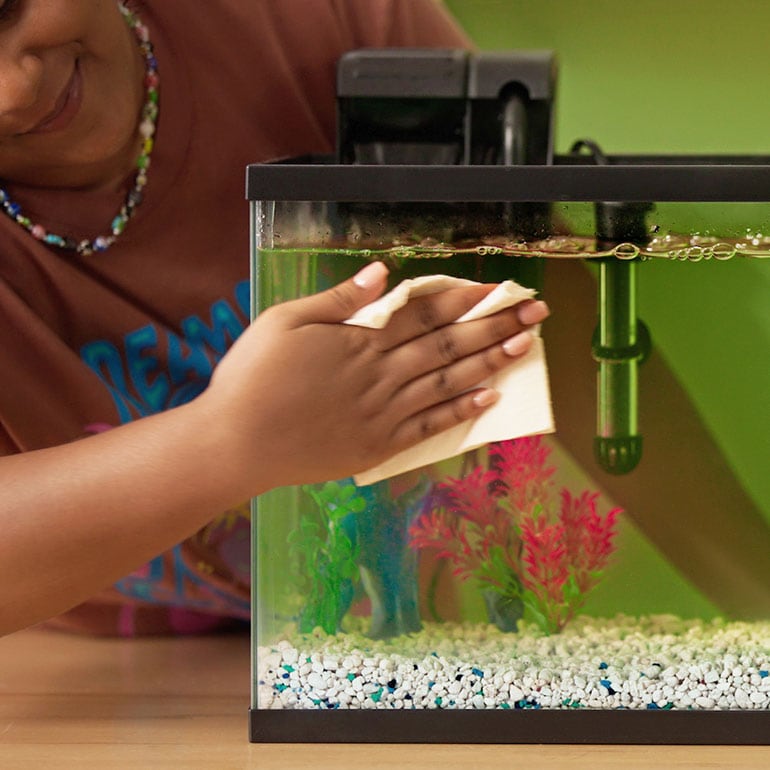
8Clean the Outer Walls
Lastly, clean the outer walls of the aquarium. Even though these are the outer walls, aka the part of the tank your fish can’t touch, it’s important to use an aquarium-safe cleaner here, too. Most household glass cleaners contain ammonia and other chemicals that are toxic to fish, so it’s best to avoid putting them anywhere near your underwater pals.
Instead, opt for plain white vinegar on a paper towel. It’s inexpensive, nontoxic and leaves surfaces nearly streak-free. Afterward, you can use a clean, dry paper towel or bath towel to buff your aquarium to a perfect shine.
The Importance of a Clean Freshwater Fish Tank
Yes, keeping a clean tank helps your aquarium water stay clear and pretty to look at. But there’s a more important reason for regular tank cleaning: the health of your fish.
When nitrate and nitrite, the byproducts of fish waste and decomposing leftover food, build up in your aquarium water, algae will bloom and your fishes' health will suffer. Fish who are stressed by poor water quality conditions will be more susceptible to disease, and if consistently exposed to these conditions, will experience illness and shortened life spans.
It’s not always obvious that your tank is dirty just by looking at it. Yes, aquarium water can sometimes get that cloudy, greenish haze when it’s been way too long since your last cleaning. But often, water can contain stressful levels of waste and its byproducts without any obvious visual signs. That’s why regular tank cleaning is one of the best ways to ensure a clean and healthy ecosystem for your aquarium inhabitants. By keeping ahead of the maintenance, you can ensure an ideal habitat for all your aquatic friends.
How Often Should I Clean My Freshwater Fish Tank?
Most fish tanks need a full cleaning (going through each step above) once a month, plus changing 15-25% of the water every other week. But this is a general guideline that varies according to what’s in your tank. If your system has a high fish stocking density (aka a higher number of fish in a smaller amount of water), nutrients will build up quicker and lead to more aggressive algae growth. In this case, you may want to clean more often than once a month, and/or do weekly partial water changes.
Remember, many experts recommend no more than one fish per one gallon of water in your tank (though it’s a good idea to allow even more space if your fish are large or if you have aquarium décor that takes up a lot of space in the tank).
Frequently Asked Questions About Freshwater Fish Tanks
Q:How do you clean a fish tank after a fish dies?
A:Remove the dead fish immediately, then test your water quality using a test kit. If nitrate, nitrite or ammonia are out of range, do a water change of at least 50% as soon as possible and monitor your water quality closely for a week. If your water quality test is normal, remain on alert for changes in behavior (increased gill movements, sluggishness, decreased appetite, to name a few) that could indicate an illness in the tank. If disease appears to be the culprit, do a large water change and watch closely for signs of disease in other tank mates. Consult a fish veterinarian or expert at your local fish store with any concerns.
Q:Why do you have to clean a fish tank and not a pond?
A:Ponds are typically home to a complete ecosystem that naturally balances the quality of their water. For example, ponds have a wide variety of microorganisms, live plants and an influx of rainwater, all of which contribute to making the pond "self-cleaning." Your fish tank, on the other hand, primarily houses your fish alone, so they need your help to keep their space clean.
Read More
Share: