Sure, basic dog training commands like “sit” and “stay” are important—but there’s more to life (and dog training) than the basics. Sometimes you just want to teach your furry bestie to do something adorable. And it doesn’t get more adorable than a handshake from your pup.
As an experienced dog trainer, let me assure you: If you have a pup who loves to get treats, this is an easy trick to teach, even if it’s your first time doing trick training. In fact, dogs can learn the shake command at any age! So, how do you teach a dog to shake a paw? I’m walking you through the steps below.
How to Teach a Dog to Shake a Paw: Step-by-Step Instructions
1 Gather Your Supplies
To teach this skill, you’ll need:
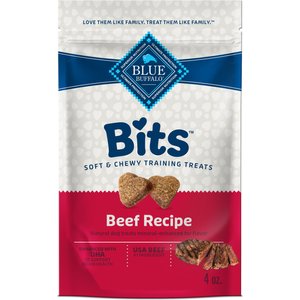
- Dog training treats —ones your dog loves
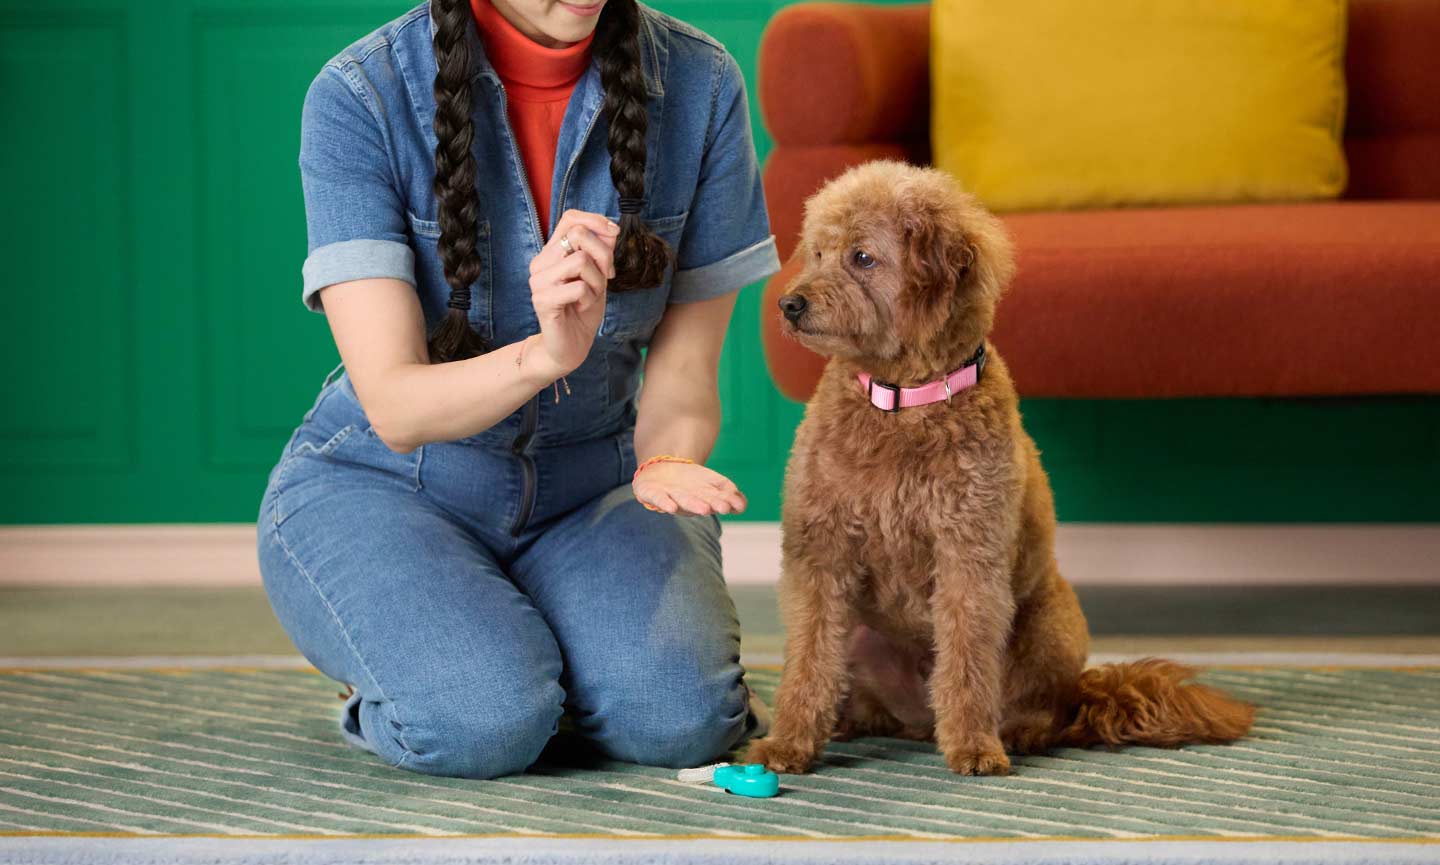
- A training clicker (optional)
That’s it! Treats are the main thing you need to teach this easy trick, but if you already use a clicker to train your pup, that can come in handy too.
2 Ask Your Dog to Sit
It’s easier for most dogs to balance and lift a paw while seated, as opposed to standing, so first, ask them to sit. Praise or click—we’ll call that “marking” from here on out—and feed them a treat, as soon as they do.
Marking: The act of rewarding a dog’s good behavior with a response they understand, like clicking a clicker or verbal praise
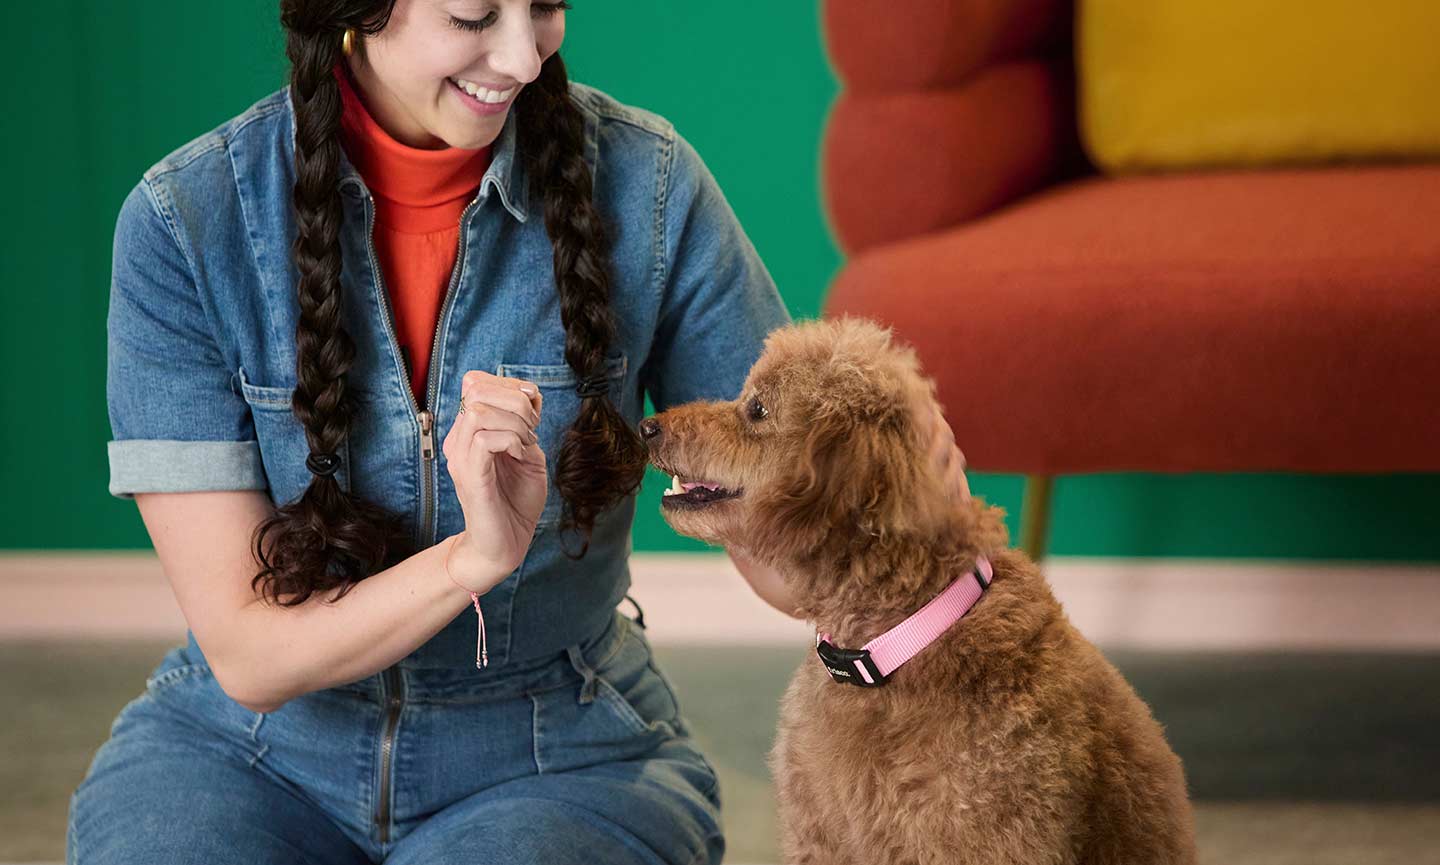
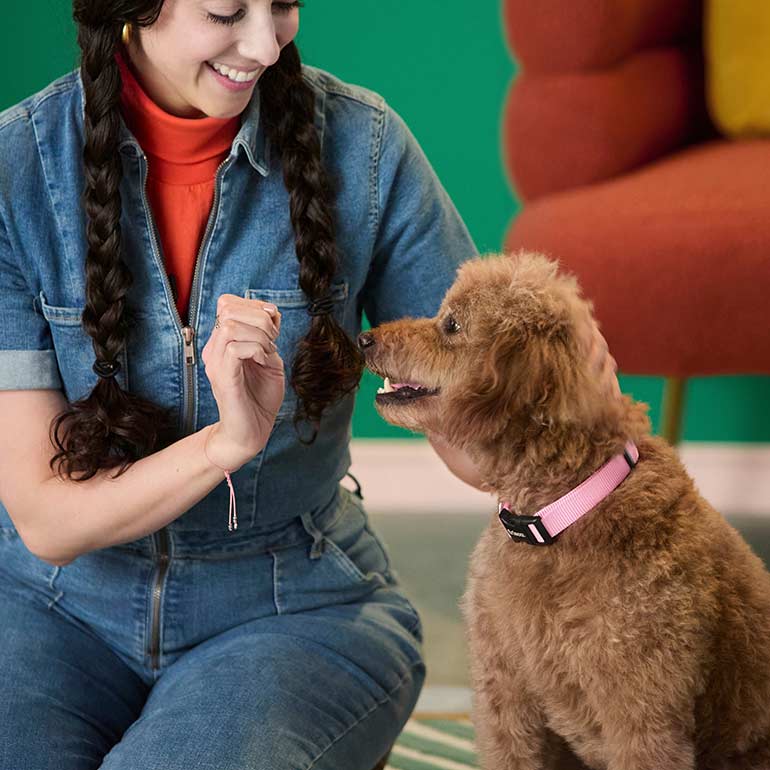
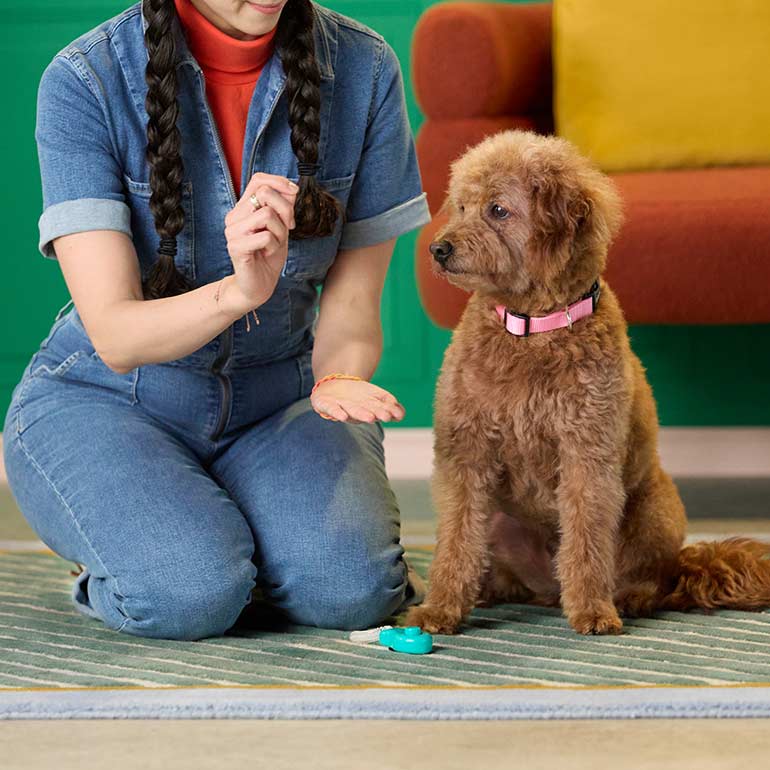
3 Hold Out a Dog Treat…
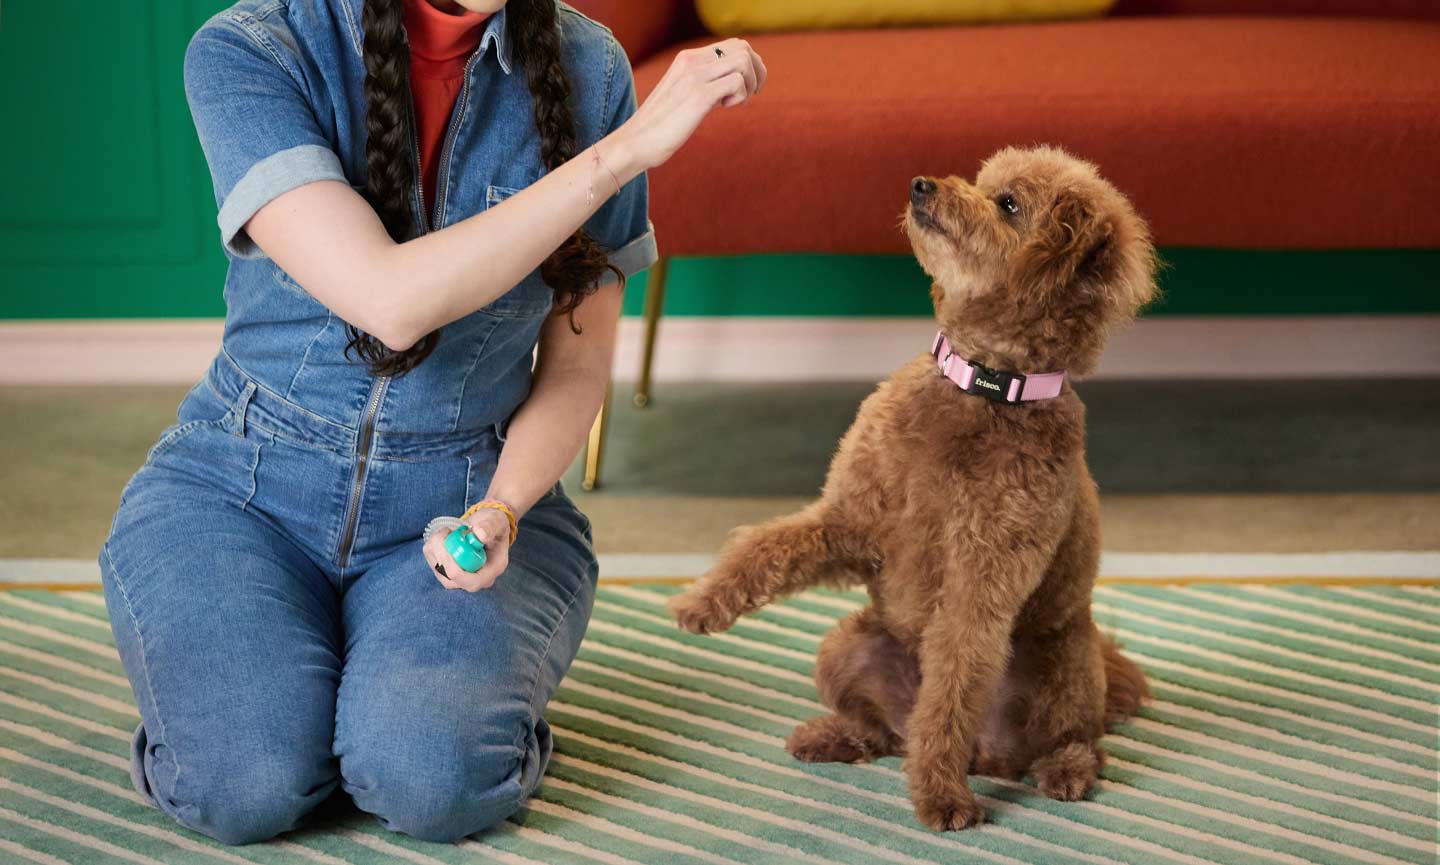
4 Move the Treat to the Side Until They Lift Their Paw
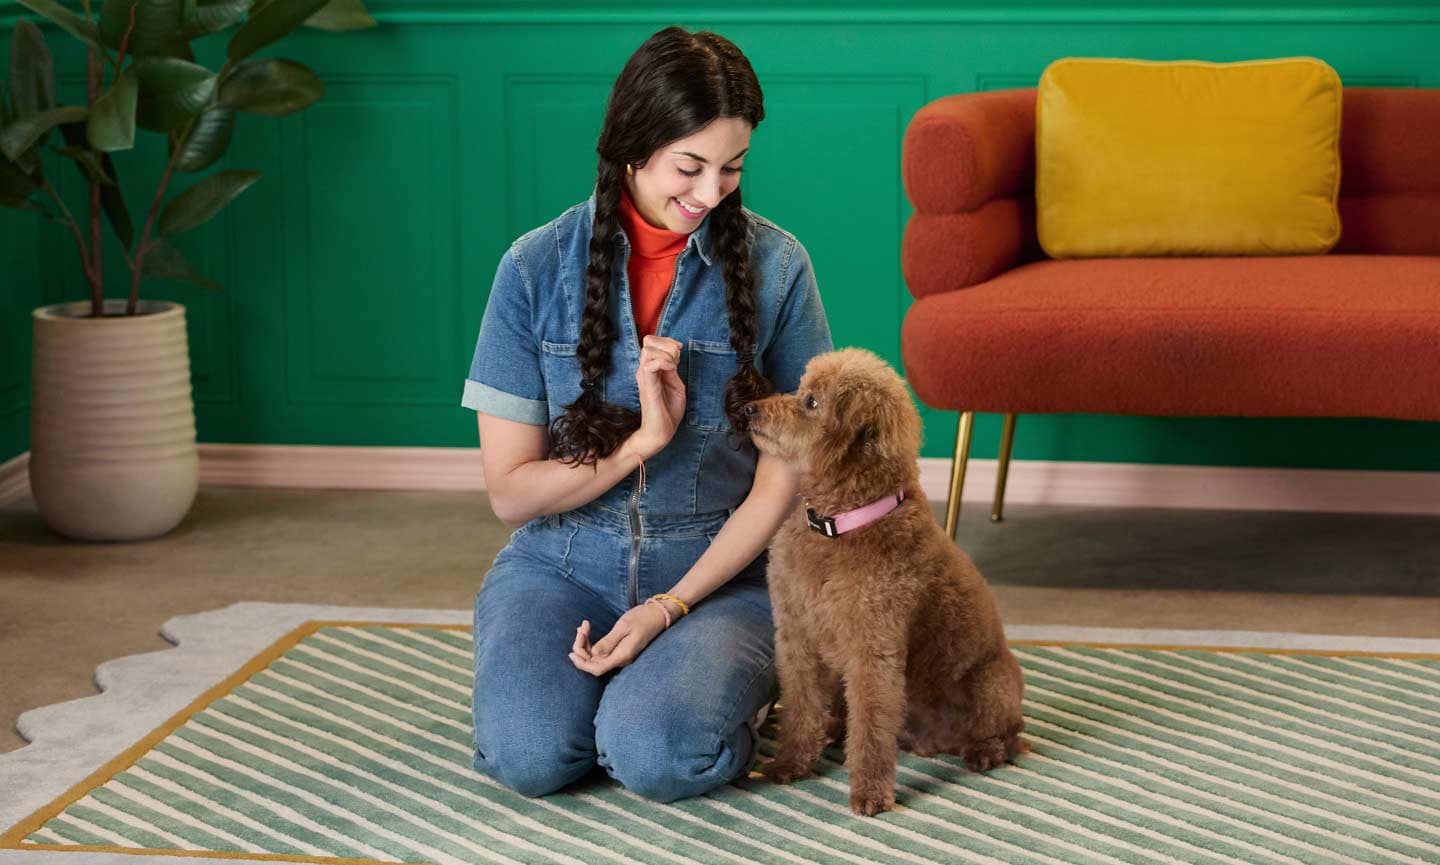
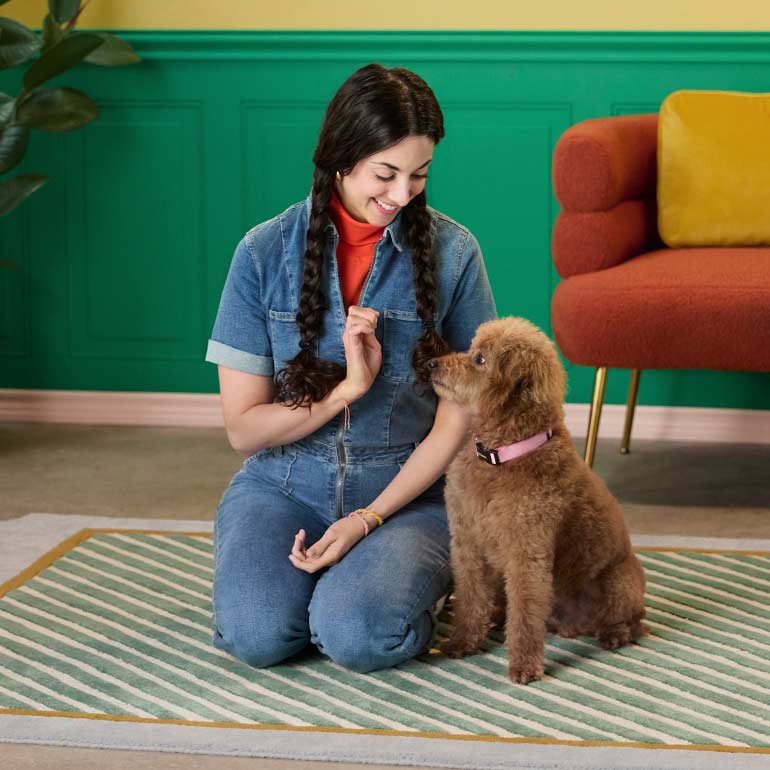
Keep holding the treat about an inch from your dog’s nose as you slowly—and I mean, really slowly—move your hand to the side. You can move it to either the right or the left, as long as you take your time and make sure your dog follows the treat. If they don’t, put the treat right in front of their nose again, and then move the treat even more slowly.
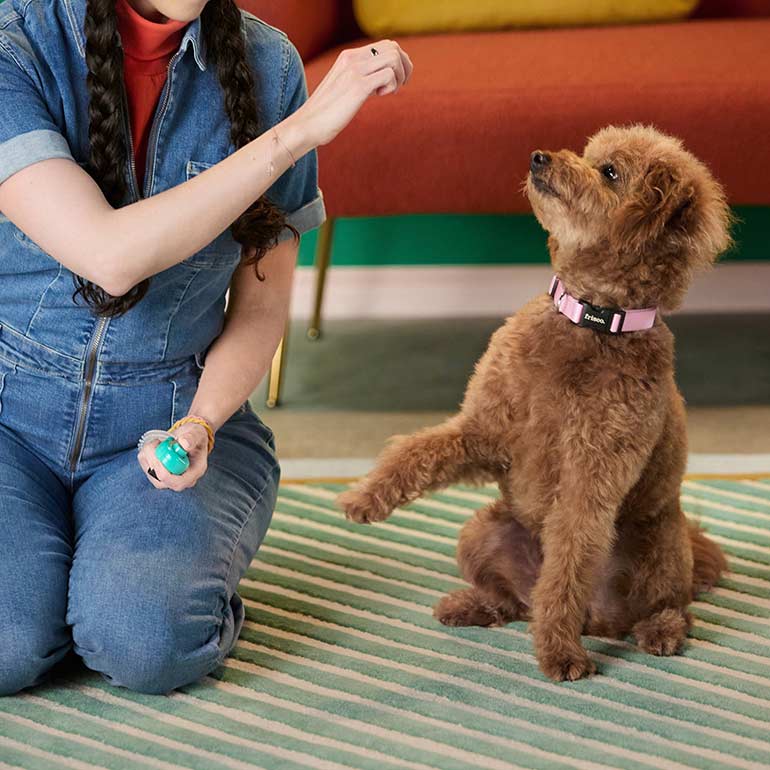
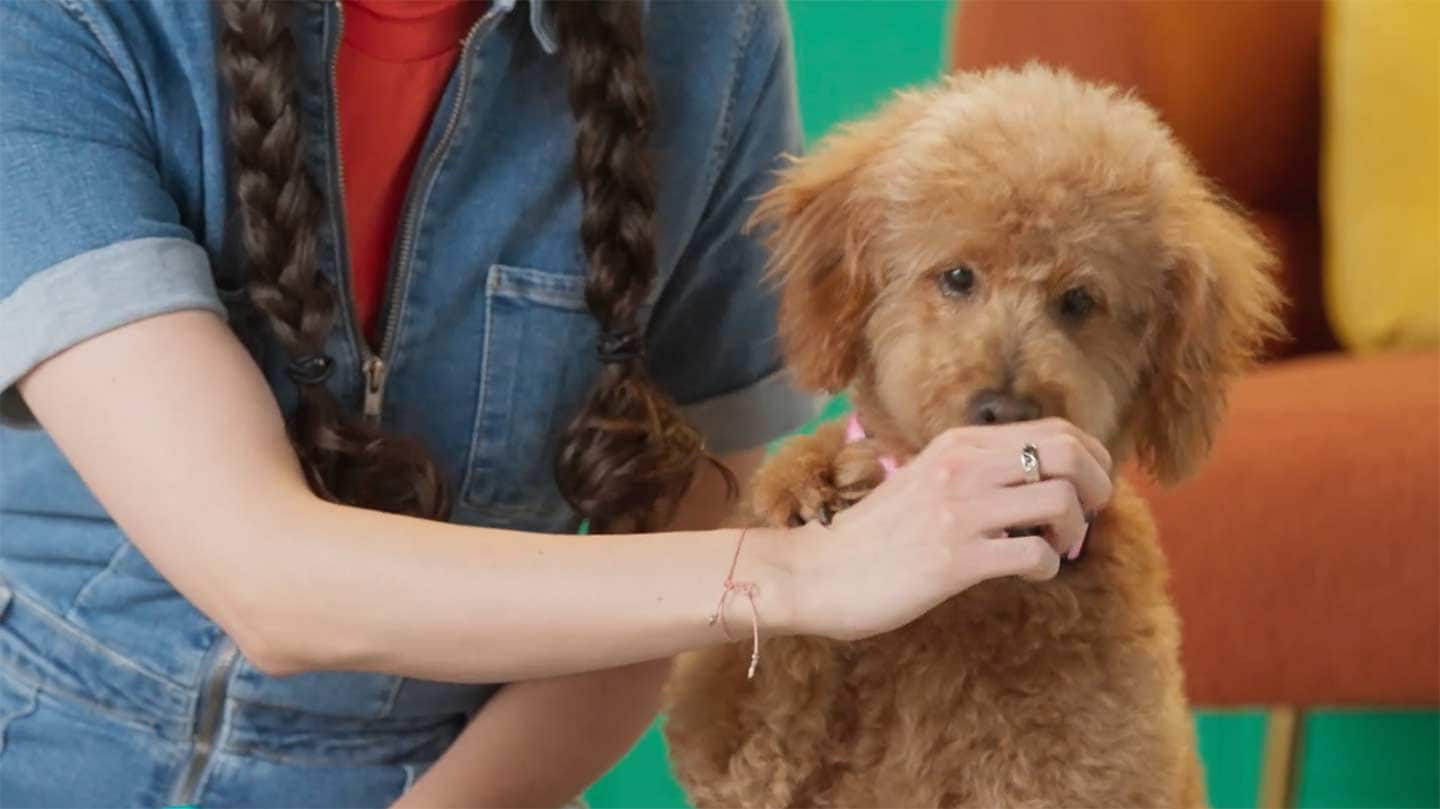
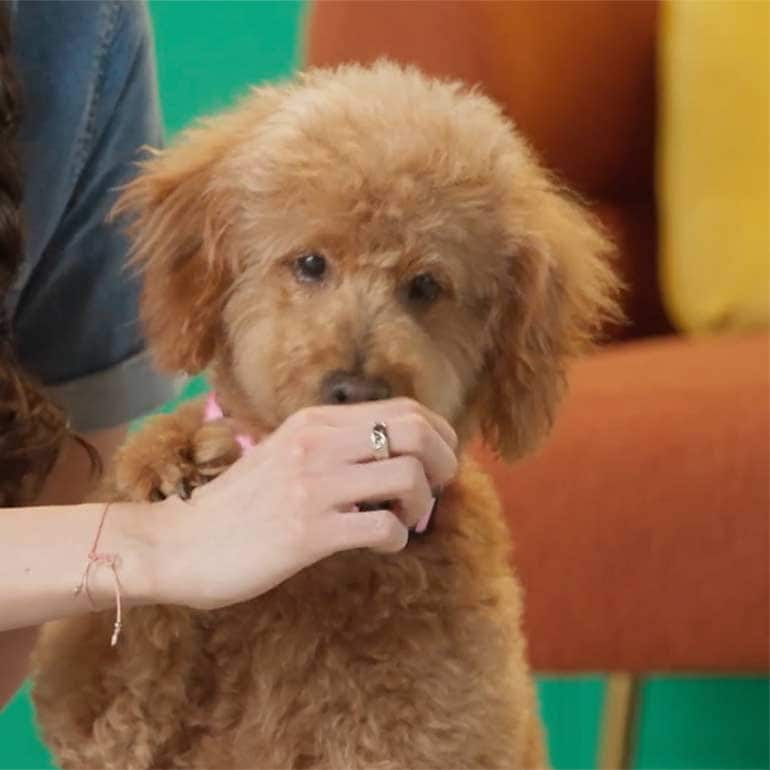
As your dog follows the treat, their body will shift. If you move the treat to your right, most dogs will lean in that direction, and vice versa. As they lean, one of their front paws will lift up. As soon as you see either paw start to lift even a little, mark and feed the treat. At this early stage, don’t worry about anything else—just watch the front paws, mark the moment either paw lifts, and then feed your dog a treat.
Do this a few times in a row, moving the treat in the same direction each time to encourage your dog to lift the same paw. (Marking for the same paw each time will get you faster results.)
5 Try It Without the Treats
When your dog has mastered lifting a paw by following the treat, try the same thing—but this time, with an empty hand. (We don’t want your dog to become dependent on following a treat, right?)
Make the same hand movement as in the previous step, but without a treat in your hand. Mark as soon as your pup’s paw lifts off the ground, then grab a treat from a treat pouch or container of treats nearby, and feed it to your dog. The hand movement will start to become a cue for your dog to lean and lift one paw.
6 Encourage Your Dog to Lift Their Paw Higher
Once your dog is consistently lifting one paw as you use your hand signal, start waiting for higher paw raises. After the paw lifts up a little, wait for your pup to raise their foot a tiny bit higher. As soon as they do, mark and feed. Then, the next time, wait for them to raise it even higher before marking and treating.
Keep practicing until your dog is raising their paw about halfway off the ground.
7 Introduce Your “Shake Hand”
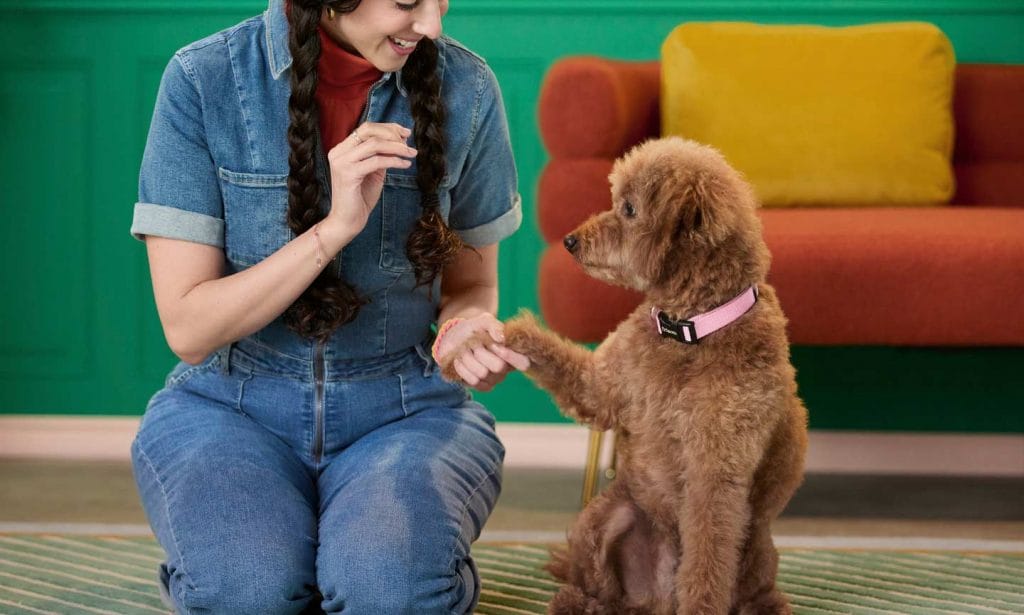
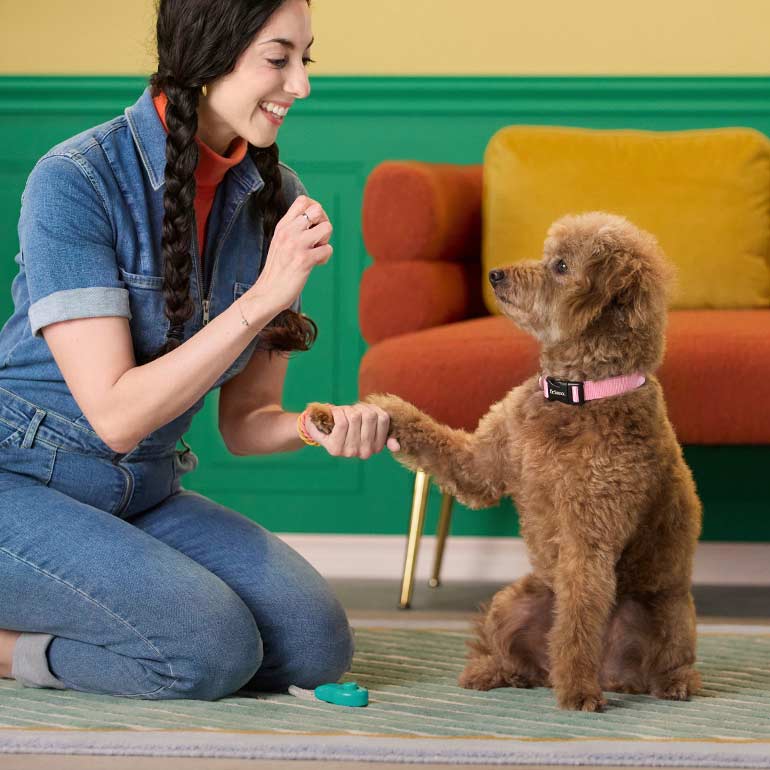
Your shake hand is exactly what it sounds like: the hand you’ll use to hold your dog’s paw during a “handshake.” Because you’re already using one of your hands to make the “lift your paw” signal, your other hand automatically becomes the shake hand.
When your dog is lifting their paw high enough, place your shake hand in front of them, so your pup’s paw lands on it. The goal is for your dog to place their paw on your upturned palm.
Repeat this a few times, watching your dog’s body language to make sure they’re comfortable when their paw touches your hand. Signs of discomfort could include:
- Moving away from you
- Avoiding eye contact
- Trembling
Once they’re getting good at this, you can start to put your shake hand out before you move your signal hand to the side. Here’s the sequence:
- Put your shake hand out
- Wait about a second and a half
- Move your signal hand
- Mark and feed as soon as your dog’s paw touches your hand
You may need to lower your shake hand a bit at first to make this easier for your dog.
Repeat the above sequence until your pup is reliably placing their paw on your shake hand’s palm before you move your signal hand.
8 Introduce the Verbal Cue
Let’s say you want to use “shake” as your verbal cue. To teach it, say “shake” and then put your shake hand out. Mark and feed when your pup puts their paw in your palm. At first, you may need to follow-up with the hand signal to the side, and that’s OK! Repeat until your pup immediately puts their paw in your hand as soon as you say “shake” and put out your shake hand. Mark and feed for every successful repetition.
If you’ve completed this step, congrats! Your pup is a certified handshake expert. For added difficulty, have your dog do this with your friends or family, too!
Want to Teach Your Dog to High-Five?
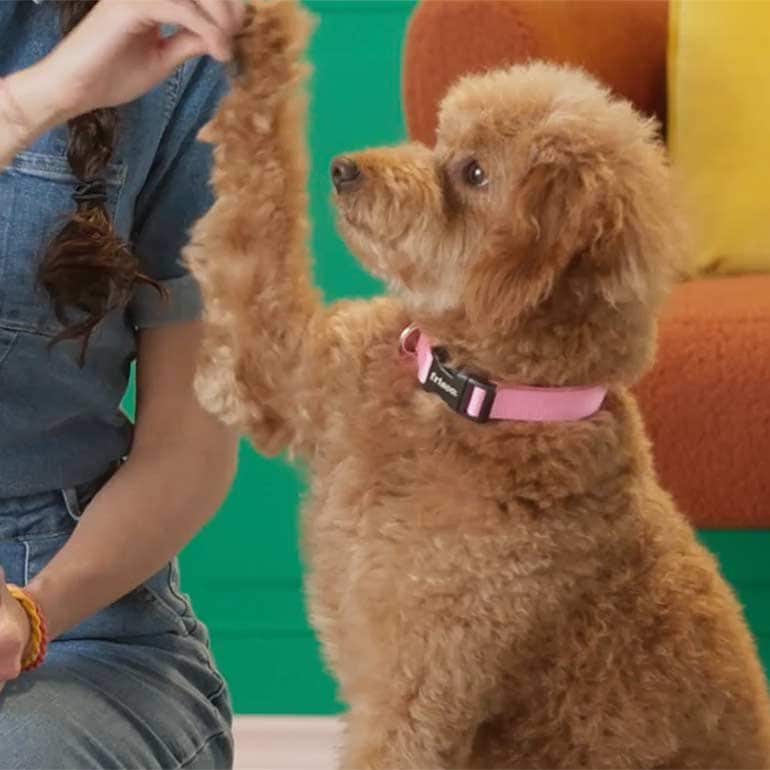
It’s easy to turn a shake into a high five—just hold your palm facing your dog with the fingers pointed to the sky! Start without using the word “shake,” and use the to-the-side hand signal as a backup if you need it. Once your dog is high-fiving you reliably, add the cue by saying “high five” and then putting your hand out, fingers up, palm towards the dog. Mark and feed every time your pup puts their paw against your palm. Before long, your loyal companion will be handing out high-fives whenever you need one!
More Tricks to Try
Share:
