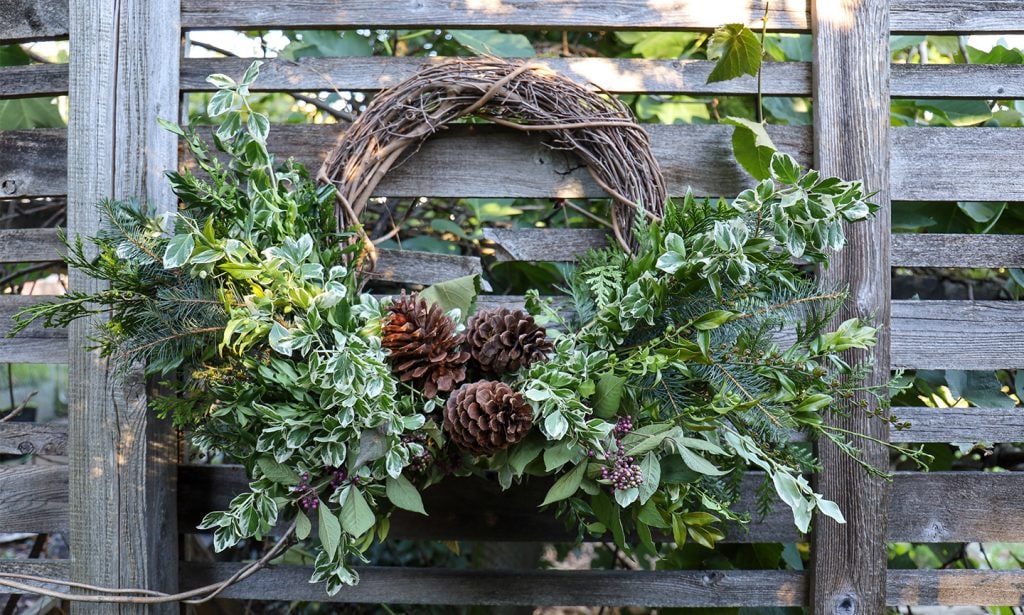
You love holiday decorating and DIY and your dog loves a walk in the woods. Get the best of both by rounding up the pup, tossing on boots and a puffer and sharpening your pruners, because we're heading out to the woods (or your own backyard!) to gather branches, boughs, cones and berries to make a fresh foraged Christmas wreath. The best part of this easy DIY project? Spending quiet time in nature relaxing and playing with your furry best friend.
We asked Stephanie Rose of the website Garden Therapy to show us how she (and her dog Ozzie, a rescue from Mexico, who is an ace at finding foraged materials) makes her gorgeous seasonal wreaths. Here are her tips for gathering greenery to decorate your home and the step-by-step instructions to make a simple, rustic, fresh, foraged Christmas wreath. It's a simple project you can make in an afternoon.
How to Make a DIY Foraged Christmas Wreath

About Foraging
- The most important thing about foraging in the woods is respect nature and leave the natural space untouched. Stay on pathways and collect fallen branches, pine cones and greenery, cutting branches from plants only as needed. Try to take only what you need and leave plenty for others.
- Other great places to collect greenery are at a Christmas tree farm or foraged from your own backyard while pruning shrubs or just clipping a few branches.
- Not all wild plants are okay for pups to eat (see below). Be sure to monitor your dog while you are out foraging in the wood or city.
Stephanie's Favorite Tips For a Gorgeous Foraged Wreath
- Gather more greens than you think you're going to need. I find that I instinctually gather about half of what I actually need so I double what I collect. That always gives me enough to make a dense, full wreath.
- The larger the wreath form the larger your wreath will be. I worked with an 18" wreath form here, but be sure to measure the space where you will hang your wreath to ensure it will fit comfortably. A small wreath form can still make a large wreath if the bundles of greenery that you put together are lush and full.
- For this wreath I collected greenery from the forest floor just off the pathways, and added a few pretty things for my garden. Keep your eyes open when foraging because nature's treasures are everywhere.
- You can certainly construct a classic conifers for a winter holiday foraged Christmas wreath using the steps below, but a more interesting option is to vary the type of greenery that you use. For example, conifer branches with needle-like leaves blend well with broad leaf evergreen cuttings especially when they have variegation.
- Choose a variety of colors of your "greenery" from forest green to lime green, plus blues, yellows, whites, and any other color that naturally shows up on foliage.
- Look for berries, pine cones, and interesting seedheads to add an additional decoration to the wreath.
Supplies
Branches of fresh greenery
Pinecones, berries, seed heads or other local fresh materials
Florist wire
Garden twine
Sharp garden pruners
Sharp scissors
18" grapevine wreath form from a craft store
Steps
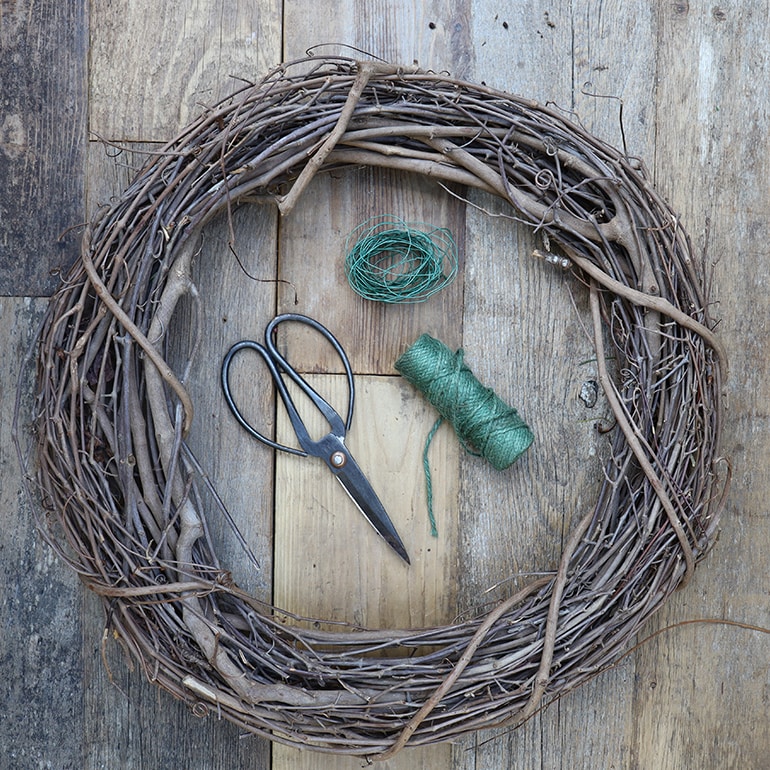
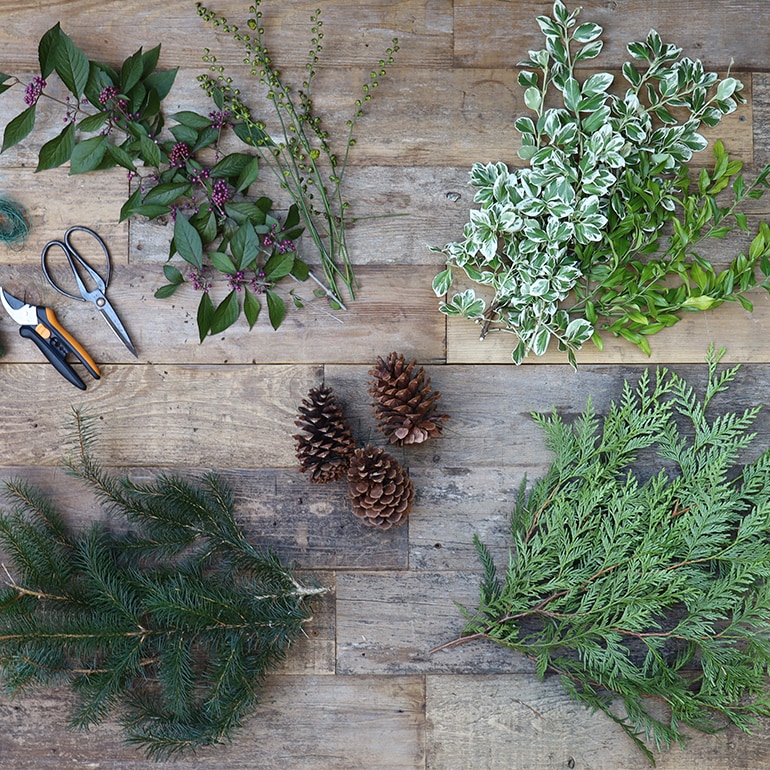
- Start by gathering greenery into a 18” tall by 8” wide bouquet. Place the strongest branches at the back to create a sold structure. Wrap the base of the bouquet with wire and secure. Make a second bouquet that looks identical to the first.
- Now, make a smaller 12” tall by 6” wide decorative bouquet with has berries and interesting variegated leaves. Duplicate that smaller bouquet as well.
- Attach the first bouquet to the bottom right corner of the wreath form by tying it with garden twine, leaving the end of the garden twine uncut so that you can continue to secure the other bouquets.
- Layer one of the smaller bouquets to cover the stems of the first bundle and wrap the garden twine around the base a few times to secure it.
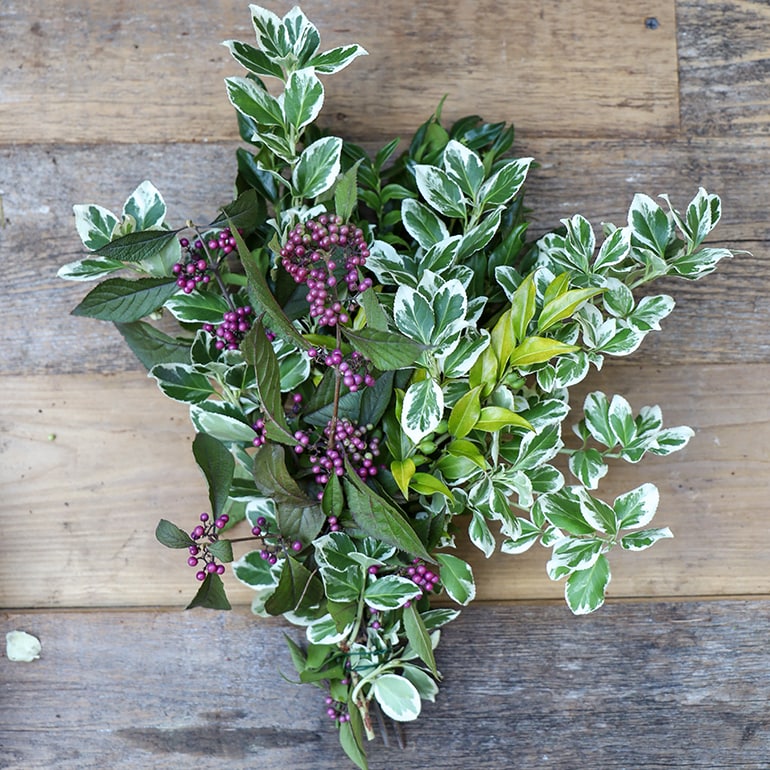
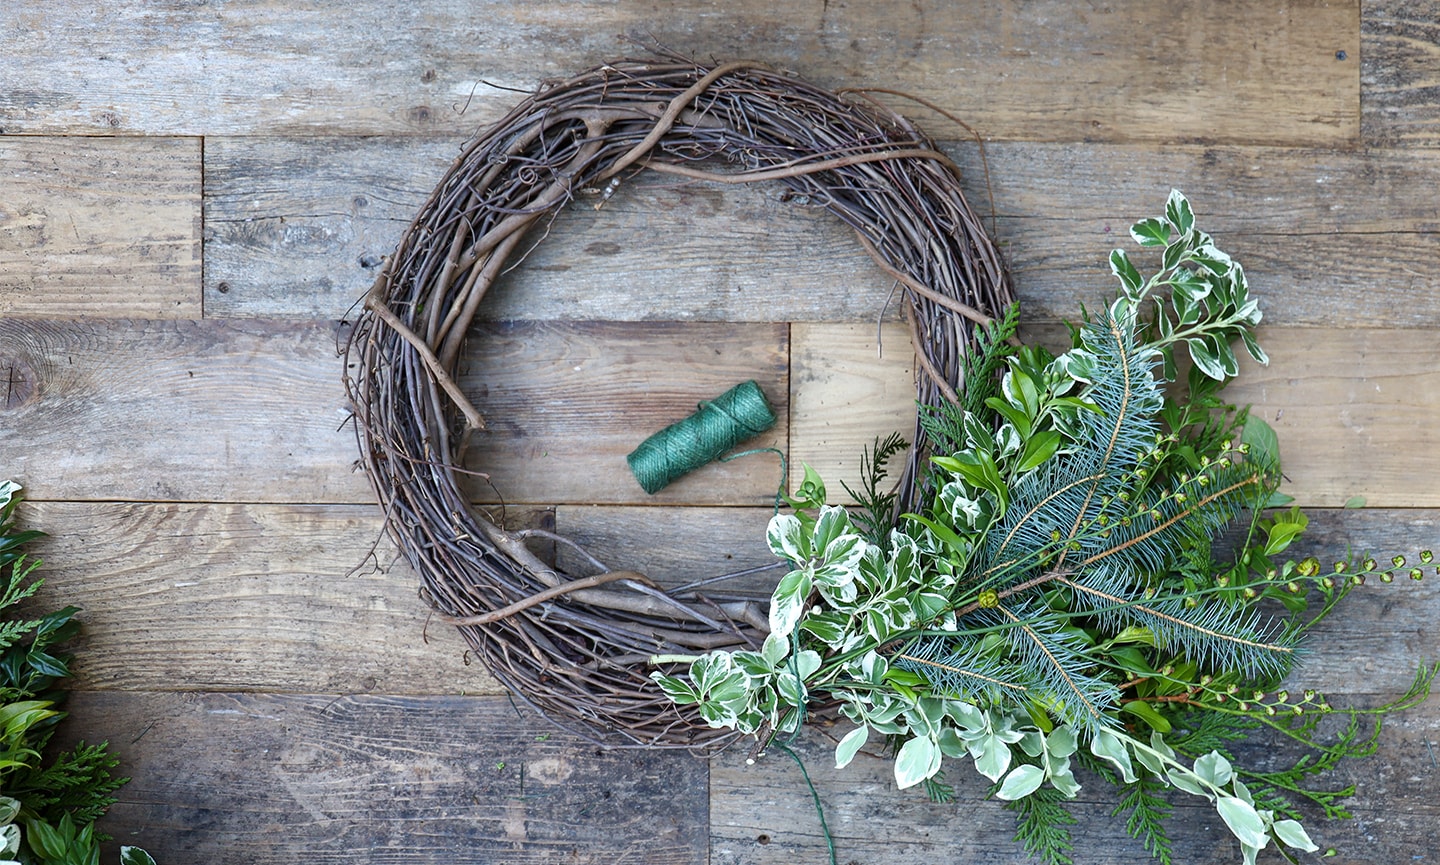
5. Next, and the second large bouquet to the left side with the stems touching the base of the stems from the right side. Continue to wrap the stems with garden twine to secure it in place.
6. Layer the last small bouquet over the stems of the left side bouquet and secure in place with garden twine.
7. Now you can tie off the garden twine.
8. Cover the center stems with a few decorative pine cones. Pine cones can be added to the wreath form by wrapping wire around their base and then wrapping that wire around the wreath form to secure them.
To finish the wreath, secure the back branches of the bouquets with wire so that they stay in place along the wreath form. Hold the wreath up to ensure that all the greenery is secured. You can also prune any branches that don't seem to fit.
Hang up your wreath inside, outside or wherever you want to add a little bit of the forest and garden. Just keep it up high enough so your pets aren't tempted by it!
Frequently Asked Questions
Q:
How can I make my fresh wreath last longer?
Q:
Which kinds of plants are not pet safe and should be avoided when making a wreath?
Q:
Should I water my fresh foraged Christmas wreath?
A:
While you don't want to grab a hose and start watering which can cause foliage loss, spritzing the completed wreath with water from a spray bottle every other day or so will help to keep it moist and fragrant, especially in warmer climates. Remember to spray the back the back of the wreath to moisten the cut stems of the boughs. If your wreath is looking parched and droopy, soak it, cut branches side down, in a few inches of water (a bathtub works great) until it perks-up.
Share:
