In This Guide:
Choosing a Location
Whether you’re creating a small water garden or a giant backyard koi pond, carefully consider the location before you do any other planning. Pond placement affects the difficulty of construction and future maintenance.
First, consider the size of your dream pond—keeping in mind that now’s the time to go big, if you can.
“Go as big as you can afford and your outdoor space will allow,” says Jennifer Zuri, the marketing communications manager for Aquascape, Inc. in St. Charles, Illinois. “It’s easier to keep a balanced ecosystem in a larger environment.”
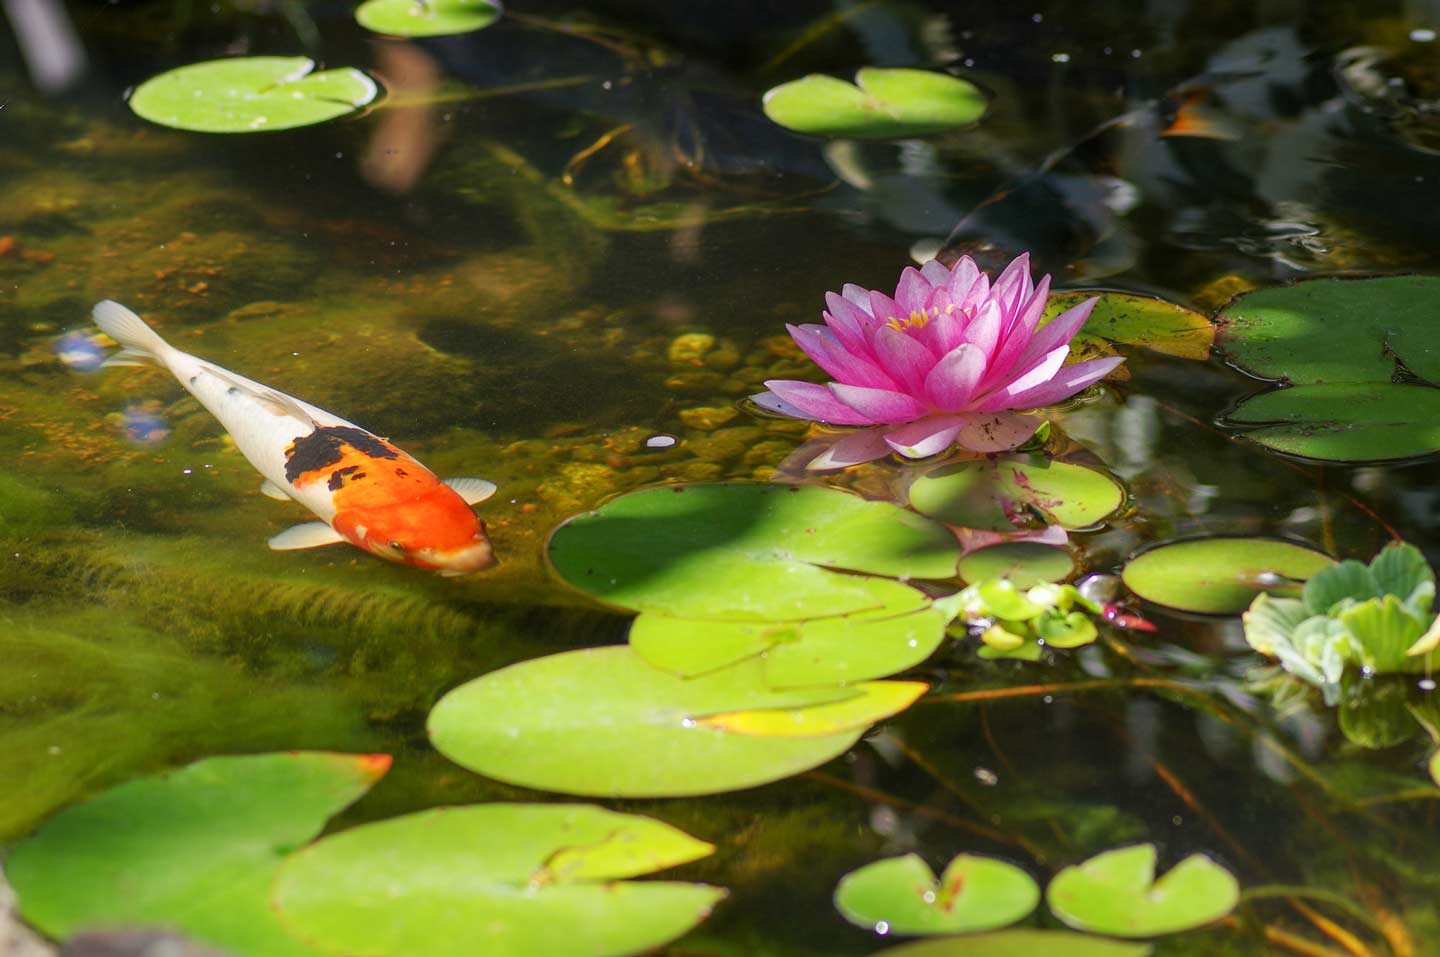
Pond size is particularly important for certain types of fish, including koi. According to Jessie Sanders, DVM, DABVP (Fish Practice), the owner and chief veterinarian of Aquatic Veterinary Services, in Santa Cruz, California, “Most koi fish can grow [to] 16 to 18 inches at minimum.” The minimum recommended pond size for mature koi is 1,000 gallons—about 8 feet long, 6 feet wide, and 3 feet deep.
Once you’ve found a location that can accommodate a koi fish pond of the appropriate size, make sure there aren’t any practical or legal problems to address. Follow these steps:
- First, call 811, the national call-before-you-dig phone number, to check for underground utility lines running through your preferred pond site.
- Next, test the ground in a few places to see how hard it will be to dig through.
- Finally, contact your local municipality to inquire about permitting requirements or other restrictions.
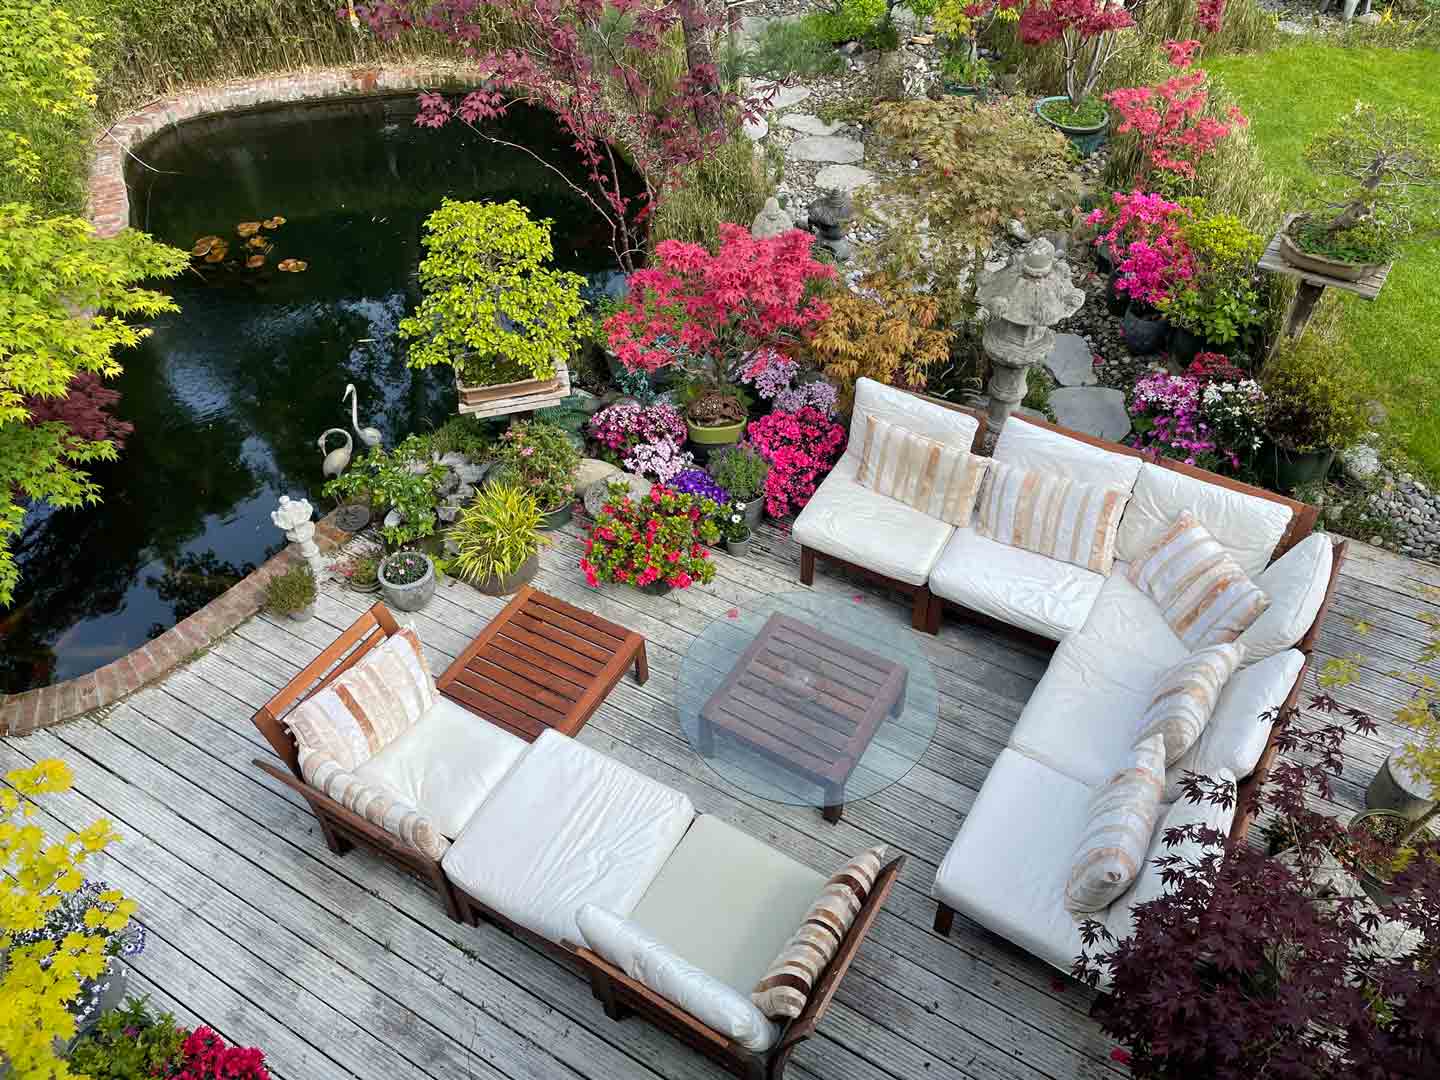
Think about the aesthetics of your pond location as well. Tim Wood, an aquascape contractor and the owner of Aquatic Edge Pond & Landscape Solutions in Pittsburgh, Pennsylvania, recommends a location that is easily accessible and visible from both inside and outside the house, to maximize how much you’ll be able to enjoy it. “Pick a spot that has some afternoon shade,” he adds. Excess sun exposure may increase algae growth in the pond.
Necessary Pond Equipment
Proper planning is key to creating a healthy aquatic environment where your koi can thrive. If you’re thinking about building the pond yourself instead of using a pond kit, here’s a quick list of the equipment you may need.
- Pond skimmer
- Pond filter system
- Landscaping underlayment
- Pond liner
- Smooth gravel
- Assorted stones
- Pond lighting
- Landscaping plants
- Pond plants
- Pond water conditioner
- Bacteria additive
- Submersible water pump
- Pond heater or de-icer


How To Build a Koi Pond: Step by Step
1Mark Out the Pond Size and Shape
Using a heavy rope or garden hose, plot out the desired size and shape of your pond. Mark the outline using marking paint. If you’re using a preformed pond liner, set it upside down on the ground and use the edge as a guide.
2Plan the Placement of Essential Equipment
Read the instructions for your pond equipment to determine the ideal placement. Some items—like pond skimmers and waterfall filters—may need to be installed before filling the pond. Place and connect any necessary tubing.
3Excavate the Pond Area
Dig out the pond area, removing sharp stones that might puncture the liner. A minimum depth of 3 feet is recommended for koi. If space is limited, digging the pond deeper helps ensure adequate water volume. Deeper water also helps protect your koi from predators and can prevent the pond from freezing over in winter.
4Install the Underlayment and Pond Liner
After removing all the dirt and leveling the excavated space, roll out the underlayment. Working from the inside of the pond out, press the underlayment into the bottom and sides.
Repeat the process with the pond liner, installing it over the underlayment and pressing it into place. If you’re using a preformed pond liner, backfill the space beneath the underlayment with dirt as needed to ensure a tight fit. It’s normal to have excess liner over the edges of your pond; that’ll be trimmed later in the process.
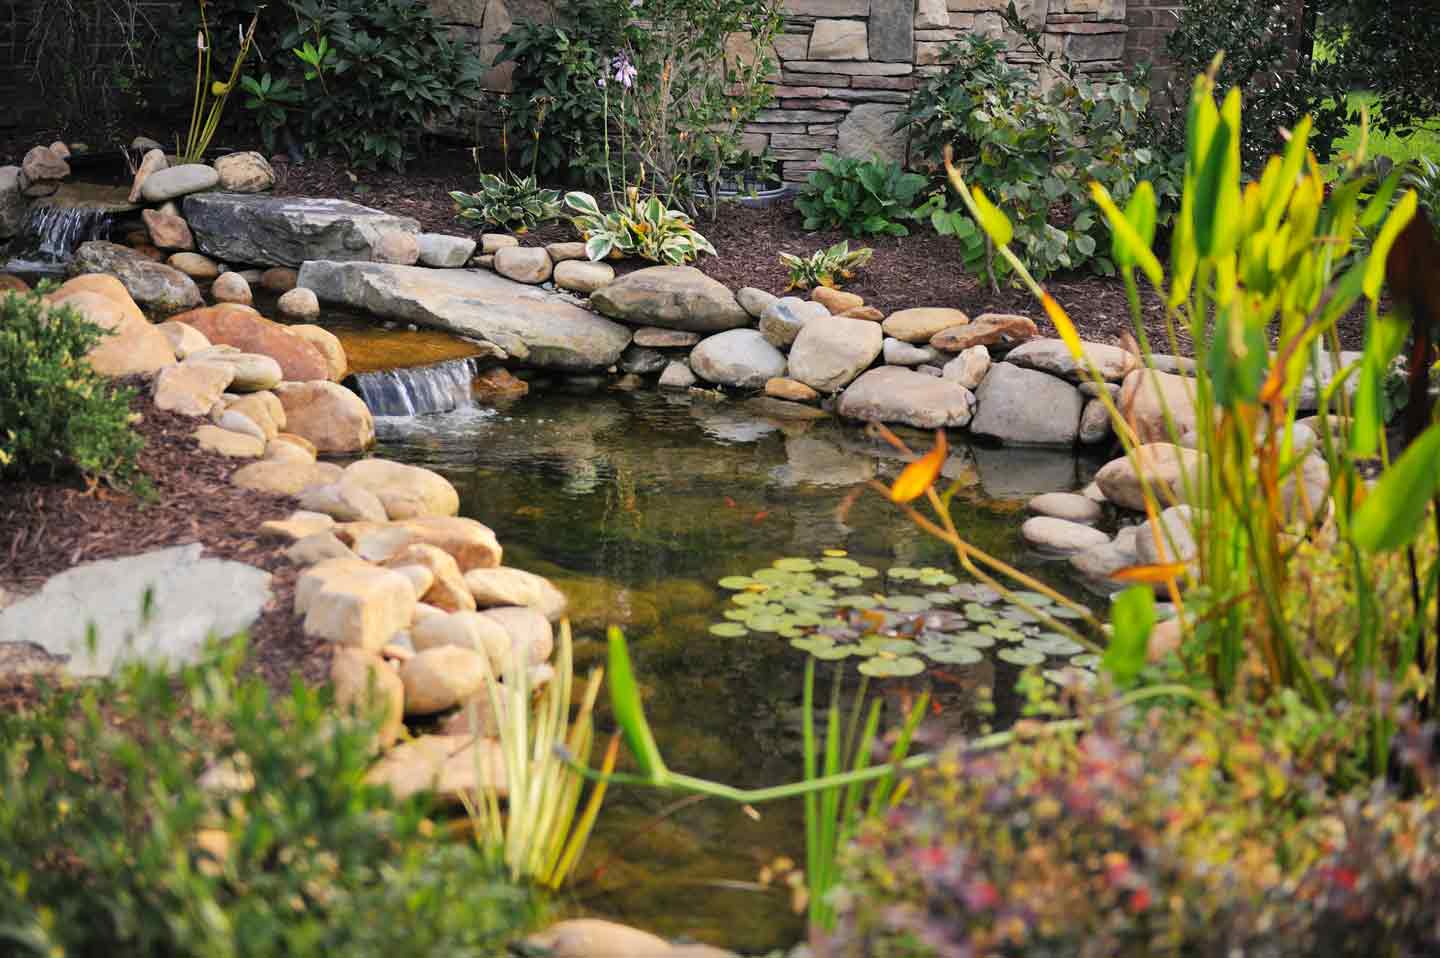
5Anchor the Pond Liner With Stone
Place large stones around the border of the pond to anchor the underlayment and liner in place. If your pond design is multi-tiered, you can use smooth stones to anchor the liner at intervals along each tier. The liner should conform tightly to the shape of the pond.
6Install the Pond Skimmer and Filter
Follow the manufacturer’s instructions to install the pond skimmer and filter. You may need to trim a section of the pond liner to affix it to the faceplate and create a watertight seal.
7Fill the Bottom of the Pond With Gravel
Fill in the bottom of the pond with at least 2 inches of smooth gravel. The gravel should be at least 1 inch in diameter with no sharp edges.
8Finalize the Decor and Add Aquatic Plants
Add smaller stones around the border of your pond and to the interior as desired to give it a finished look. Install any other decorative items, including landscaping elements and terrestrial plants. Place aquatic plants last, adding enough water to keep them moist.
9Trim the Underlayment and Pond Liner
Trim the underlayment and liner, leaving 6–8 inches of excess around the stone border, and use smaller rocks or gravel to hold the edge down.
10Install Lighting and Additional Equipment
Follow the manufacturer’s instructions to install any desired pond lighting and additional equipment. When installing pumps for aeration, position them so that they help direct water flow toward the pond skimmer or filter intake.
11Fill the Pond and Add Water Treatments
Fill the pond with fresh water using a garden hose. Using the dimensions of your pond, calculate the total water volume and add the appropriate dose of pond water conditioner. You may also choose to add other treatments such as a beneficial bacteria starter.
12Give the Pond Time To Cycle Before Adding Koi
Plug in your pond equipment and make sure everything is working properly. Give the pond several weeks to complete the nitrogen cycle, monitoring the progress using a pond water test kit. Once the pond has fully cycled, you can begin acclimating your koi.
Maintaining Your Pond
An ecosystem pond stocked with aquatic plants and fish may require more regular upkeep than a basic water feature. Installing a strong pond filtration system during setup is key—the right equipment helps improve pond stability and minimizes ongoing maintenance.
A mechanical filter like a pond skimmer helps remove leaves and other surface debris that might otherwise break down and affect water quality. A biological filter supports the pond’s beneficial bacteria. Your fish may also benefit from extra aeration provided by filter pumps and powerheads.
Refer to the manufacturers’ instructions regarding cleaning and maintenance of your pond equipment. You may need to replace filter media on a monthly or quarterly basis.
Monitoring your koi for signs of illness is another key component of ongoing pond maintenance. “Koi are not immune to illness,” says Dr. Sanders, “which can occur even with the best of care.” Avoid giving your koi an excessive amount of fish food and familiarize yourself with the signs of common fish diseases. It doesn’t hurt to keep some basic fish medications and water treatments on hand, either, just in case.
Depending where your pond is located, you may need to perform seasonal maintenance tasks. For ponds located near trees, Zuri recommends placing netting over the pond in the early fall. “Once the trees have lost all leaves,” she says, “simply roll up the net and shake it free of the leaves.”
In cooler climates, you may need to install a pond heater or de-icer in preparation for winter. Koi can survive low water temperatures as long as the deepest section of the pond doesn’t freeze.
Koi Pond FAQs
Q:How much time does it take to build a koi pond?
A:It depends on the size of your pond, the complexity of its design, and the soil type in the area. “Average backyard ponds that have goldfish or koi,” says Wood, “will probably require a week’s worth of working days.”
Q:How much does it cost to build a koi pond?
A:Costs vary greatly by pond size, material quality, and equipment. Average initial setup costs for a koi pond range from about $1,000 to $18,000 or higher.
Q:What is the purpose of a koi pond?
A:Having a pond in your own backyard can increase the aesthetic appeal of your property and provide stress relief. For many koi enthusiasts, a pond also provides an opportunity to appreciate and nurture different types of koi.
Q:What are the ideal conditions for a koi pond?
A:The ideal conditions for koi include a large, deep pond with plenty of swimming space, a healthy biological filter to keep water parameters stable, and natural decor elements, including rockwork and aquatic plants like water lilies.
Share: