So, you’ve found a tick on your dog. The ick factor is high, and you probably also know that ticks carry Lyme Disease and other dangerous diseases that can make your dog sick. What do you do?
The first step: Stay calm. With the right tools, steady hands and some patience, you can learn how to remove a tick from a dog, reduce your pet’s chances of illness and feel significantly less grossed-out. Follow these steps to turn this tick problem into a thing of the past.
In This Guide
Do I Need to Remove Ticks from my Dog?
Yes, you should always remove a tick from your dog as soon as possible. Ticks carry infectious diseases, including:
- Lyme disease
- Babesiosis
- Rocky Mountain spotted fever
- Ehrlichiosis
A tick can transmit an infectious disease within a few hours after biting a dog (or a human, for that matter), so it is important to remove the tick promptly and correctly once you notice it to avoid your dog getting sick. In addition, ticks pose human-health concerns, as humans can
become infected by several infectious organisms that ticks carry. In short, you want to get that tick out of both your lives ASAP.
How to Remove a Tick From a Dog: Step-by-Step Instructions
1Make sure it’s a tick.
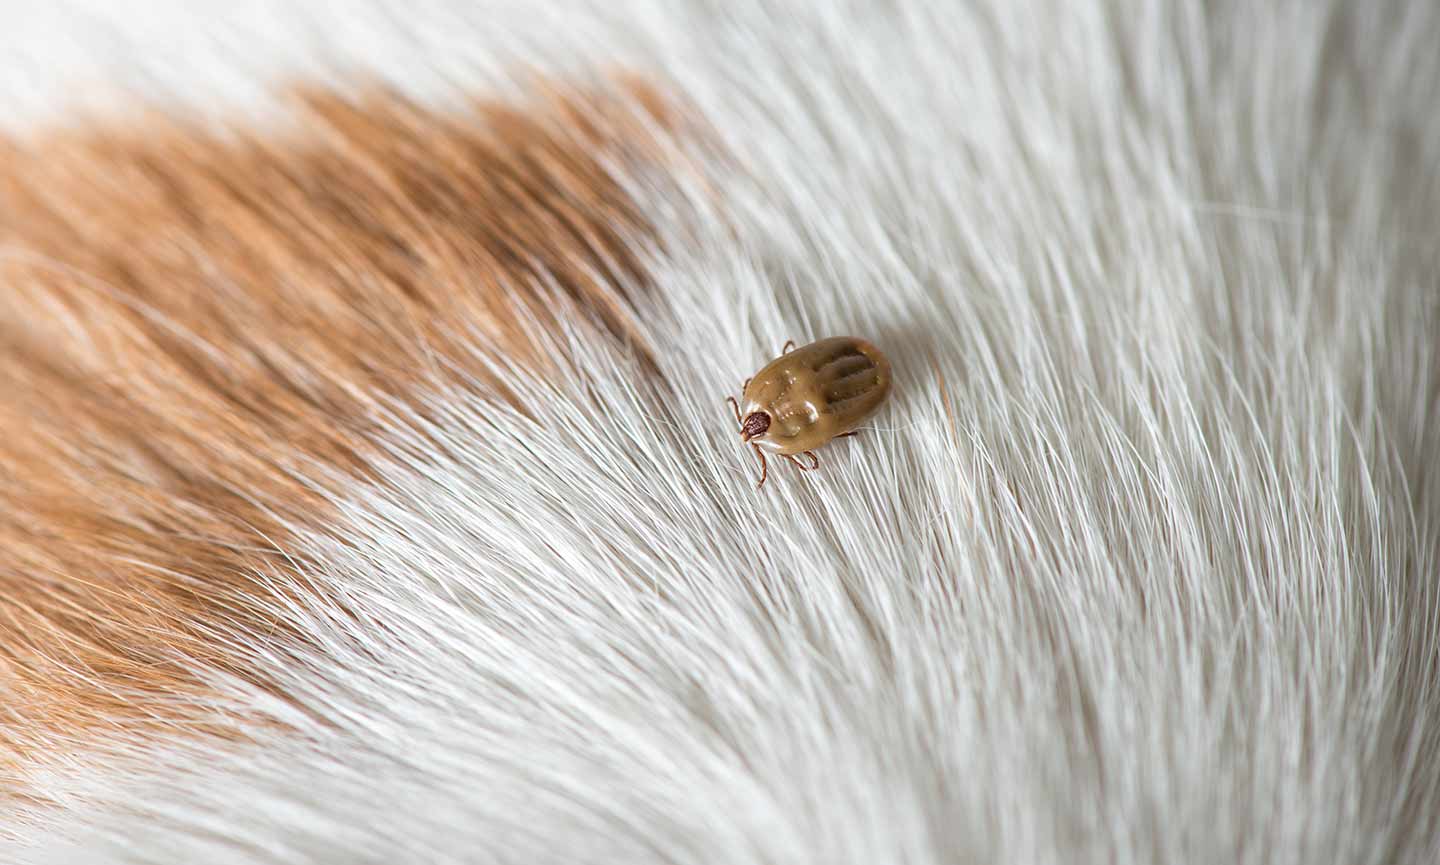
Skin tags can sometimes be mistaken for ticks, so before you take any action, it’s important to confirm that you’re dealing with a pest that needs to be removed, not a benign part of your dog’s body. Look for these tick characteristics:
- 8 legs
- A black, tan or brown body (sometimes, after feeding on an animal, they can turn gray)
- A size anywhere from 1 millimeter to 1 centimeter long
If you are unsure if what you are looking at is a tick, take your dog to the vet to have them check for you.
If you know it’s a tick, then it’s time to prepare for removal.
2Gather supplies.
To remove a tick from a dog, you will need:
- Fine point tweezers or a tick remover device (more on those below)
- Latex gloves, or gloves made of a latex alternative, to protect your hands
- Rubbing alcohol
- Canine-friendly antimicrobial wound spray or ointment
- A small jar or container with a lid
There are several types of tools you can use to remove a tick from a dog, including:
- Tweezers with a slanted edge
- Plastic tick scoops, like the Summit Tick Take Tick Remover Tool
- Metal tick keys or cards, like the TickCheck Wallet Sized Tick Removal Card
- Plastic tick twisters, such as the ZenPet Tick Tornado
The best tool for you will depend on several factors, including:
- Your comfort and dexterity level
- Your dog’s comfort level and type of fur
- The size of the tick
- The location of the tick on the body
We’re laying out the pros and cons of each type of tool to help you make your decision.
Tweezers
Easily sterilized; can work on any size tick, any location on the body and any fur type
You may accidentally pinch or grab your dog’s skin
Plastic tick scoops
Easy to use
Not easily sterilized; less effective at removing small ticks
Metal tick keys or cards
Easily sterilized; work well for large ticks
Not as effective for small ticks; can be challenging to use on certain body parts, such as armpits
Plastic tick twisters
Work well on all sizes of ticks
Not easily sterilized, can be challenging for dogs with long fur
Note: Not all veterinarians recommend tweezers—some say they have a higher chance of leaving tick mouth parts behind, embedded in your dog’s skin. If you’re confused about which tool to use, call your veterinarian.
No matter which tool you choose, we’re walking you through how to use it below.
To keep your dog distracted and calm during this process, you may also want to have:
- Dog treats
- A favorite chew toy
- A lick pad
3Restrain or distract your dog.
4Grasp the tick with your tool.
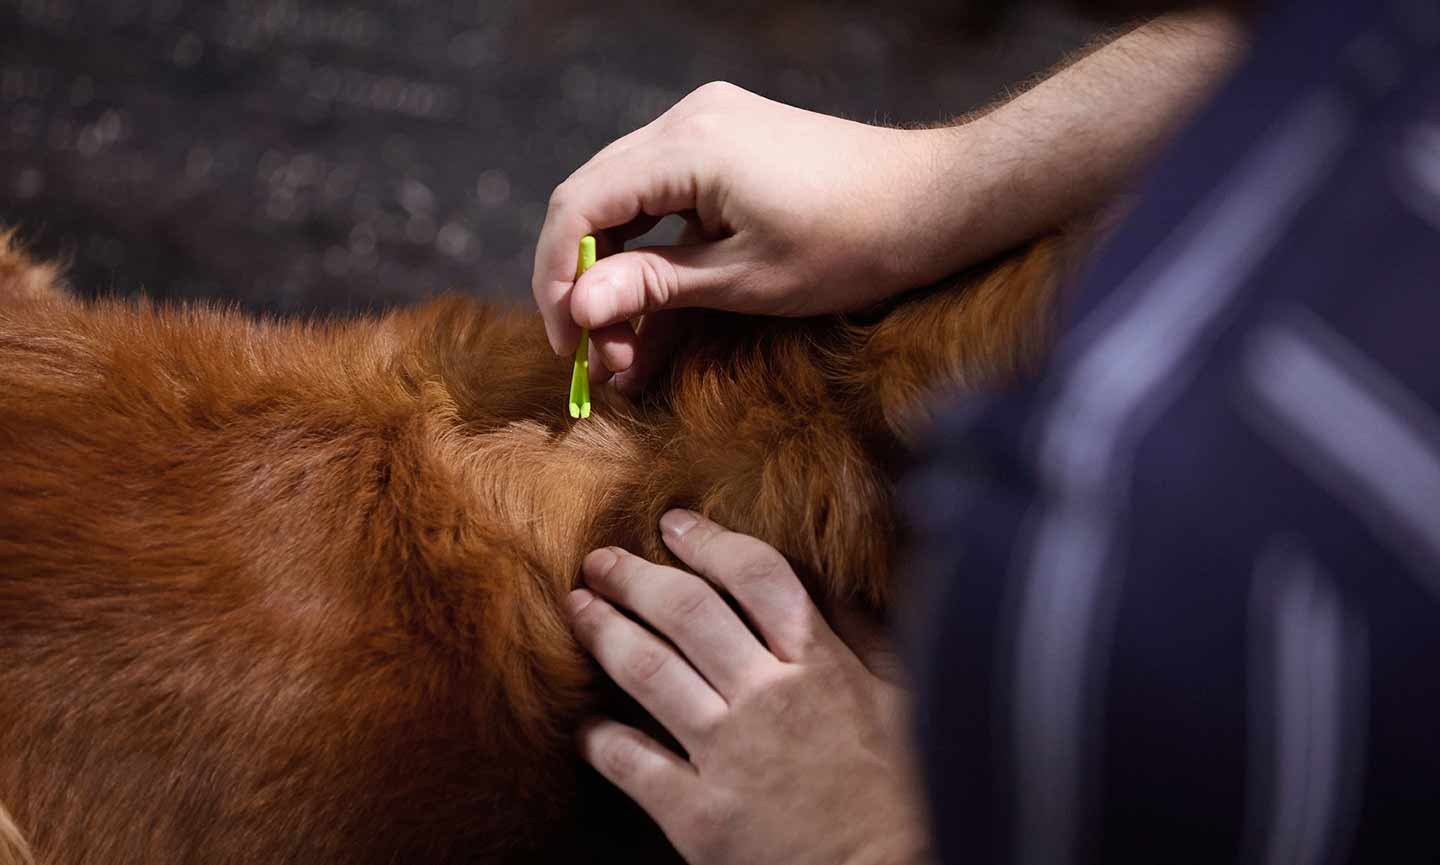
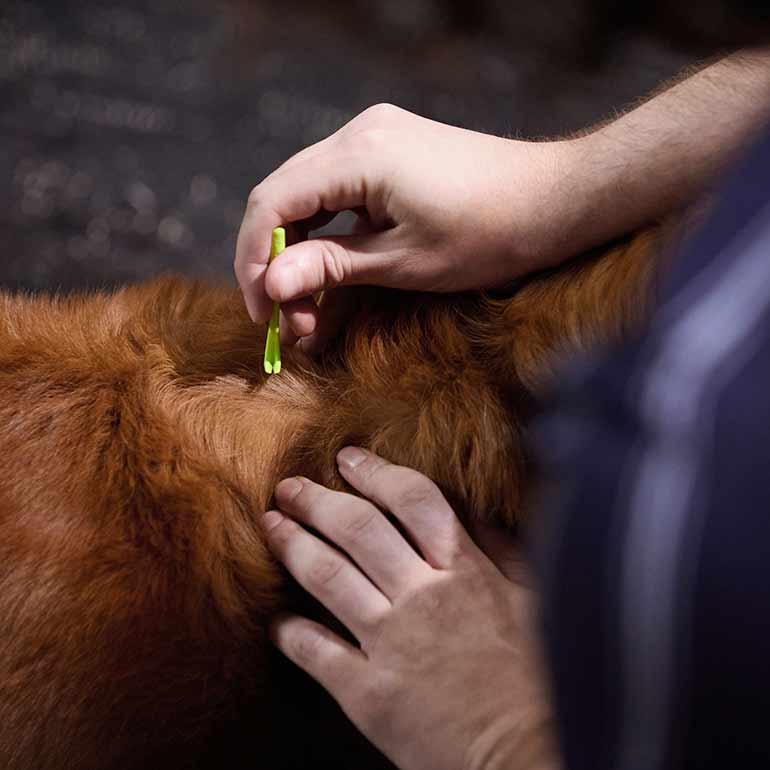
The specifics of how to remove a tick from a dog vary slightly depending on the tool you’re using so be sure to read the instructions if applicable. Start by holding your tool in your dominant hand, and use your other hand to part your dog’s fur around the tick. Then:
- If you’re using tweezers, grasp the tick as close as possible to your dog’s skin. Be careful to avoid pinching your dog’s skin, which could make them jump.
- If you’re using a tick scoop, key, card or twister, firmly press it against your dog’s skin as close as possible to where the tick is. The tick should be inside the opening in your tool.
5Remove the tick.
- If you’re using tweezers, a tick scoop, key or card, pull the tick straight back from your dog’s skin with a slow and steady motion. Keep slowly pulling until the tick lets go of your dog’s skin. Don’t twist or jerk the tick away, because that can leave behind tick mouth-parts embedded in your dog’s skin, which can cause inflammation and infection.
- If you’re using a tick twister, twist upward to release the tick.
How to Remove a Tick From Your Dog’s Ear, Mouth or Head
The steps above work for ticks found almost anywhere on your dog’s body. However, some dogs can get scared, very wiggly, or may try to bite if you are working around their head, so use caution, especially if the tick is attached near your dog’s eyes, inside their ear or around their mouth. If your dog is showing signs of stress or if you are uncomfortable, don’t hesitate to call your veterinary office for help.
How to Remove a Tick Without Tweezers or a Removal Tool
What do you do if you don’t have tick removal tools, or a way to access one quickly? It’s still best to get the tick off as soon as possible to prevent tick-borne disease prevention. If you don’t have any tools, you can remove attached ticks with your hands by grabbing the head of the tick between your fingernails and pulling up and back, similarly to how you’d use tweezers. Take care not to squish the tick while it is still attached. This technique may be more prone to incompletely removing the tick and specifically leaving part of the mouthparts or head behind. If you are unsure if the tick was completely removed, please call your vet.
Due to the risk of exposure to tick-borne illnesses, it is not recommended to touch the tick with your bare hands. If you happen to, take care to wash your hands thoroughly with soap and water afterwards.
What to Do After Removing a Tick
1Safely contain the tick.
Your instinct might be to fling the tick in the trash, smoosh it, or flush it down the toilet—we get it. But if your dog develops any signs of tick-borne disease, it can be helpful for your veterinarian to know exactly what bit them and what illnesses they were carrying.
For that reason, it’s a good idea to keep the tick in a safe and secure container for several weeks after the bite, while you monitor your dog for symptoms. You can do this by dropping the tick into a small, sealable container or jar containing rubbing alcohol to kill it, and write the date you removed the tick on the container.
Whatever you do, don’t crush the tick with your fingers. This can expose you to infectious organisms in the tick. And remember to wear gloves when handling the tick for removal and containment.
Don’t immediately throw the tick in your trash can or wash it down the sink, either—it may still be alive, and if so, it can crawl back out and bite you, your dog or another member of your household. (After you’ve kept the tick in rubbing alcohol for several weeks, it’s OK to dispose of it in these ways.)
2Check the site of the tick bite.
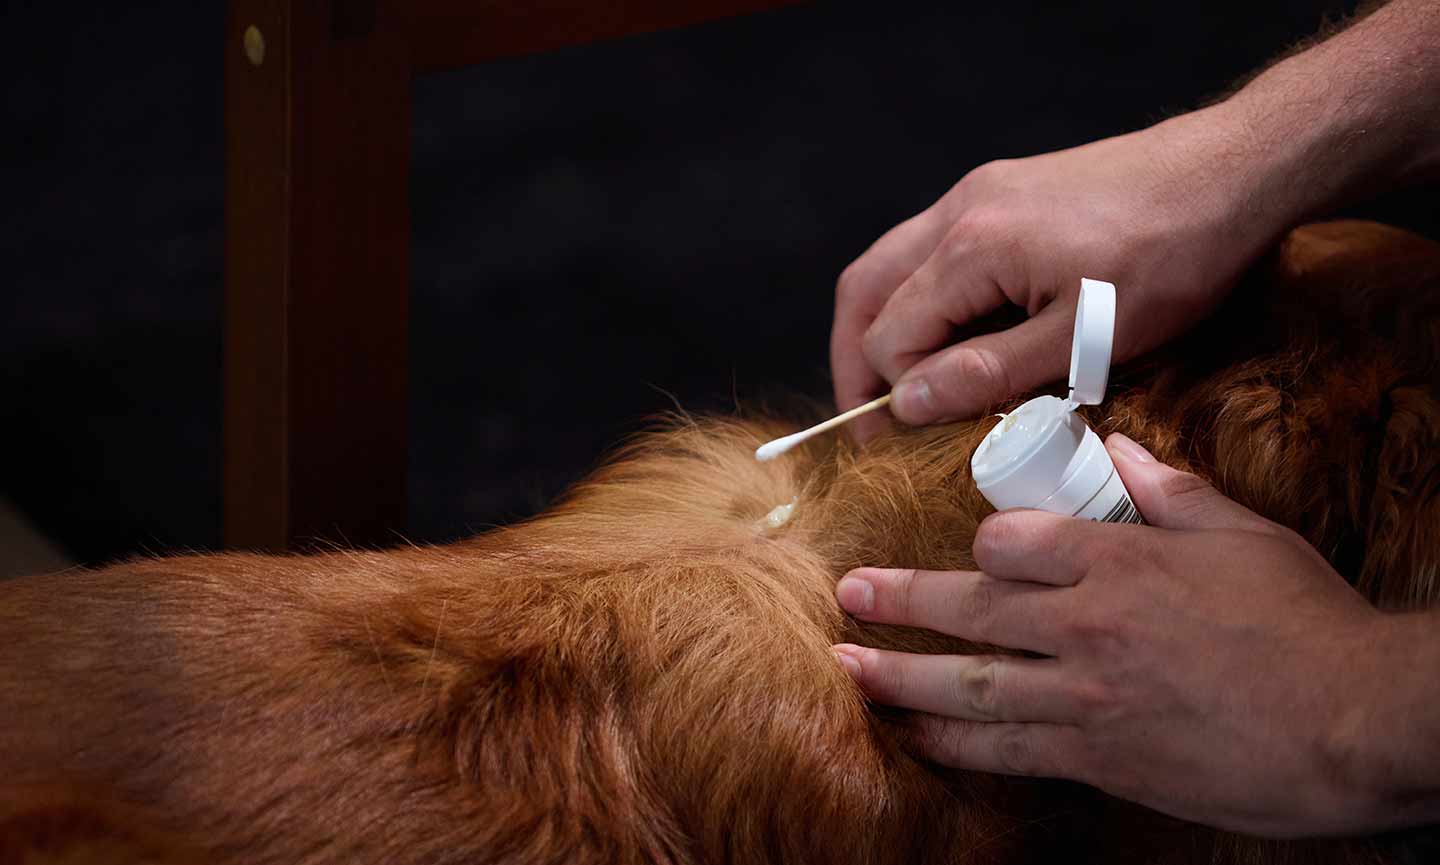
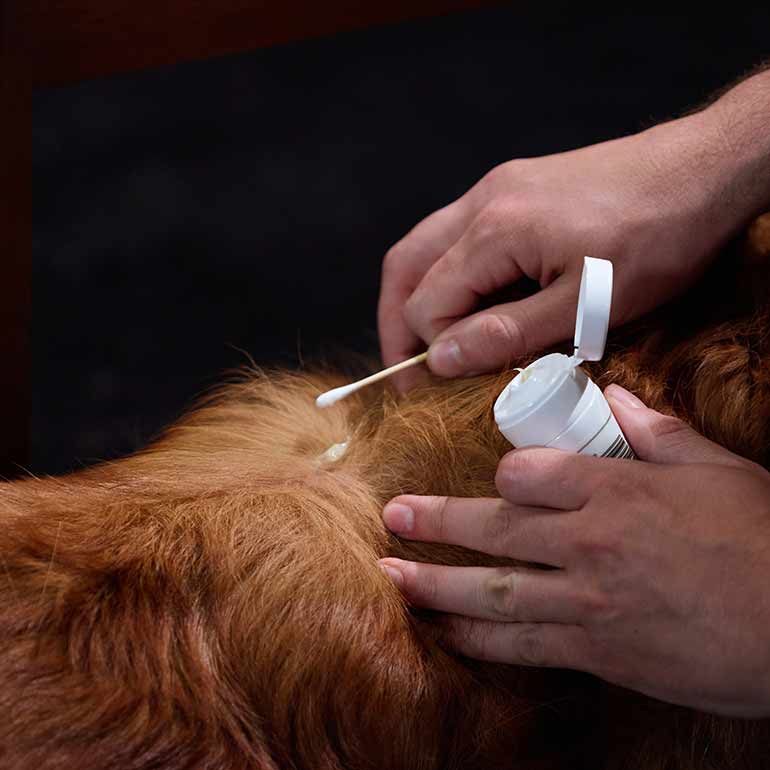
Examine the skin where you removed the tick immediately after removing it. If you have been successful in removing the whole tick, gently cleanse your dog’s skin with a small amount of pet-safe disinfectant or soap and water, then apply a small amount of canine-specific wound spray or ointment. Monitor your dog for 15 minutes after applying spray/ointment to make sure they don’t lick it off. You may want to briefly use a cone collar if your dog is persistent about licking the area.
Remember to wash your own hands well with soap and water, too, as well as your removal tool and any other items that may have touched the tick during this process.
What to Do If the Tick’s Head Is Stuck in Your Dog’s Skin
If there are any embedded tick mouth parts left behind in your dog’s skin, call your veterinarian and make an appointment with them to remove the tick’s head and mouthparts. This is typically a very quick appointment.
Keep an eye on the area where the tick was embedded to ensure it heals properly. Most tick bites heal within 2-3 days. If signs of infection or inflammation (redness, discharge, swelling) occur, call your vet.
3 Watch for symptoms for several weeks.
Monitor your dog for any signs of tick-borne disease for several weeks. Signs of illness
include:
- Lethargy
- Fever
- Lameness (i.e. inability to walk)
- Swollen/sore joints
- Swollen lymph nodes
- Loss of appetite
- Neurological problems
If you notice any of the above, call your vet for an appointment and take the tick with you to your visit.
What Not to Do
Because ticks can carry diseases that are dangerous for both you and your pet, it’s important to use extreme caution when handling them. Some tactics for removing a tick can actually increase your dog’s risk of illness, so keep these tips in mind:
- Don’t pull the tick out with your bare fingers. Wear gloves to prevent being potentially exposed to harmful infectious organisms.
- Don’t cover the tick in petroleum jelly. This can cause a tick to inject saliva into your dog that may contain infectious organisms.
- Don’t burn the end of the tick with a cigarette or hot match. This, too, can make the tick inject saliva into your dog, which can contain infectious organisms. You may also potentially burn your pet.
- Don’t cover the tick in nail polish—another way to trigger an injection of potentially infectious saliva.
How to Prevent Ticks on Dogs
Not a fan of these creepy blood-sucking pests? Us either. Luckily, there are several excellent over-the-counter and prescription products available that prevent and kill ticks. As a bonus, most of these products also kill and prevent fleas, so you can use them to prevent these pests all year-round.
-
Oral medications flea/tick preventative pills or chewables.
-
Topical treatments prevent fleas and ticks after being applied to your pet’s skin.
-
Flea collars, are available over the counter and also prevent fleas and ticks.
Find out more about dog flea and tick prevention medications, and talk to your veterinarian about the best option for your pup.
Follow these additional tips to prevent exposing your dog to ticks:
- If ticks live in your yard, you can spray for ticks or use beneficial nematodes (microscopic worms) that kill ticks in your yard.
- Mow lawns and trim shrubs regularly to remove tick hiding spots.
- Keeping backyard chickens is another great tick prevention strategy—they love to eat ticks!
- Take measures to prevent mice, deer and other tick-carrying wildlife from coming into your yard.
Even if you use tick prevention on your dog, they may still pick up a tick if they spend time in areas that have a lot of ticks. Ticks are active once the ground temperature is above 45 degrees Fahrenheit, and then live in a wide variety of environments, from woods and meadows to suburban and even urban areas. If your dog spends time outdoors in areas where there are ticks, it’s important to scan your dog for ticks daily, and remove them if necessary.
To scan your dog, run your hands slowly over their entire body. If you notice any bumps or swellings, part the hair to see if it’s a tick. Remember that ticks can latch on to a dog anywhere, but they particularly like to hide in these areas:
- Ears
- Armpits
- Face
- Between toes
- Between the shoulder blades
- Groin
There’s not much you can do about how gross ticks are, but now you know how to remove a tick from a dog—and help prevent tick bites in the future. Ready to scan your pup for pests? Get more tips on how to check your dog for ticks.
This content was medically reviewed by Chewy vets.
Share:


