Whether it’s a minor scrape or a bone-deep laceration, knowing how to assess, clean, and treat wounds effectively is essential for horse owners and caretakers. Horse injuries can lead to lameness, infection, and a host of other health issues.
By understanding the basics of horse wound care and knowing when to recruit your veterinarian’s expertise, you’ll be better equipped to handle horse cuts, lumps, and bumps along the way.
In This Guide:
4 Types of Cuts and Wounds on Horses

1Abrasion
An abrasion is a superficial wound where the epidermis, the outermost layer of the skin, is scraped. By definition, abrasions are not deep. They’re often caused by friction, such as rubbing against a fence board or tree, or falling and sliding on gravel.
Abrasions typically result in minor bleeding and, while often painful, they usually heal relatively quickly and easily.
2Laceration
A laceration is a tear or cut in the skin that can vary in depth and size. These wounds are often caused by blunt trauma or sharp objects.
Depending on their depth and location, lacerations can bleed heavily and may require thorough cleaning and suturing by your veterinarian; this should not be attempted at home.
Your veterinarian will likely clip and scrub the wound to keep it clean, inject a local anesthetic to keep your horse comfortable during repair, and suture the wound to put the tissue back together as best as possible.
Wounds should be addressed promptly; after a certain time frame, tissues become infected or begin to die due to lack of blood flow and then cannot be repaired as well.
3Degloving Injury
A degloving injury is a severe trauma in which the skin and underlying tissues are forcibly separated and peeled away from the underlying structures.
This type of injury often occurs due to significant trauma or accidents and may expose deeper tissues such as bones and joints. Veterinary intervention is crucial in treating degloving injuries.
4Puncture Wound
Puncture wounds can be deceptively small on the surface but may cause significant internal damage. These wounds occur when a sharp, pointed object pierces the skin and underlying tissues, potentially pushing bacteria deep into the body, which can be highly risky if the puncture is near or into a joint.
Due to the high risk of infection and complications, puncture wounds require immediate veterinary attention.
If your horse has stepped on a nail or has a puncture wound on the bottom of their foot, it’s important that your veterinarian examine the foot before removing the nail so they can perform radiographs and other diagnostics if necessary to see which important structures in the foot may be involved.
How To Treat a Horse Cut

Step 1: Assess the Wound
Ask yourself the following questions:
- Is it deep?
- Are there signs of infection, such as pus?
- Is bone visible?
- Is the injury near a joint or tendon?
If you answer “yes” to any of these, call your veterinarian immediately, as these wounds likely require professional medical care.
Even if the answer is “no,” it’s still wise to call your vet for advice on cleaning and dressing your horse’s wound (more on that below).
If your horse has not had a tetanus vaccine in over six months, your veterinarian may recommend boosting this vaccine as horses are the most susceptible to this often-fatal disease.
Step 2: Clean the Wound
Even if the cut seems superficial and is located in a less risky area, such as the fleshy part of your horse’s rump, it still needs to be cleaned properly.
“Infection, of course, is always a concern given the environmental conditions in which horses live,” explains Kim MacKinnon, DVM, associate veterinarian at Miller & Associates, in Brewster, New York.
Contact your veterinarian for specific instructions on cleaning an infected horse cut. If the wound is minor and not painful, your vet may have you start cleaning the wound at home yourself. If the wound is very large or your horse is sensitive, it may be best to wait for your vet to arrive to assess the situation, and then administer sedation or local anesthetic to appropriately clean and treat the wound.
The general process involves:
- Flushing out dirt and debris by hosing the wound with cold water
- Scrubbing the wound with a diluted Betadine® or chlorhexidine solution on gauze pads
- Rinsing the wound with alcohol-soaked gauze pads, sterile saline, or water
- Patting the wound dry or giving it time to air-dry
If you’re able to bandage the wound, make sure it’s completely dry first, to avoid trapping moisture that can create a breeding ground for bacteria.
Step 3: Dress the Wound
Your veterinarian can guide you on how to dress your horse’s wound. The recommendations will vary depending on your vet’s preferences and your unique horse.
Jesslyn Bryk-Lucy, DVM, cAVCA, assistant professor of equine studies at Centenary University, and founder and owner of Leg Up Equine Veterinary Services, in New Jersey, prefers liquid aerosol bandages over ointments, which can attract dirt and debris if the wound is not going to be bandaged.
Her go-to is silver spray, which can be applied directly to the clean wound, creating a protective barrier against the environment.
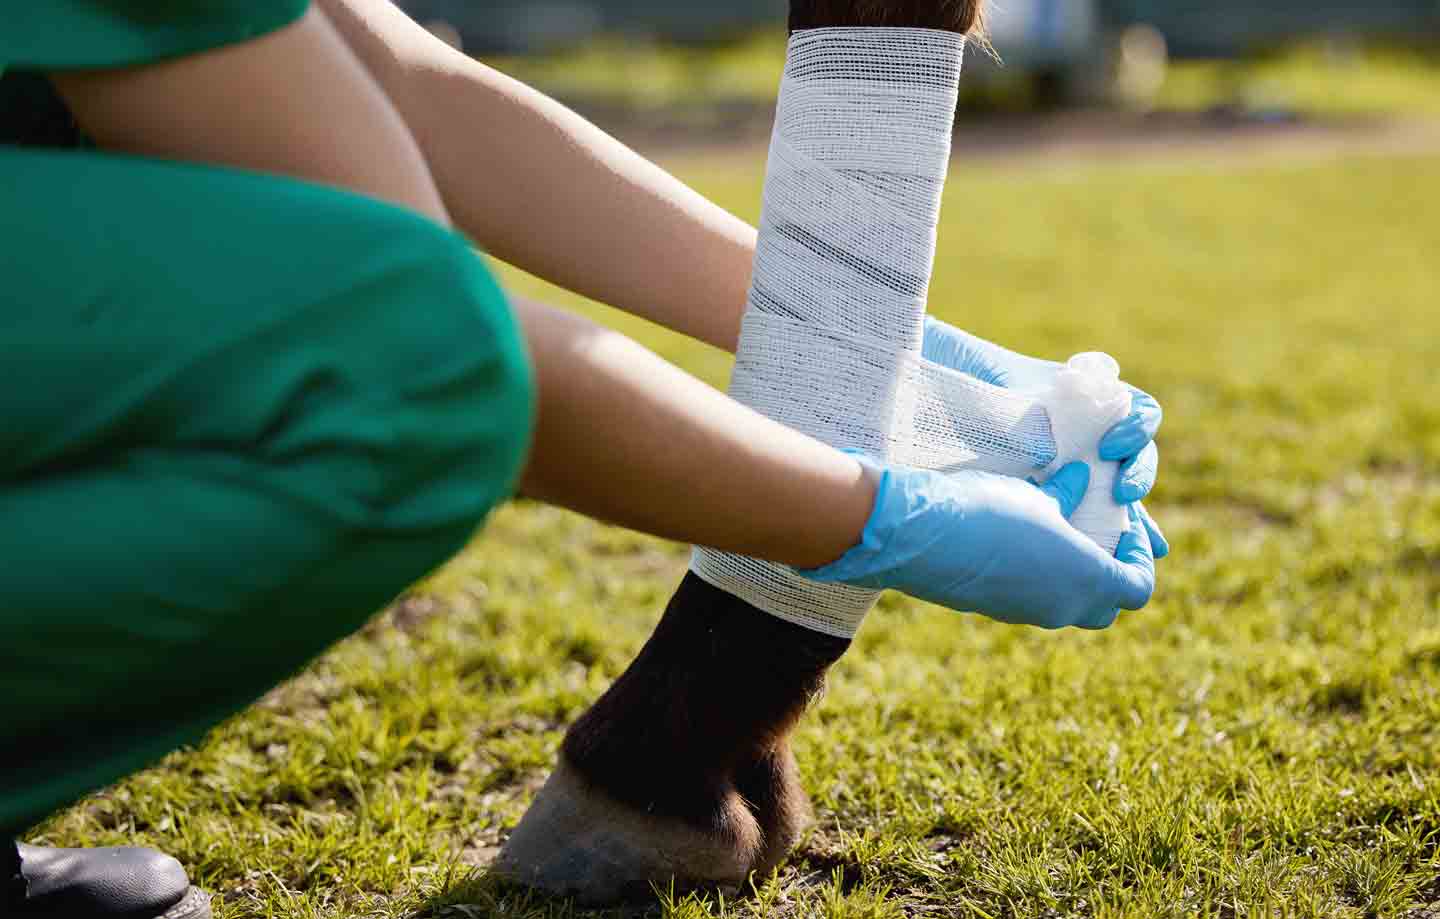
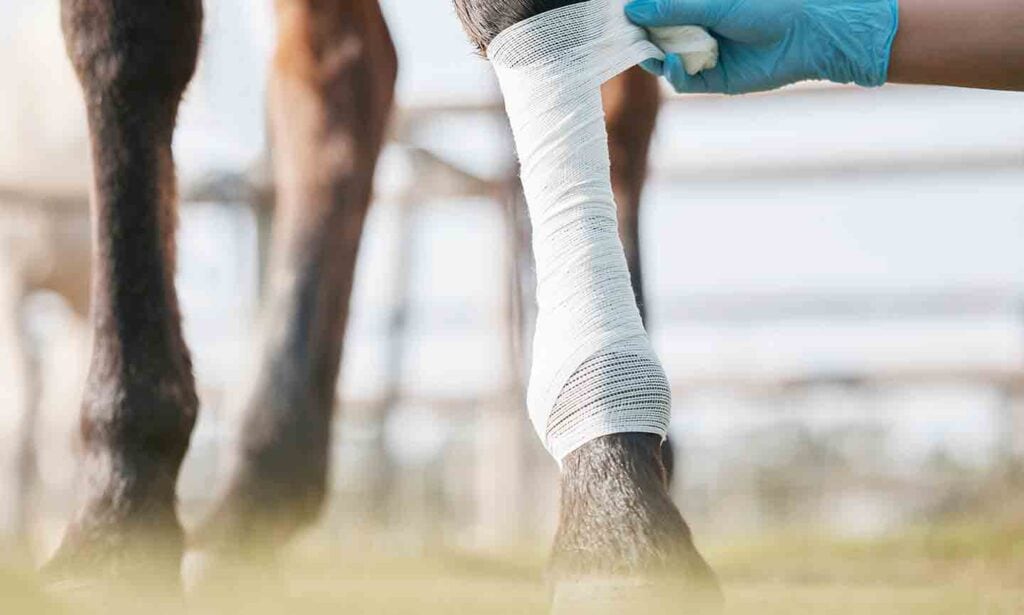
Some wounds, depending on their size and location, may also need to be bandaged. If your veterinarian advises wrapping the cut, you’ll need gauze pads, a gauze roll, and self-adhesive bandaging material from your first aid kit. The bandaging process can vary depending on the location and nature of the wound:
- Your vet may have you apply topical antibiotics or other ointments on the wound before a non-stick pad and the rest of the bandage is wrapped.
- If the wound is on a lower limb and the bandage must go around the tendons, it’s important to have plenty of padding and wrap with enough tension to provide support to the leg and wound to promote healing, but not too tight since this can damage the tendons that run along the back of the leg. These larger bandages may require a thicker padding layer, but your veterinarian will walk you through the appropriate bandage for wound care.
- As the wound continues to heal, bandages may become lighter or smaller or transition to only topical care.
Follow your veterinarian’s advice for the best bandaging method for your horse’s wound.
Stages of Wound Healing in Horses
Phase 1: Hemostasis
Immediately after an injury, the body creates a blood clot to stop the bleeding. Blood vessels constrict to reduce blood flow, and platelets gather to form the clot.
Phase 2: Inflammation
Inflammation begins shortly after hemostasis. This phase can involve redness (though it’s hard to see on horses), heat, swelling, loss of function, and pain. White blood cells move in to remove debris, bacteria, and damaged tissue from the wound. This process is crucial for preventing infection and setting the stage for tissue repair.
Phase 3: Proliferation
During this phase, the body creates new tissue to replace the damaged flesh that necroses (dies off and falls away). New blood vessels form, fibroblasts produce the structural protein collagen, and the edges of the wound contract, reducing the overall size of the wound.
Phase 4: Maturation and Remodeling
In the final phase, the newly formed tissue is remodeled and strengthened. Collagen fibers are realigned and cross-linked, making the tissue more durable. However, the new scar tissue may never be as pliable and elastic as the original skin, so it is weaker and may be more easily damaged in the future.
Each of these four phases is critical for effective healing. The time it takes for a cut to fully heal depends on factors like initial and ongoing wound care, the depth and size of the cut, and its location on the body. Complications can affect any stage of the healing process. Here are three of the most common ones:
1. Dehiscence
Dehiscence is a complication that may arise after a wound has been sutured closed, which occurs when “the stitches fall apart.” This is the reopening of a previously closed (or partially closed) wound due to tension, infection, or poor wound care.
In some cases, especially when there isn’t enough healthy skin to sew the wound back together, dehiscence may occur a few days after suturing.
2. Infection
Infection occurs when pathogens—usually bacteria—invade the wound, leading to pain, swelling, purulent discharge (pus), tissue necrosis, and delayed healing. While it can result from improper wound care, infection is also sometimes unavoidable given that horses live in dirty environments.
If infection occurs in a joint space, this can cause a septic joint that is much harder to treat, or lead to systemic illness.
3. Proud flesh
Proud flesh is the excessive growth of “exuberant granulation tissue” that protrudes from the wound, interfering with healing; it occurs most commonly below the carpus or hock levels on the limbs. This can sometimes grow to become extremely large and prevent the skin from being able to close around it properly.
Since proud flesh doesn’t contain nerve endings, your vet can remove it without causing your horse pain; however, granulation tissue is rich in blood vessels so this can be a bloody procedure. Proud flesh is best addressed sooner, while it can be treated with ointments and bandages, rather than later, when it’s big enough to need surgical debridement.
Wound Prevention and Care Tips
Preventing injuries is an important aspect of horse care, but some horses seem particularly injury-prone—“living like they pay their own vet bills,” as the saying goes.
While you can’t wrap your equine companion in bubble wrap, you can reduce their risk of injury by ensuring their living conditions are safe and sanitary. Also, make it a habit to check their body and legs daily for any cuts or scrapes.
You’ll also want to make sure stalls and fences are in good condition, and regularly inspect the facility, equipment, and your horse for potential hazards.
It’s important that your horse is up to date on their tetanus vaccine, especially if you notice a new wound or cut. If this happens, notify your veterinarian, who can determine if a tetanus booster is needed. Horses are the species most prone to developing tetanus, which may be contracted through a wound as small as a paper cut and can be fatal, so this yearly vaccine is highly recommended.
Equine First Aid Kit
Be prepared for wounds and injuries by keeping these essential items in your equine first aid kit:
- Wound care products
- Antiseptic solution (diluted chlorhexidine or Betadine®)
- Sterile water or saline
- Isopropyl alcohol
- Wound cleaning spray
- Wound ointment
- Bandaging and soaking materials
- Non-stick sterile gauze pads (e.g., Telfa®)
- 4x4 gauze pads
- Stretch conforming gauze rolls
- Cotton roll or cast padding
- Self-adhesive elastic bandaging material (e.g., Vetrap®, Elastikon®)
- Baby diapers (for use as foot wraps)
- Duct tape
- Hoof boot
- Standing wraps
- Epsom salt poultice
- Drawing salve (e.g., ichthammol)
- Tools
- Stethoscope
- Thermometer
- Vaseline®
- Bandage scissors
- Tweezers
- Hoof pick
- Clippers
- Headlamp
- Supplies
- Disposable gloves
- Ice packs (store in the freezer)
- Clean towels
- Spare halter and lead rope
- Medications your veterinarian may prescribe for you to have on hand in case of emergencies (store properly and monitor expiration dates):
- Phenylbutazone (Bute) paste or powder
- Flunixin meglumine (e.g., Banamine®, Prevail®) paste or powder
- Oral sedation (e.g., Dormosedan® gel)
- Electrolyte paste or powder
Before giving any medication, always contact your veterinarian to make sure this is the recommendation for your specific emergency.
Share:


