
When you and your beloved dog are faced with pet emergency, the first thing on your mind is determining how to keep them safe. Learning how to perform CPR (cardiopulmonary resuscitation) on your pet can literally save your dog’s life in some scenarios, so it’s important to understand the steps for each.
Whether you’re here to learn “just in case” or you’re currently facing an emergency situation, our straightforward guide, created in conjunction with veterinarians, can help. Consider bookmarking this page for easy access in the future.
How To Perform Dog CPR: Step-By-Step Instructions
CPR is a lifesaving emergency procedure performed when breathing has stopped or there’s no longer a heartbeat, which are life-threatening emergencies. The goal is to manually circulate blood flow in the body, which provides oxygen to vital organs, until you’re able to get professional medical help.
Dogs who need CPR:
- Are unresponsive
- Are not breathing
- Have no detectable heartbeat
Situations in which a dog may need CPR include, but are not limited to:
- Cardiac arrest
- Drowning
- Electric shock
- Body trauma
Follow these steps if you think your dog may need CPR.
1 Assess Your Dog’s Condition
It’s crucial to assess your dog’s condition quickly and accurately to determine whether CPR is necessary. Ask yourself the following questions:
Is my dog responsive?

Call their name and shake them to try to revive them. If your dog responds, they do not need CPR.
Is my dog breathing?
Next, look, listen, and feel for signs your dog is breathing. Do this by:
- Observing the rise and fall of their chest
- Listening for breath sounds
- Holding your face near their mouth and nostrils to feel for airflow against your cheek.
If your dog is breathing (shallow or otherwise), they do not need CPR.
Is my dog’s airway clear?

Gently open your dog’s mouth to check for anything that may be blocking their airway. This might include a foreign object, a piece of food or chew toy, or vomit. If present, carefully remove any obstructions to allow for proper airflow. Be careful not to push the item further into your dog’s throat.
What you do next depends on a variety of factors:
- If your dog resists or fights you when you try to open their mouth or remove an object inside, stop immediately. They do not need CPR, and they may accidentally bite you. Instead, head to your vet.
- If your dog is choking on an object, they may need the Heimlich maneuver.
- If your dog does not respond when called or shaken; is not breathing; and allows you to open their mouth without resistance, their life is at risk and CPR may help.
- If you have someone who can drive you to the nearest animal hospital, perform the following steps while en route.
- If you are alone and no one can come to help you, do not attempt CPR. Rush your pet to the closest emergency vet clinic.
2Get Into Position

Position your dog on their side. Kneel beside them with their spine toward you.
Place your hands on your dog’s chest, one on top of the other, with fingers interlaced. The exact placement of your hands depends on your dog’s size and shape:
Very small dogs (less than 5 pounds)
Use a one-hand method (see below)
Small dog (5-20 pounds)
Over the heart
Medium-sized dog (21-50 pounds)
Over the widest part of the chest
Large and giant dogs (51 pounds or more)
Over the widest part of the chest
Keel-shaped dogs (like Greyhounds)
Over the heart
Flat-chested dogs (like Bulldogs)
Over the sternum (aka breastbone) with the dog on their back

To find your dog’s heart, pull your dog’s elbow about a third of the way up their chest. The heart is located beneath the point of their elbow.
Position your shoulders directly over your hands, and lock your elbows.
3Administer Chest Compressions

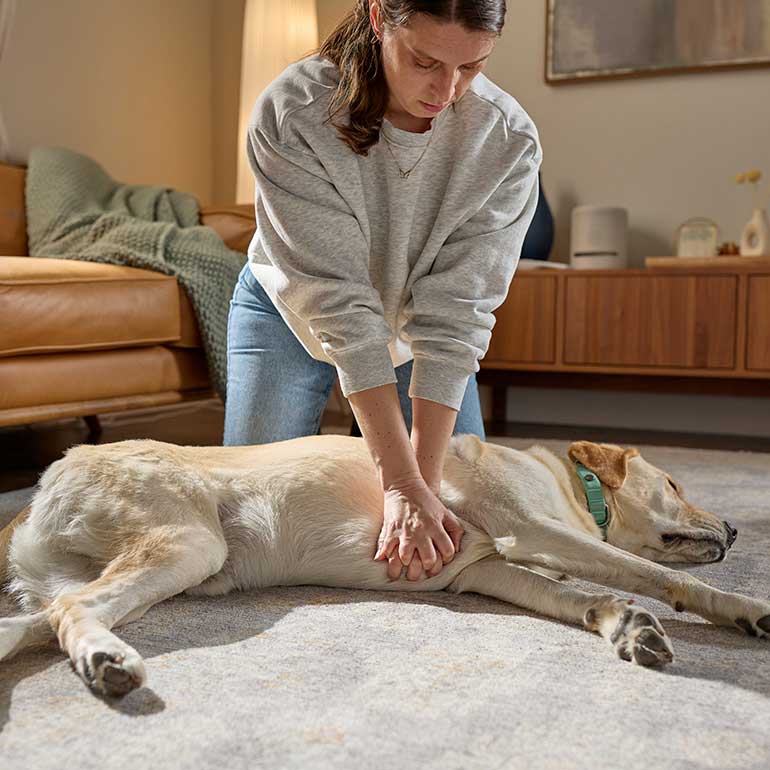
Perform compressions at a rate of 100 to 120 compressions per minute. Think of the pace of the Bee Gees’ song “Stayin’ Alive”—that’s about the pace of the compressions you should give. Administer a total of 30 compressions.
For very small dogs (5 pounds or less), use a one-hand method. To do this, wrap your hand around their breastbone, with your fingers beneath your dog’s chest and your thumb over the heart and pointing toward their spine. To compress, squeeze your thumb toward your other fingers while keeping it straight and parallel with your palm.
4Begin Rescue Breathing
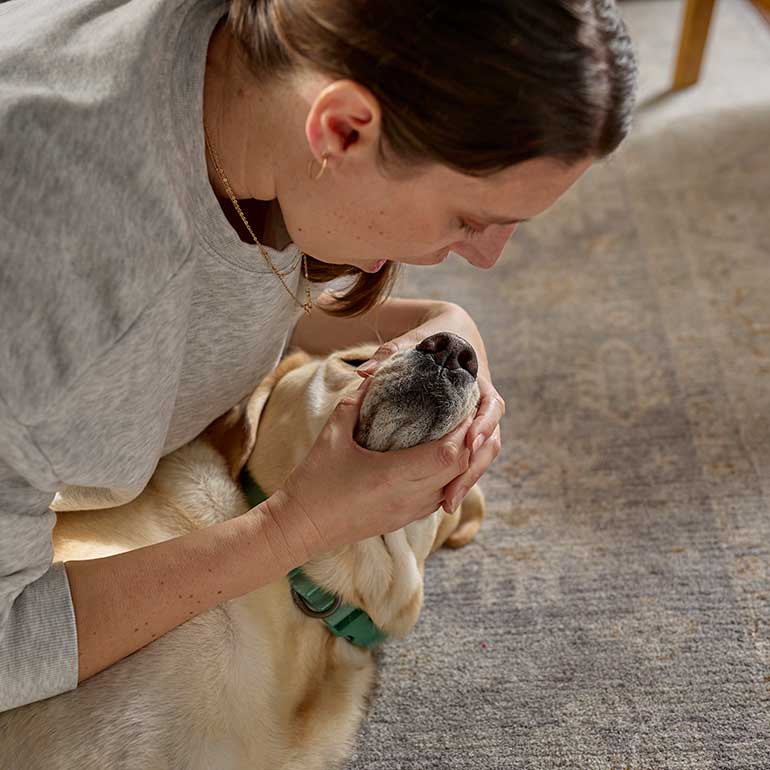
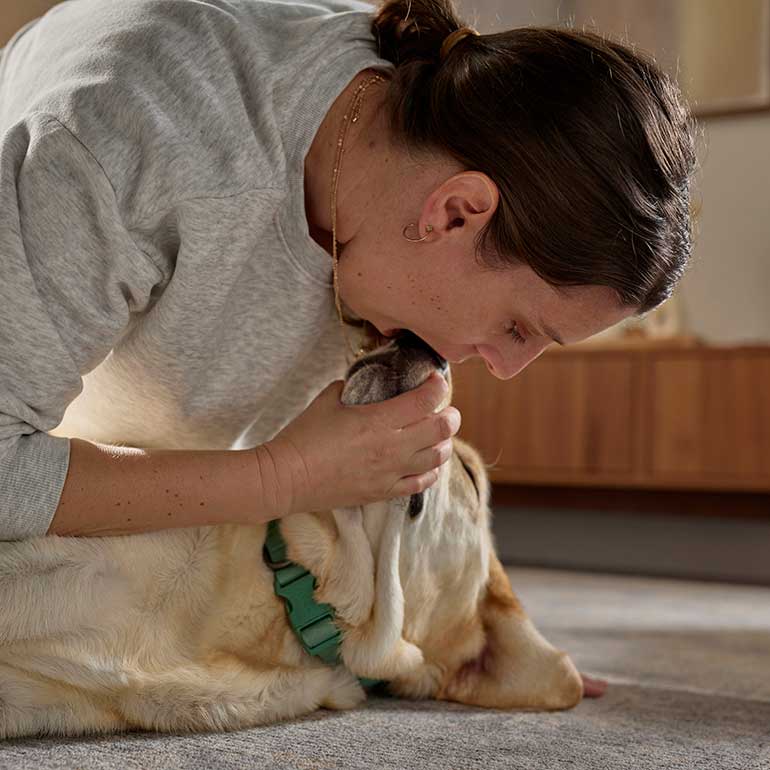
Put your mouth over both nostrils and create a seal with your lips. Exhale into your dog’s nostrils two times, ensuring that the chest rises with each breath.
Deliver two breaths, each lasting approximately one to two seconds.
5Continue CPR as Needed

Continue to alternate between 2 rescue breaths and 30 chest compressions as follows:
- 30 chest compressions
- Pause 5 seconds
- Two rescue breaths
- Repeat
Continue CPR until your dog shows signs of recovery, including becoming conscious, breathing on their own, or reacting to you.
FAQs
Q:What is the success rate of CPR in dogs?
A:The long-term success rate of dog CPR—referred to as return of spontaneous circulation, or ROSC—is estimated around 6-19 percent, according to the RECOVER Initiative. Contributing variable factors include not knowing how to properly administer CPR, overall animal health, and underlying medical conditions that contributed to cardiac issues in the first place.
Q:Can you use a human AED on a dog?
A:Although AEDs for humans can technically be used on dogs, they are not typically used in veterinary medicine because a dog’s fur would need to be shaved first in order for it to be effective. AEDs are also only effective if the pet has a shockable rhythm and would not resuscitate every dog having an arrest. For this reason and accessibility, learning dog CPR is the recommended course of action to potentially help you save a dog’s life.


Expert input provided by Dr. Jessica Jensen, DVM, a Las Vegas, Nevada–based veterinarian with the national mobile pet care service The Vets; and Dr. Karen Halligan, DVM, a veterinarian and animal welfare advocate based in Marina Del Rey, California.
This article was reviewed by Chewy vets.
Share: