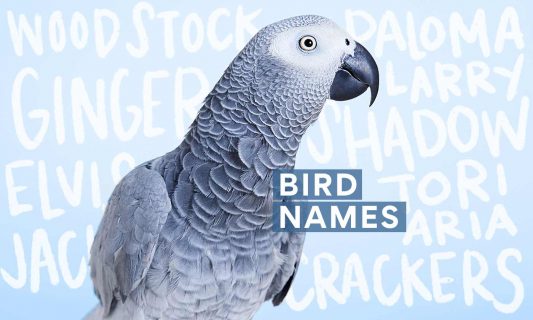
Looking for bird names for your new feathered friend? Check out this list of names for birds, including cute bird names, funny bird names and more.
Looking for bird names for your new feathered friend? Check out this list of names for birds, including cute bird names, funny bird names and more.
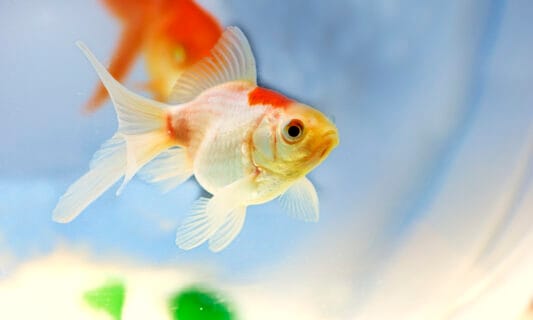
Everything you need to know to help your goldie live a long, happy life.
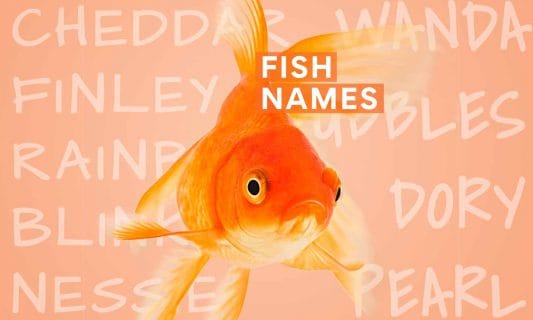
This list of the best fish names is sure to make a splash.
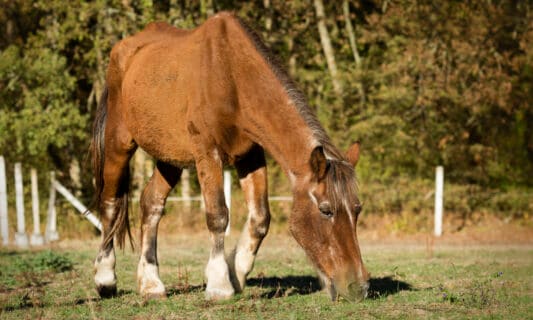
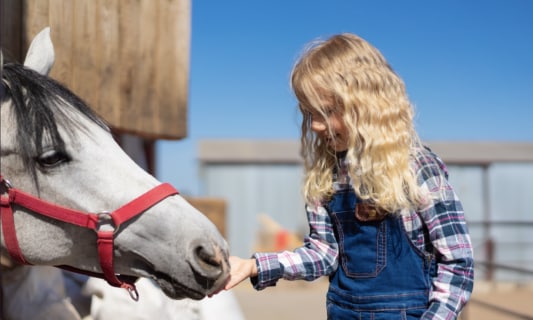
How to tell if your horse is affected—and how to help them.
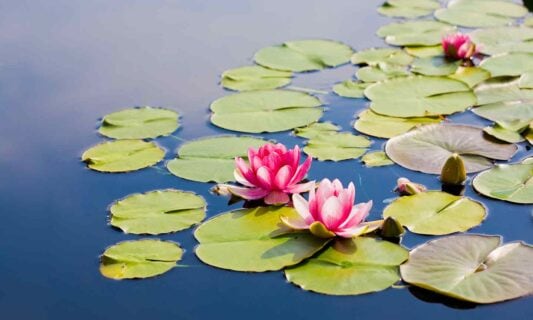
From floating flowers to plants at your pond’s edge.

Because horse accidents happen.
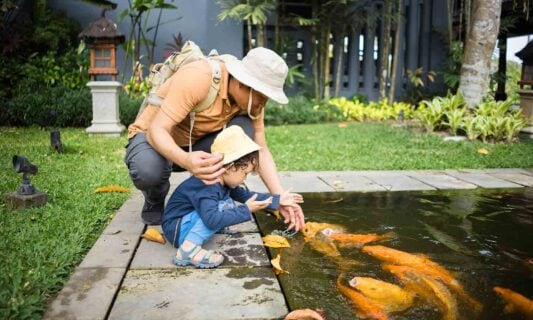
Because your pond fish need oxygen to thrive.
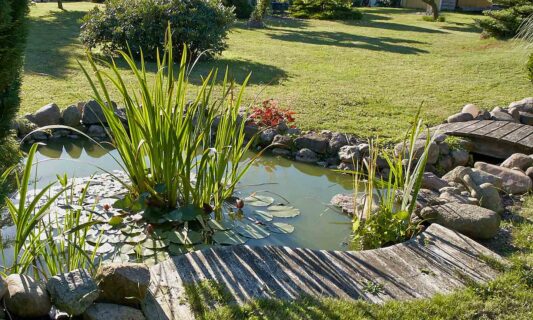
The perfect pond can make all the difference.

We’ve got the perfect fit for your new froggy friend.

Yes, they do—but their sleeping habits might surprise you.
Because the quality of your pond depends on the quality of your water.
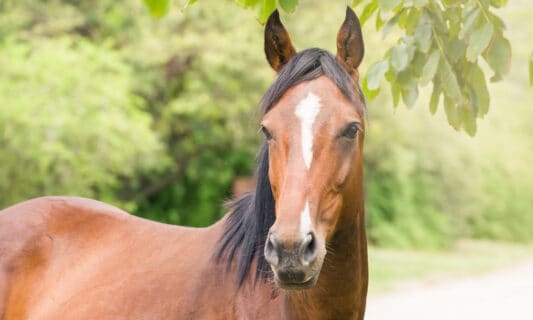
Learn about all the different horse face markings our equine friends can have, including illustrations of each for easy reference.
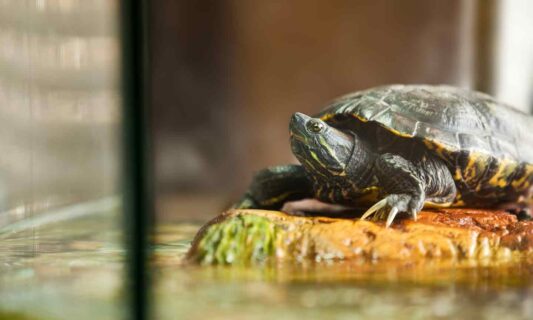
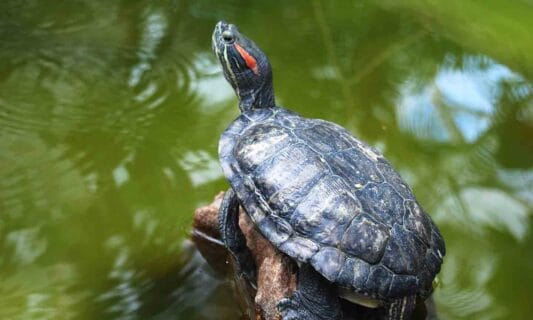
These hard-shelled buddies might make an excellent addition to your home.

Dealing with the passing of a pet? You aren't alone. We help you better understand how to cope with the loss of a beloved companion.
From preventing disease to using the right fish tank filter.
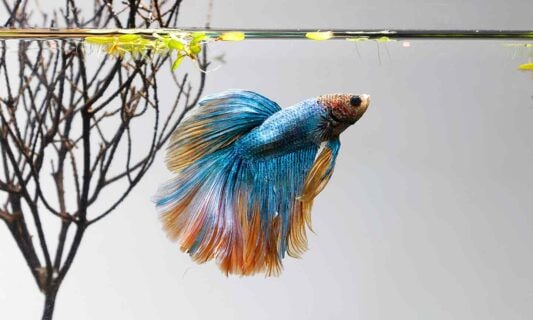
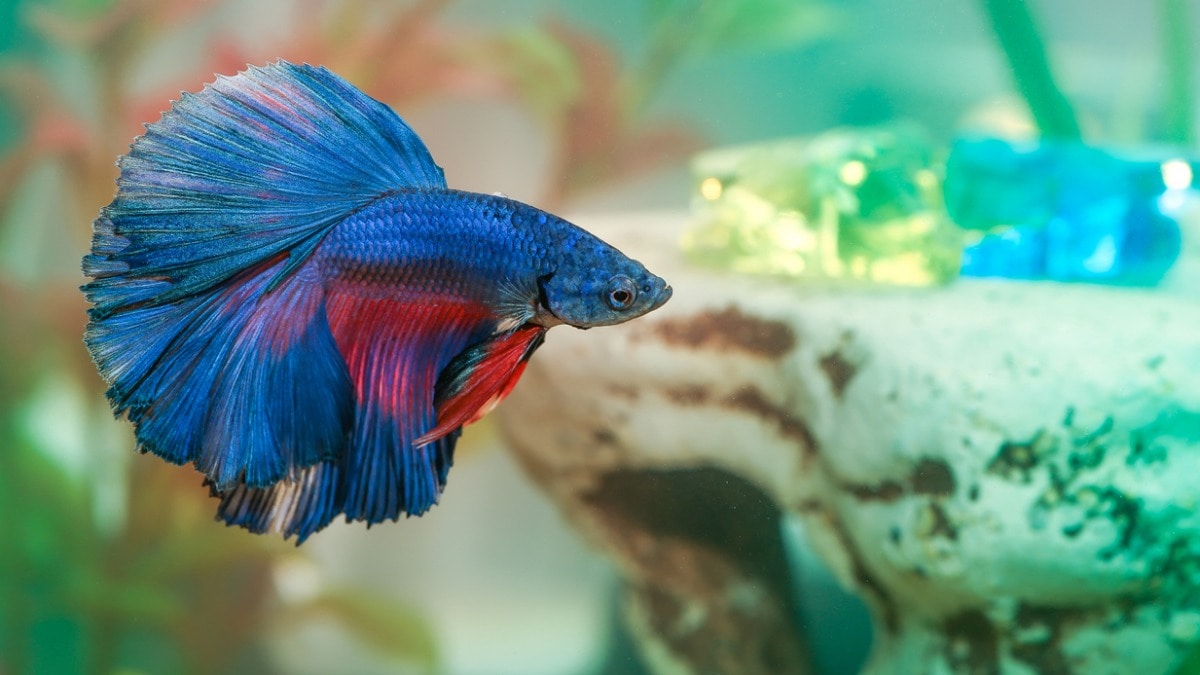
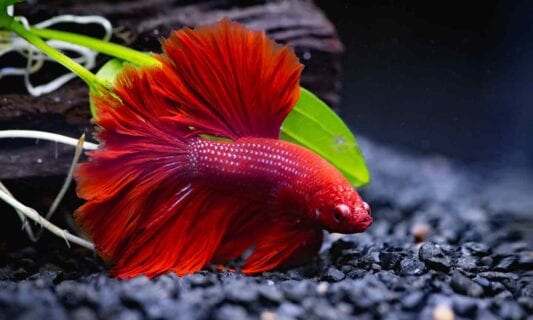
Plus, how to increase your betta’s lifespan.
Vet-recommended fish species for your first tropical tank.
No-Bake Horse Cookies Recipe