4 Uses for Your Chewy Box: DIY Games and Crafts for Kids

Photo by Chewy
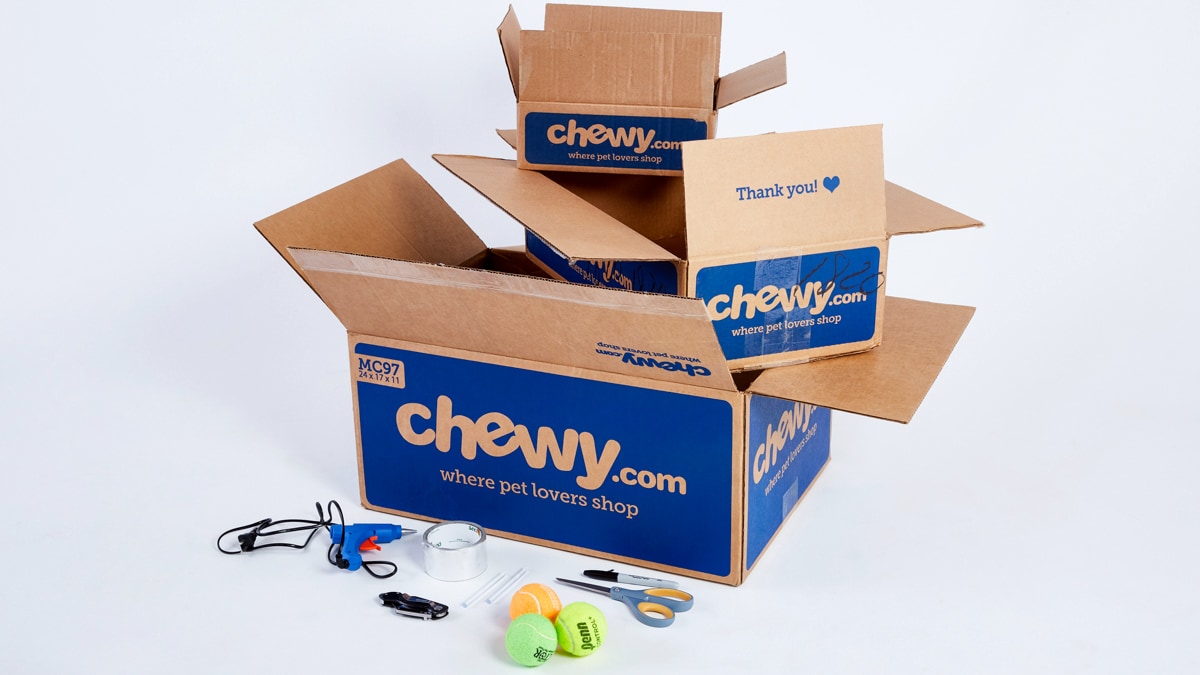
Oh how we love Chewy boxes, and we’ve been counting the ways. Sure, they make the perfect backdrop for cute Chewy box pics for our social media sites. And of course, they bring all the Chewy pet supplies and Chewy pet food that your pets just can’t wait to explore. But there’s so much more they can be used for! If you don’t believe us, keep reading for some fun kids’ crafts that they’ll love helping you make.
Challenge Level 1: Putting Green
Calling all junior golfers! Time to brush up on some putting basics before the next family mini golf outing with your very own indoor putting green.
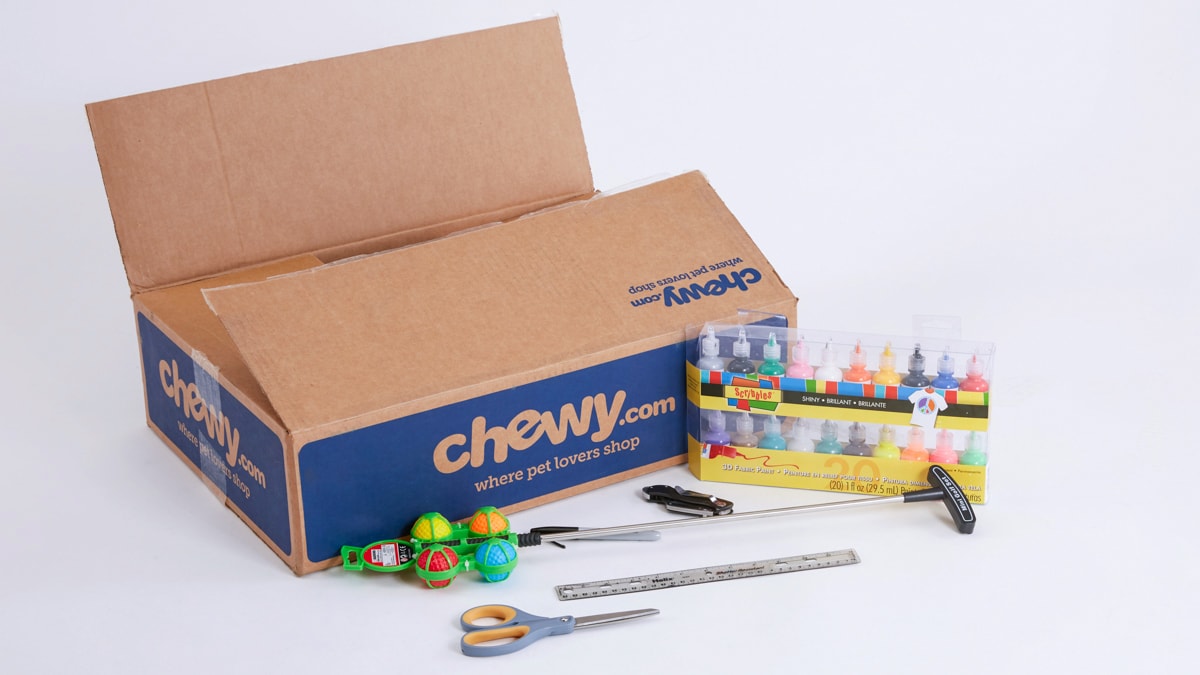
Materials: medium or large Chewy box (16 x 14 x 10 and 24 x 17 x 8 work well), craft knife or scissors, ruler, markers or craft paint, golf balls, golf club (toy or real)
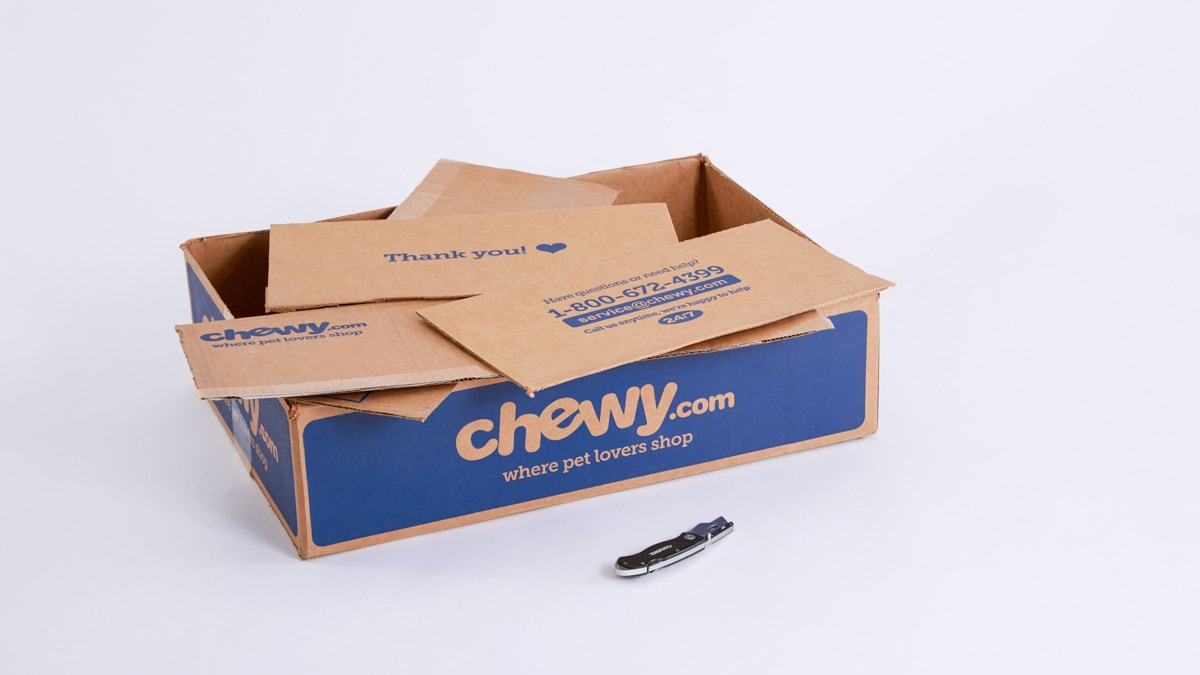
Step 1: Cut the flaps off your Chewy box.
Step 2: Turn the box upside down. Use a ruler to draw squares of varying sizes (large enough for a golf ball) along the bottom, spaced several inches apart.

Step 3: Cut out the squares.
Step 4: Use markers or craft paint to write the number of points the holes are worth above each hole, making the smaller holes worth more points.
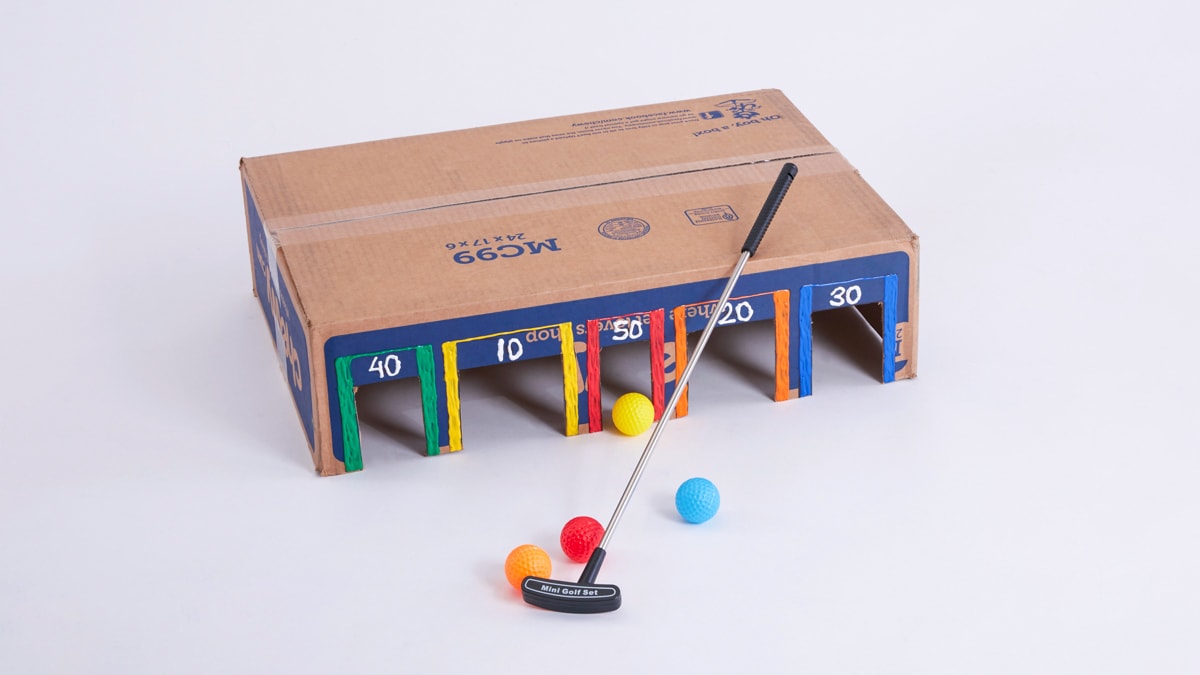
Time to decorate your new putting green however your mini golf enthusiast sees fit.
Challenge Level 2: Kid Car Derby
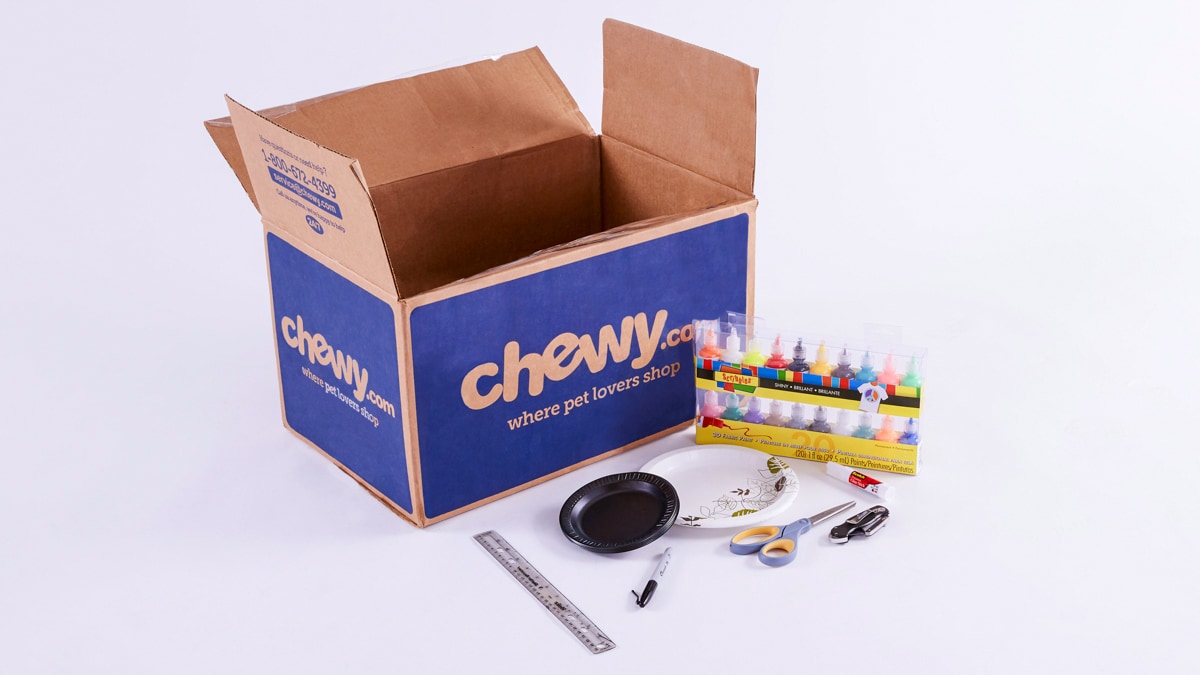
Materials: scissors or box cutter, medium or large Chewy box (make sure your child can fit into it), craft paint or markers, glue, small and large paper plates
Optional Materials: extra decorations (glitter, buttons, fabric scraps, feathers, beads, etc.)
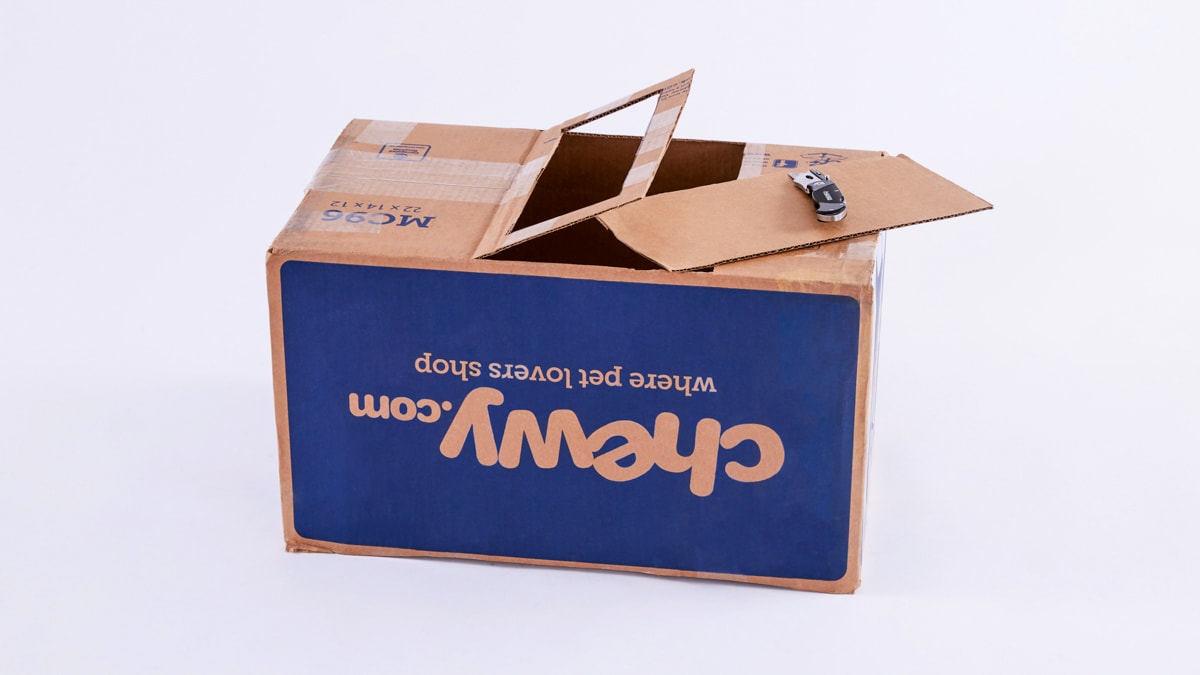
Step 1: Cut off the top flaps and turn the Chewy box upside down.
Step 2: Divide the bottom (that’s now facing upward), into thirds. Do this by making marks one-thirds and two-thirds of the way along the longer sides (top and bottom edge). Use a ruler to connect those marks and draw two lines. Starting along one of those lines, cut out a flap in the middle for the windshield, and bend the flap up.
Step 3: Measure one inch in from each corner of the windshield and make a mark. Connect the marks with a ruler and marker, and cut out the inner rectangular shape that’s made.
Step 4: Measure 5 inches down from the top of the box on each of the longer sides and cut out small, rectangular holes for side handles. These should be 4.5 inches long by one inch tall.
Step 5: Cut out the rear short flap toward the back end that’s inside the box.
Step 6: Glue two smaller plates onto the front for headlights.
Step 7: Glue two large plates on each of the sides for wheels.
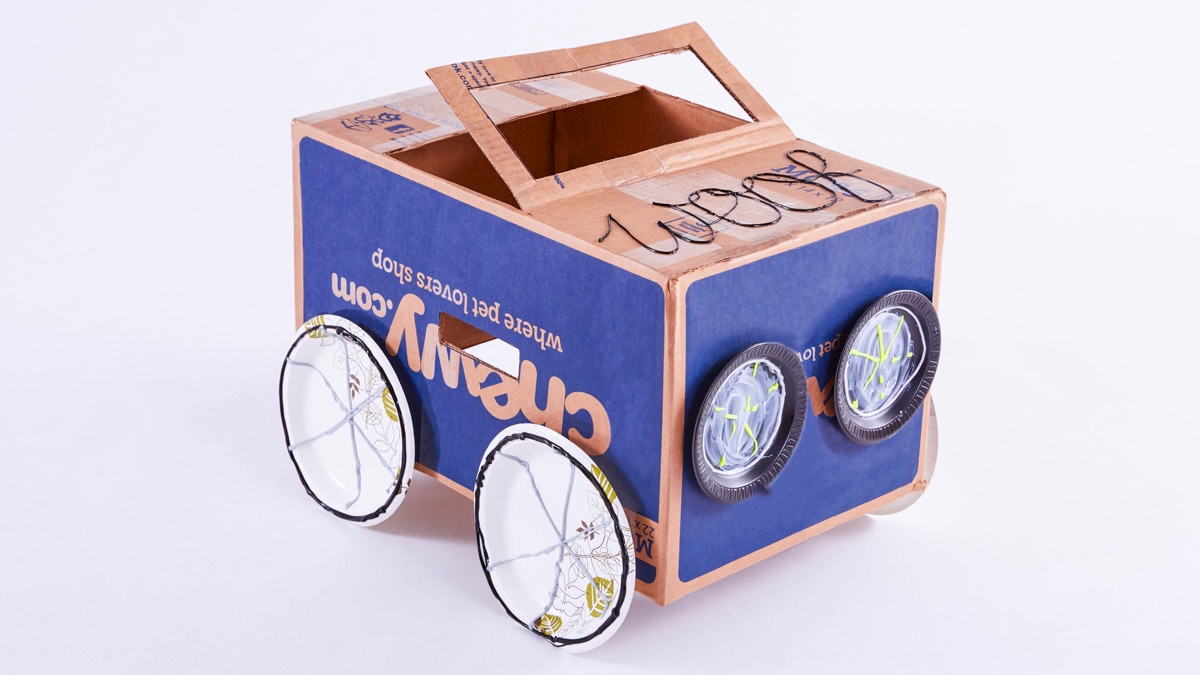
Hand over the markers and all the pieces of flair for your budding artiste/race car driver to create the best-decorated derby car in the history of NASCAR.
Challenge Level 3: Bone or Fish Puzzle
This one is the craft that keeps giving, and it has a pet theme! If everything comes out as planned, you’ll have a puzzle made just for dog or cat lovers.
Materials: scissors or box cutter, markers or craft paint, Chewy box, glue gun
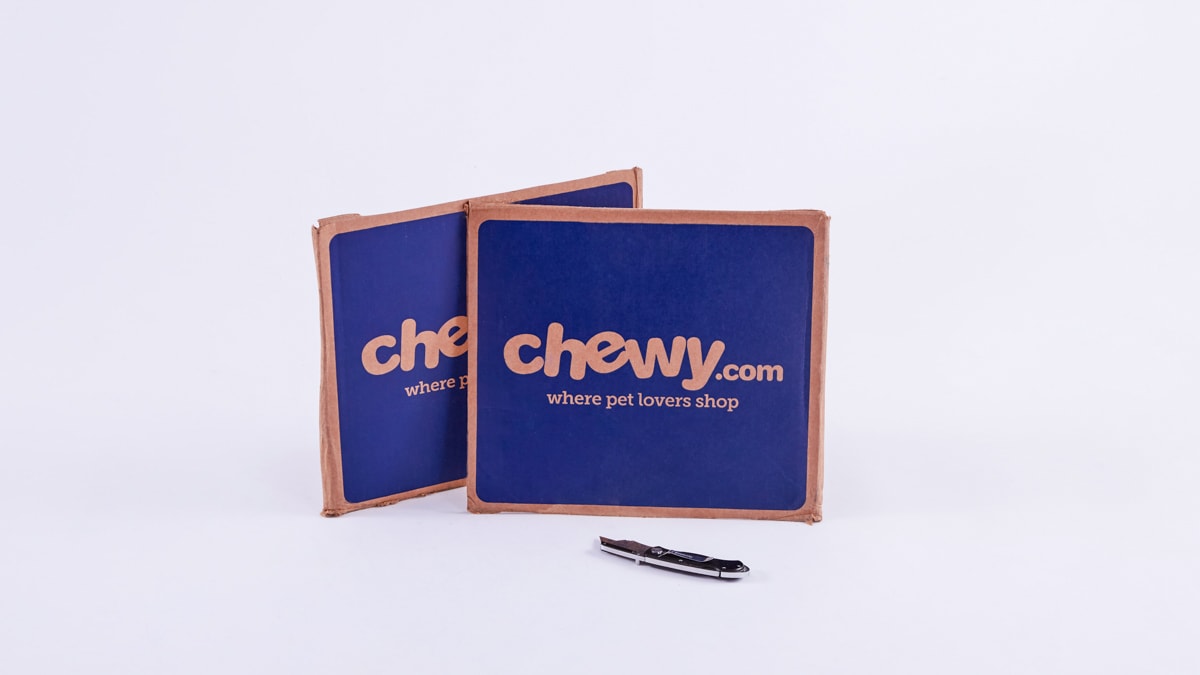
Step 1: Cut out the two shorter sides of the Chewy box.
Step 2: Draw the outline of a fish or bone in the center of one of the pieces, cut it out, and then flip it over so you have clean cardboard. Keep the remaining frame.
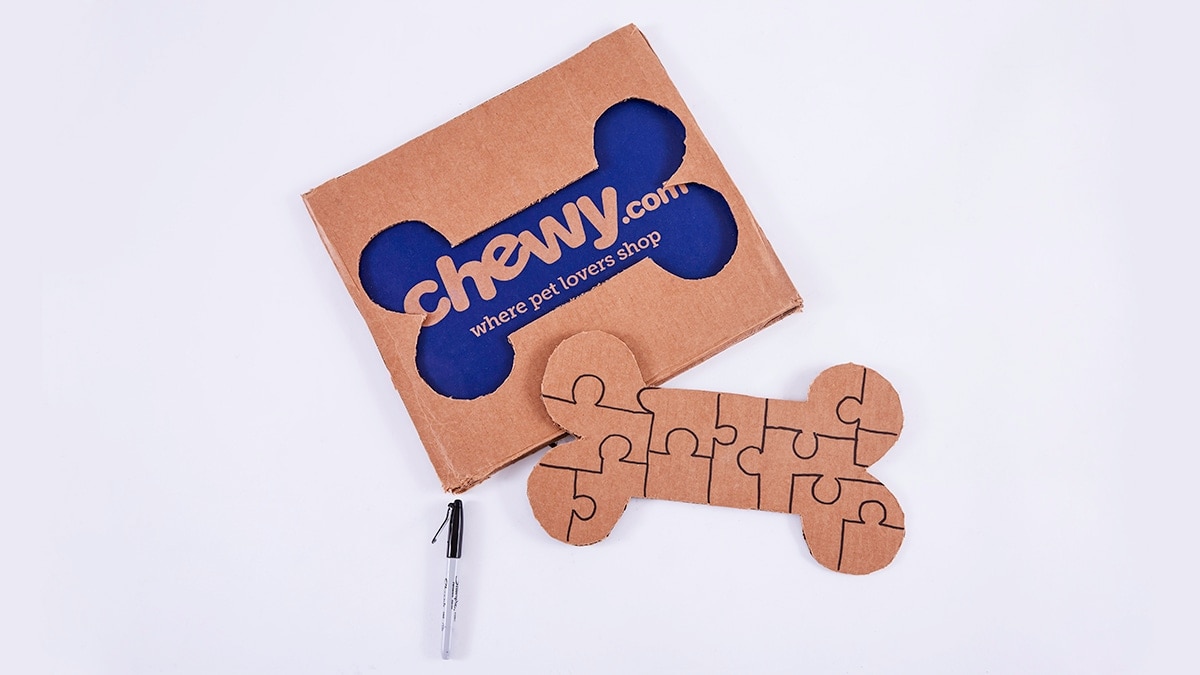
Step 3: Use the marker to draw connecting shapes of various sizes to create your puzzle pieces. Just remember that the smaller the pieces, the more challenging the puzzle will be.
Step 4: Now’s the time to color in (or draw a pattern or write your pet’s name on) your puzzle pieces with markers or craft paint.
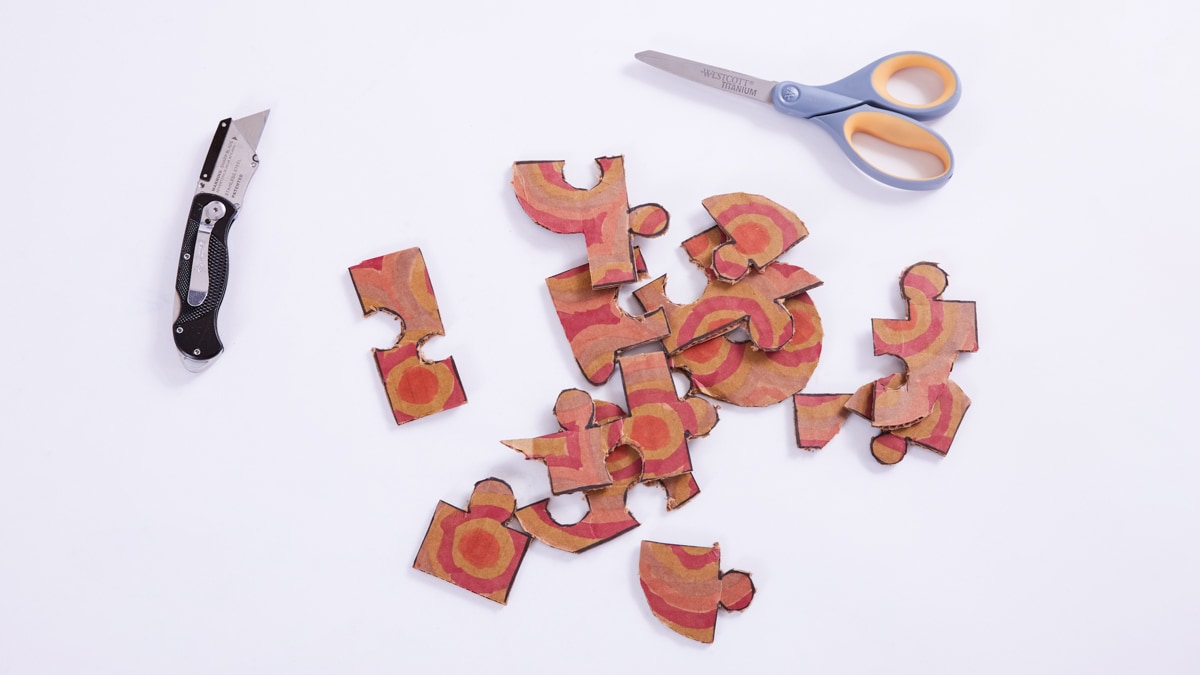
Step 5: Cut along the lines to separate the puzzle pieces.
Step 6: Align the frame that you cut the shape out of on top of the other full piece of cardboard. Make sure the outer edges line up, and that both printed sides face each other, then glue the pieces together.
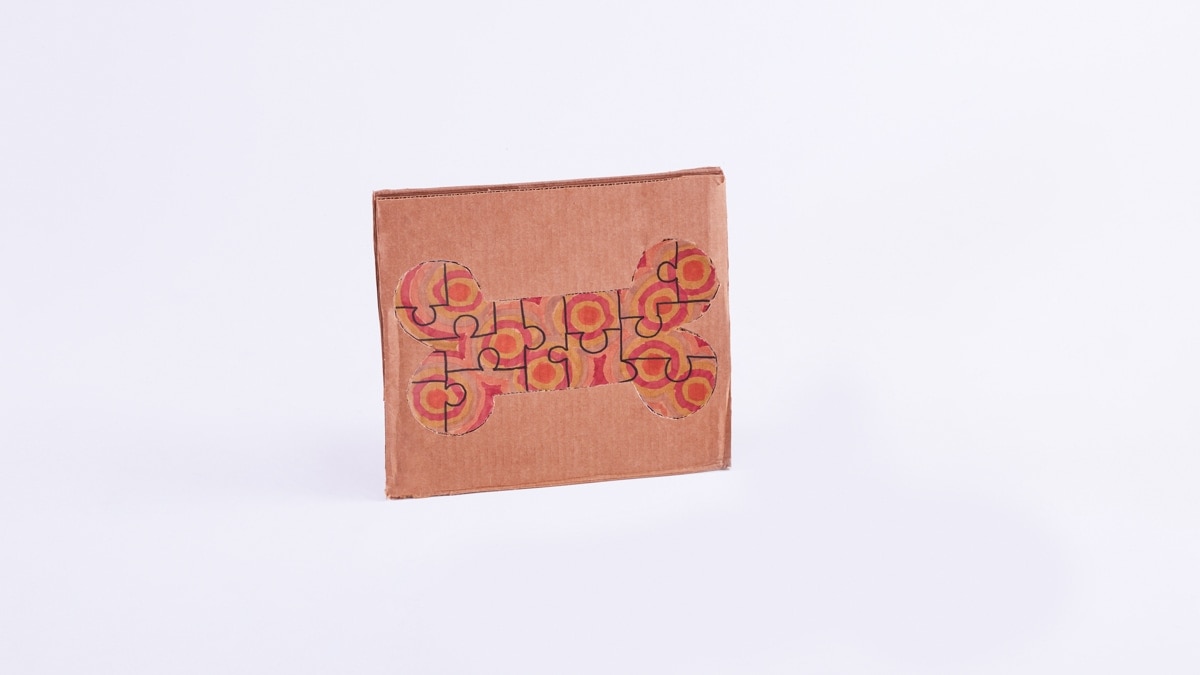
This puzzle is the perfect indoor entertainment for you and your crafty sidekicks to put together on a rainy day.
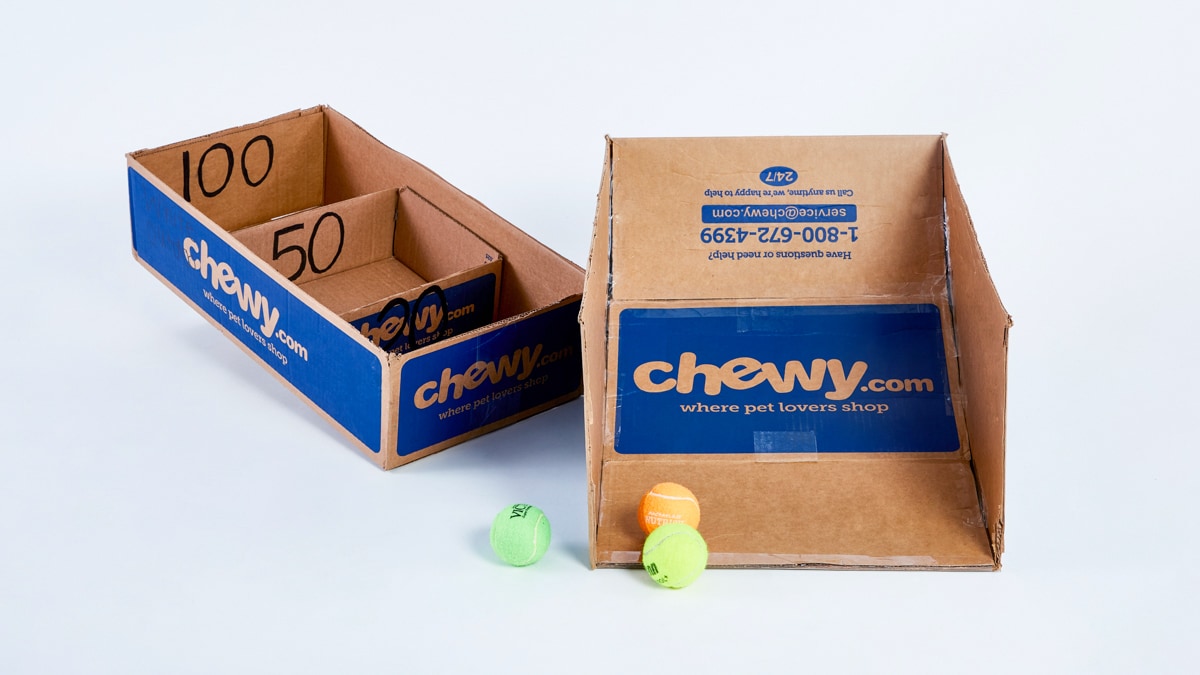
Challenge Level 4: Indoor Skee-Ball
Materials: Several Chewy boxes (one large box at least 22 x 14 x 12, and two medium OR a medium and a small), duct tape or glue gun, clear packing tape, markers, three to six dog toy balls (tennis balls, Kong Ball Toy, Kong Squeeze Ball or treat balls like Omega Paw Tricky Treat Ball or Kong Active Cat Treat Ball), box cutter or scissors
Optional Materials: Non-slip drawer liner, craft paint
Get ready for the ultimate family Skee-Ball challenge! In no time at all (okay, maybe a little time), you’ll turn these Chewy boxes into a fully functional arcade game favorite—right in your own living room.
Step 1: Cut off the two longer flaps from your Chewy box.
Step 2: With the box right side up, cut out one of the shorter sides, including the short flap. Keep this piece—it will be part of your ramp.
Step 3: Fold the one short flap that is still attached to the box down into the box. Place the ramp inside the box, line up the short side with the short box flap, and tape these ends together so you have a long ramp.
Step 4: Make creases every couple of inches so the ramp is slightly curved, and then secure the sides to the inside of the box with clear packing tape or duct tape. Line up the bottom end of the ramp with the box end, and tape them together. For extra traction, use non-slip drawer liner underneath the box.
Step 5: Cut the flaps off of each medium (or small) Chewy box.
Step 6: If you have a small box, place it inside the medium box to create two or three compartments, depending on the level of challenge you want. Glue the boxes in place with a glue gun. If you have several medium boxes, line them up next to one another and glue them together.
Step 7: Write the number of points on the front of the first box and the inside back of each remaining box. You can decide how many points each box or inner box is worth. We used a small box placed in the middle of a medium box, which gave us three sections worth 20, 50 and 100 points.
Step 8: Place the point boxes about four feet beyond your ramp (adjust as needed).
Step 9: You can decorate your ramp and/or boxes or leave them as is.
Play for fun, or keep score to see who can get to 300 points first! If you decide to use treat balls, the whole furry family can join in and chase after fallen treats.
Bonus Craft Ideas:
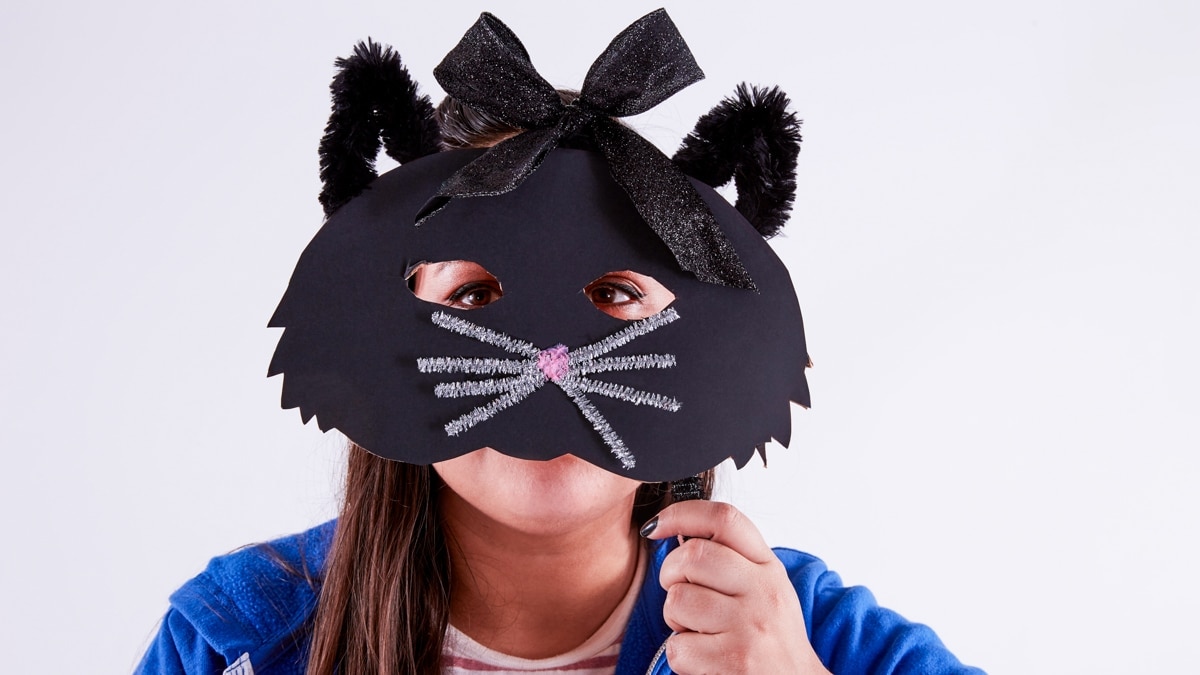
Handheld Masks: Host your own kid-friendly masquerade. Print out the face of your pint-size helper’s favorite animal, cartoon character, TV or movie star, or famous personality (make sure it’s scaled to mask size). Glue it to a piece of cardboard, cut it out, and then cut out holes for the eyes and mouth. On the back side, attach a paint stick with a glue gun so your little ones can hold their super cool new masks.

Spinners of Inspiration: Use a plate to trace two circles onto a Chewy box and cut them out (at least 6 inches wide). On one spinner, write the letters of the alphabet along the outer edge. On the other, draw lines across the circle and through the center so you have eight pie-shaped pieces. In each “slice,” write categories like drawing, charades, storytelling, rhyme time, titles, etc., and color them in. Draw arrows on another piece of cardboard and cut them out. Attach them to the circles with brass paper fasteners, but not too tightly so that they can spin. Take turns spinning both and then following the prompts. You might be drawing something that starts with “O” or telling a story about an animal that starts with the letter “T” or naming a book or movie title that starts with “B.” It’s a game with endless possibilities!
We hope this how-to gives you and your crafter-in-training tons of inspiration and brings out your creative side. Get started on your favorite Chewy box project and let us know how it turns out!
Keep crafting with Chewy box pet craft ideas and our life hacks.