Challenge Level 2: DIYer With Some Know-How
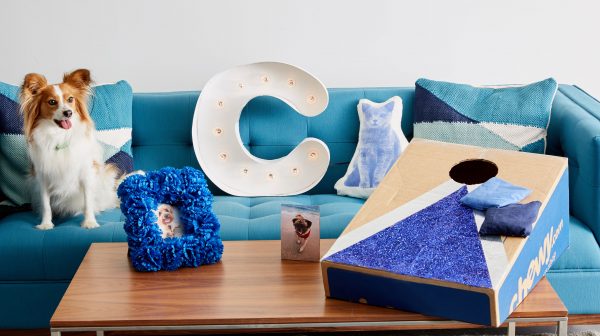
Need a place to display all your cute pet pics instead of letting them get dusty in a photo album? We’ll show you how to make your own photo frame out of a leftover Chewy box. You can use it for prints, or to spruce up your digital photo frame.
Photo Frame
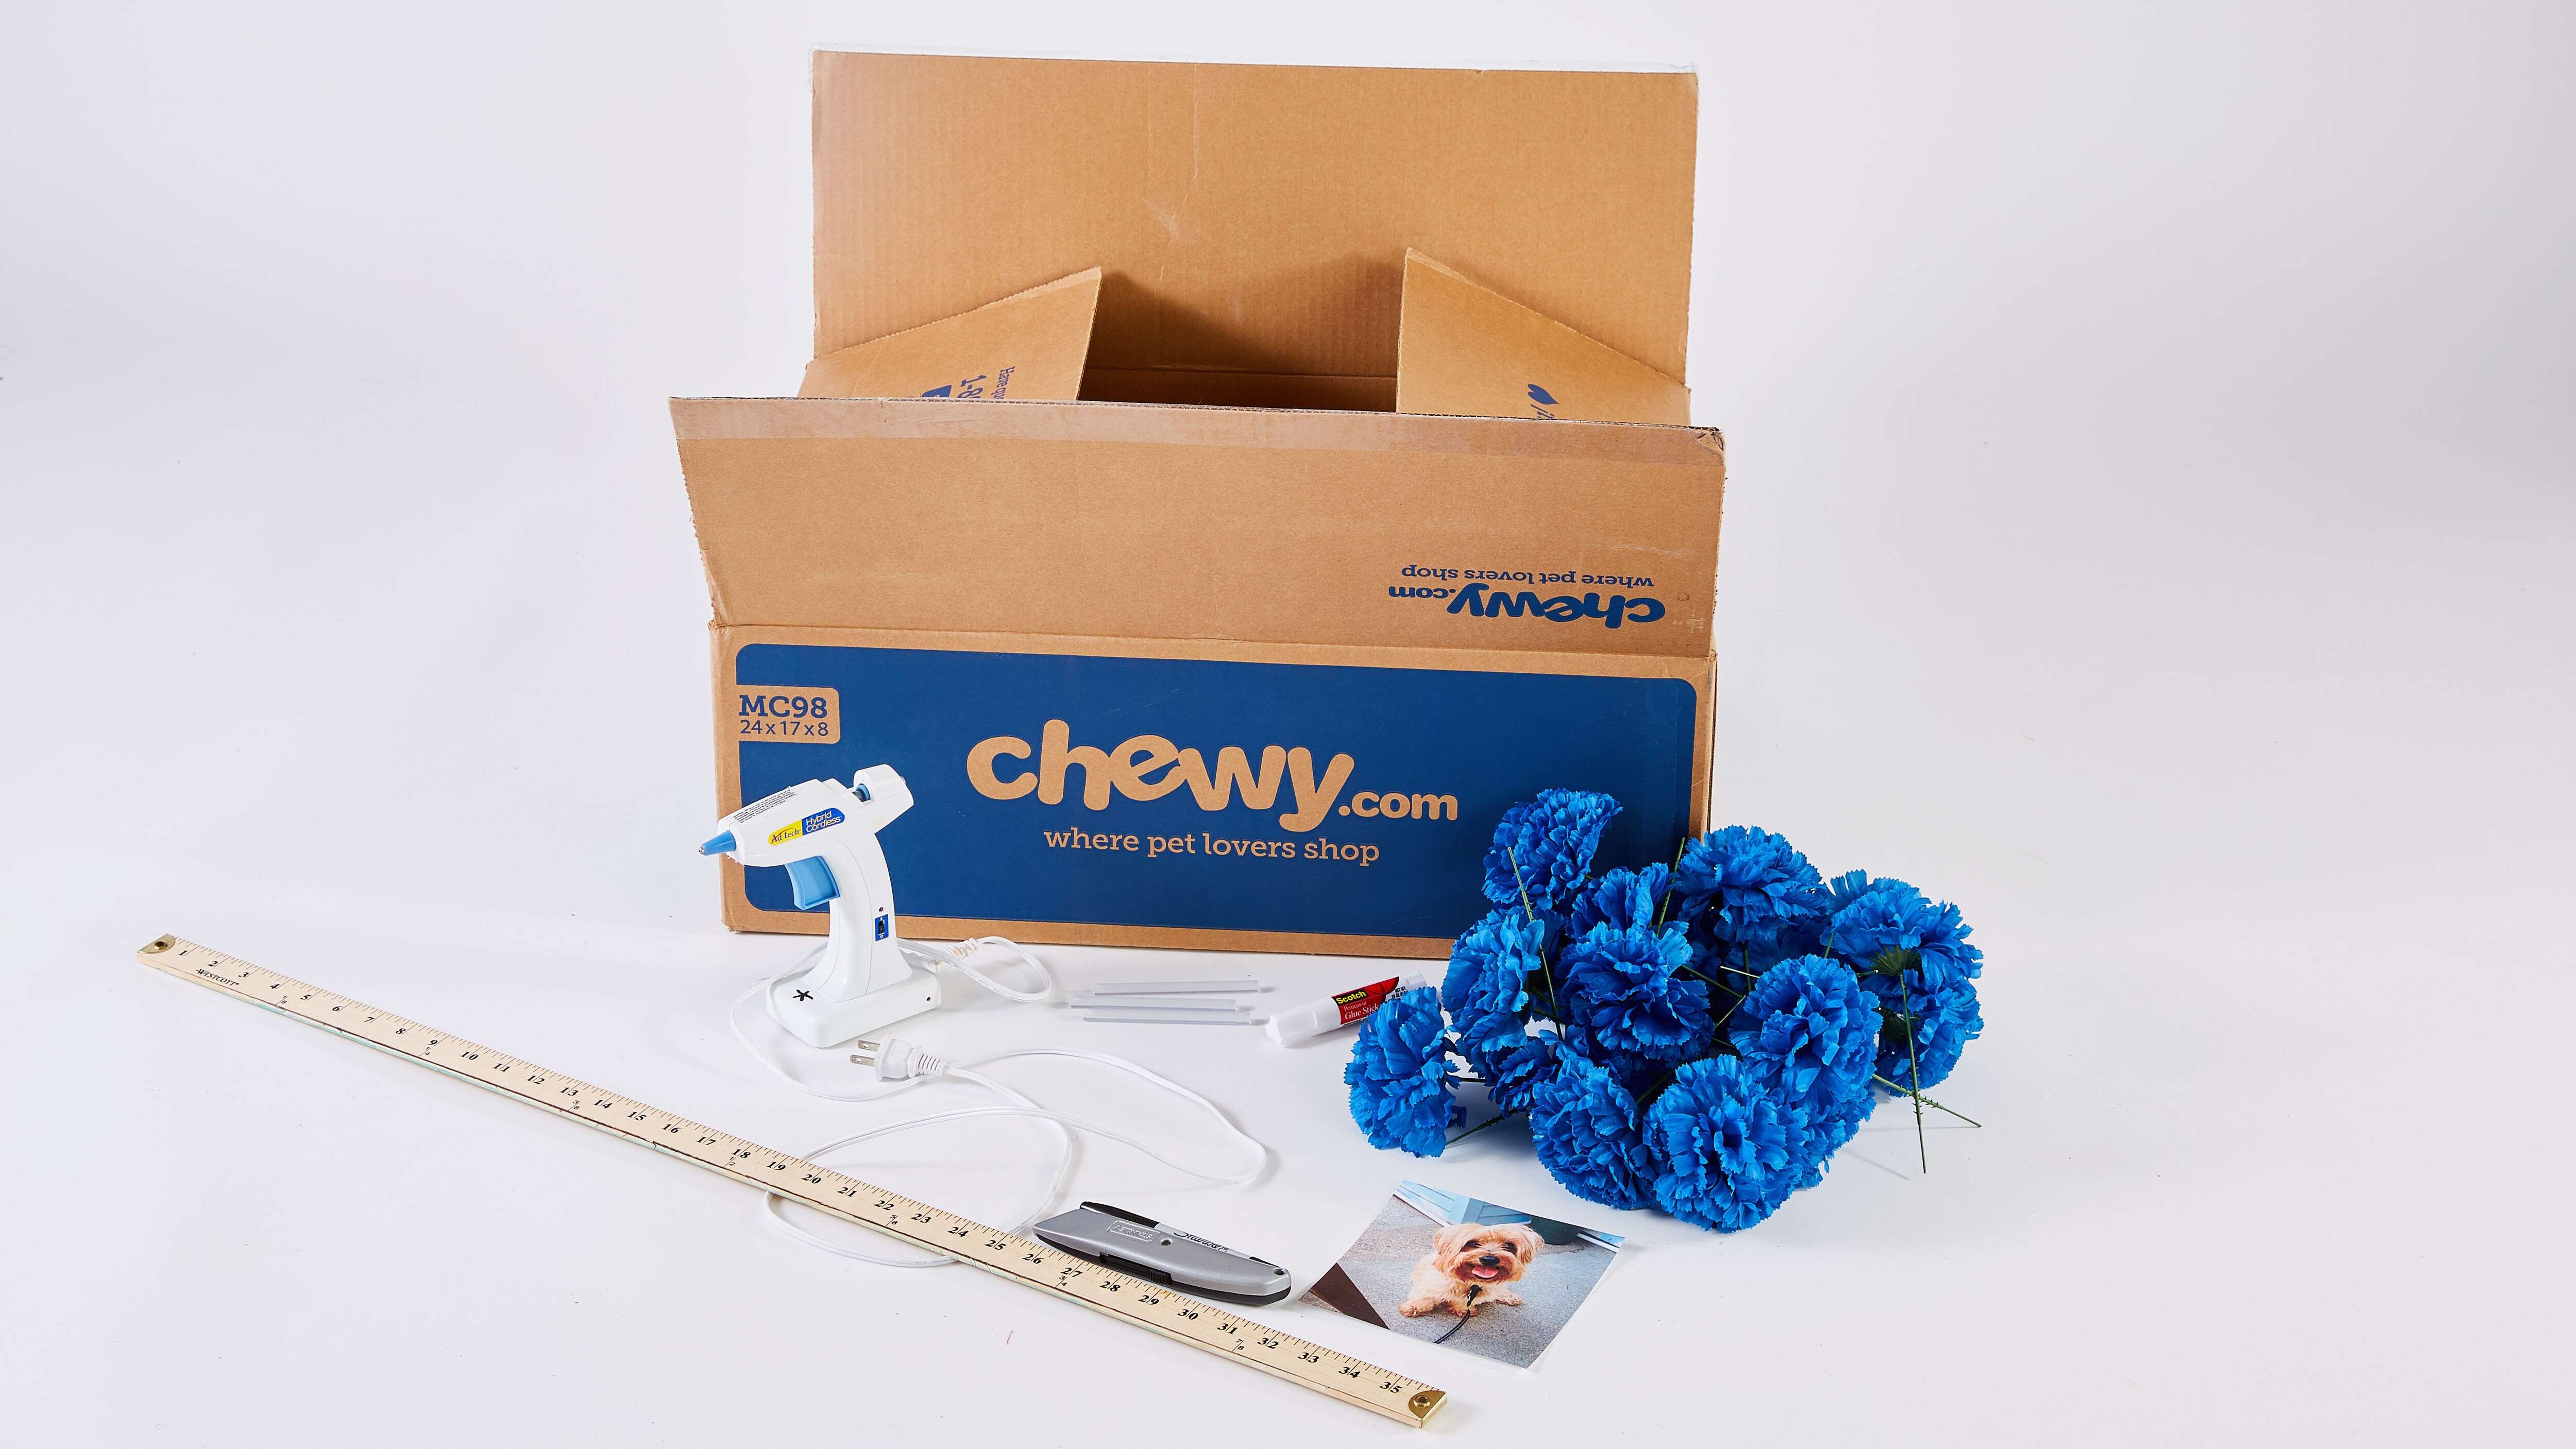
Materials: Any size Chewy box, marker, ruler, scissors or craft knife, hot glue gun and glue sticks, pet photo, decorations (can be bottle caps, buttons, silk flowers, patterned duct tape, glitter, magazines and a craft glue/sealant for collage, corks, beads, mosaic pieces)
Optional Materials: string or wire, cellophane tape (for a hanging frame)
Steps:

1. Trace your photo on a section of your Chewy box with a marker. This will be the inside border of the photo frame. Repeat the shape about two inches out from the inside border with a ruler.
2. Cut the inner shape out of your frame with scissors or a craft knife. Make the cutout about a quarter of an inch smaller than the photo (on all sides) to create an overhang that will keep your photo in place.

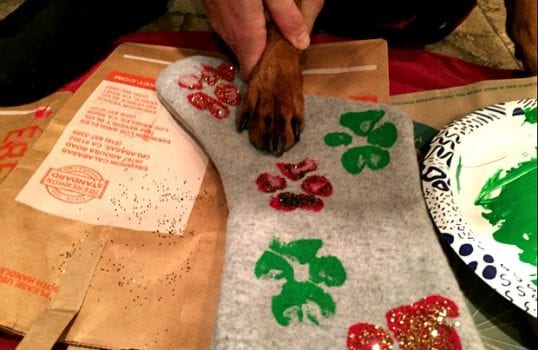
3. Bedazzle the front with pretty much anything you can think of.
• Do some decoupage featuring pooches and kitties from pet magazines, and cover your creation with a thin layer of Mod Podge.
• Or try wrapping a patterned duct tape around the edges (this one can go around both sides).
• Get out the glue gun, and cover the frame with bottle caps, silk flowers, buttons or the flat side of corks that are cut in half. If using silk flowers, remove the stems before attaching them to the frame.
• Go classic with some craft glue and glitter.
4. Trace the outside of your frame onto another piece of cardboard for a solid back panel.

5. Cut out the solid back panel that you traced. Apply glue with a glue gun or glue stick to the top 1.75” and bottom 1.75” on the back of your decorated frame and attach it to the solid back panel that you traced. Once dried, slide your photo in between the two pieces of cardboard.

6. To make a stand, cut a piece of cardboard that’s the same size as your frame. Fold it in half so it’s half the height of the frame, and use the glue gun to attach it to the back panel so the frame will stand. You could also use string and some tape to make it a hanging photo frame.

Click here to see the next Chewy Box Craft: Cornhole Game.
Share: